Why Are My Plant Leaves Turning Yellow? Fix It Fast
Yellow leaves are one of the most common distress signals houseplants send — and one of the most misread. If you've ever watched a once-vibrant plant slowly fade to a sickly pale green or full-on yellow, you know the quiet panic that sets in. The good news? In most cases, yellow leaves are a fixable problem, not a death sentence. Understanding why plant leaves turn yellow is the first step toward bringing your plant back to its best. This guide walks you through every likely cause, how to tell them apart, and exactly what to do next.
Identifying the Problem: Reading Your Plant's Yellow Leaves
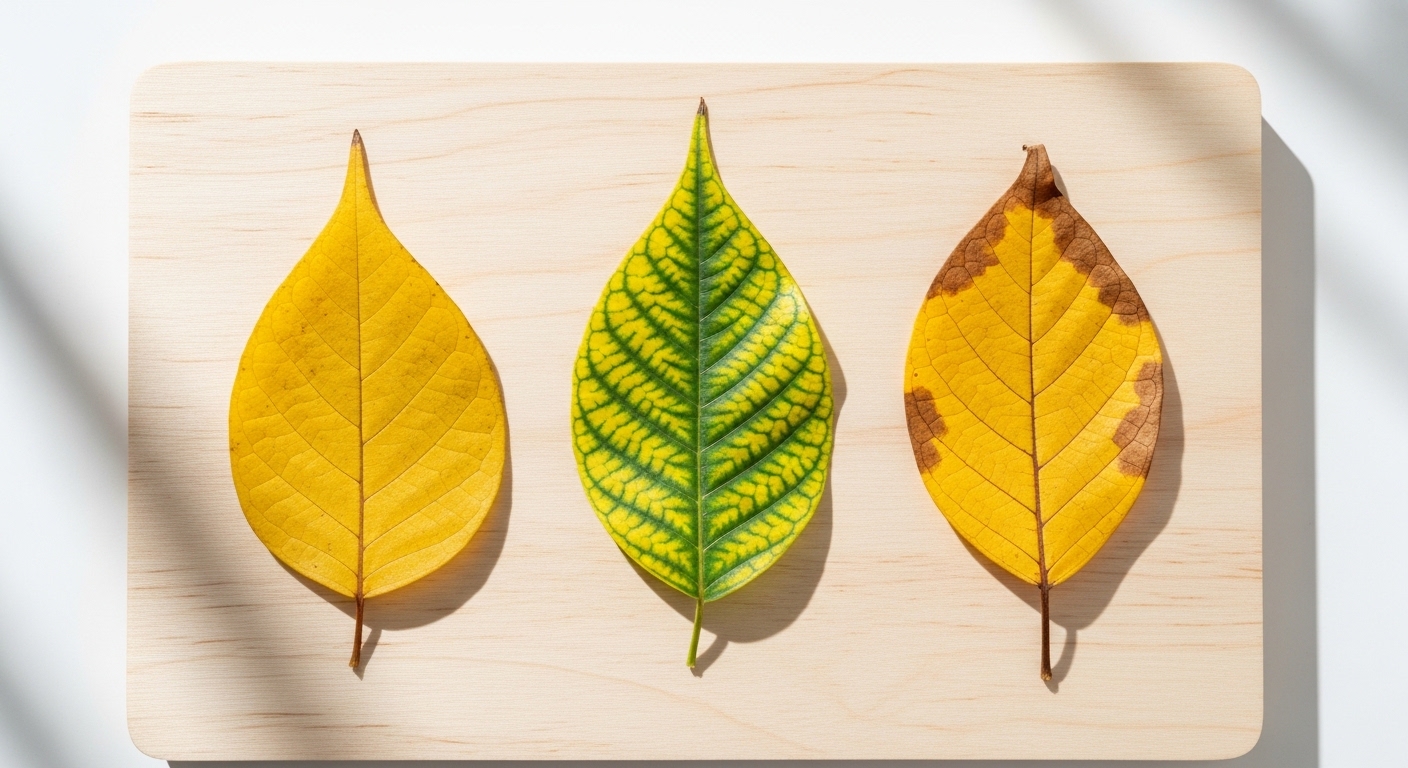
Not all yellow leaves look the same — and the pattern of yellowing is your most important diagnostic clue. A plant communicating overwatering looks very different from one starved of light or nutrients. Before you reach for a watering can or fertilizer, take a close, calm look at what your plant is actually showing you.
Ask yourself these questions as you inspect the plant:
- Are the yellowing leaves at the bottom, the top, or scattered randomly?
- Is the yellowing uniform across the whole leaf, or does it appear between the veins while veins stay green?
- Are the yellow leaves also soft, mushy, or dropping off easily?
- Is the soil staying wet for more than 7–10 days after watering?
- Has the plant recently been moved, repotted, or exposed to a draft?
Your answers will point you toward the most likely cause. Think of yellow leaves as a language — once you learn to read it, diagnosis becomes much more intuitive.
Most Common Causes of Yellow Leaves
Yellow leaves rarely have a single universal cause. In most cases, one of the following culprits is responsible — and many of them share overlapping symptoms, which is why the pattern of yellowing matters so much.
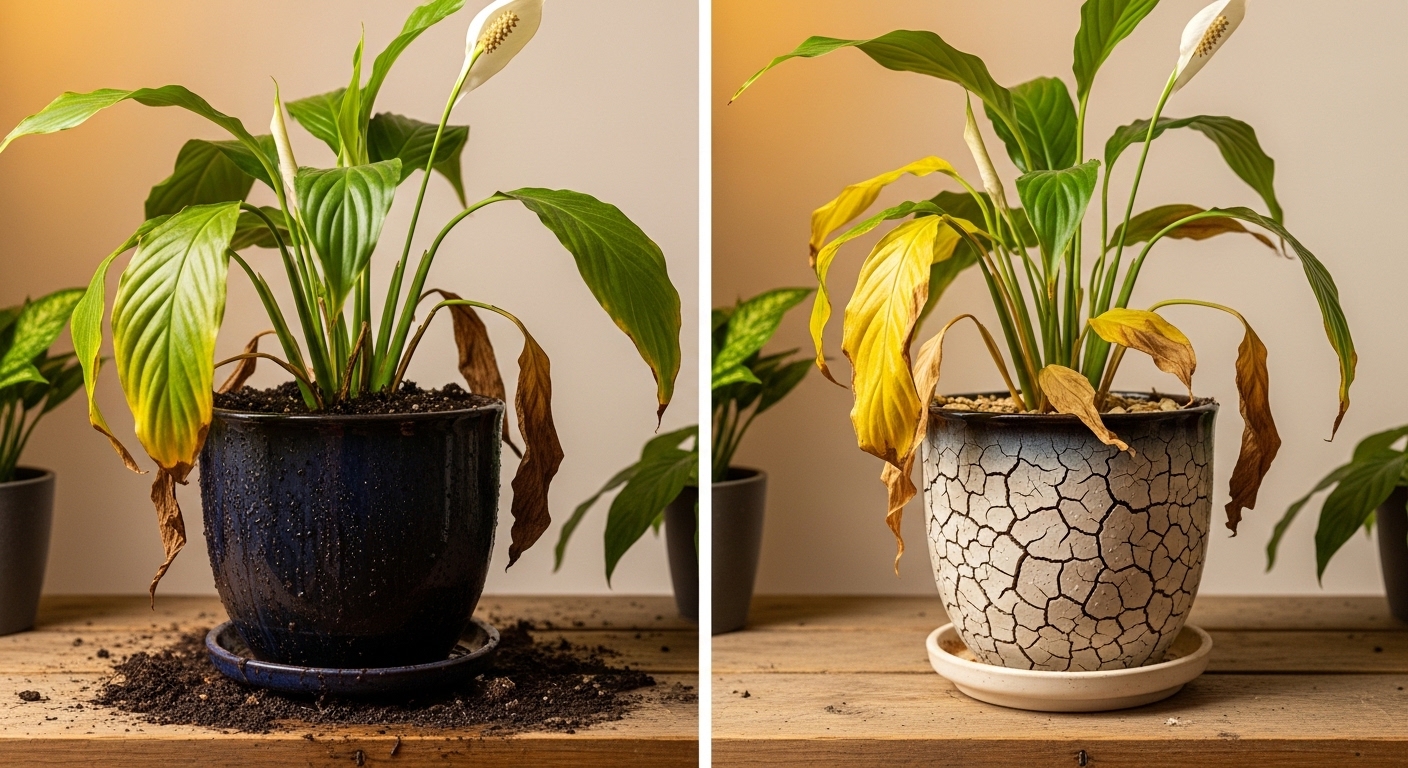
- Overwatering — the single most common cause in houseplants. Roots sitting in waterlogged soil cannot absorb oxygen, leading to root rot and yellowing that typically starts on lower or older leaves. Leaves may feel soft or limp.
- Underwatering — causes yellowing that often starts at leaf tips or edges and progresses inward. Soil will be bone dry, and leaves may feel crispy rather than soft.
- Nutrient deficiency — nitrogen deficiency causes older leaves to yellow uniformly; iron or magnesium deficiency causes interveinal chlorosis (yellowing between veins while veins stay green).
- Low light — insufficient light slows photosynthesis, causing a gradual, generalized pale yellowing, often affecting leaves farthest from the light source first.
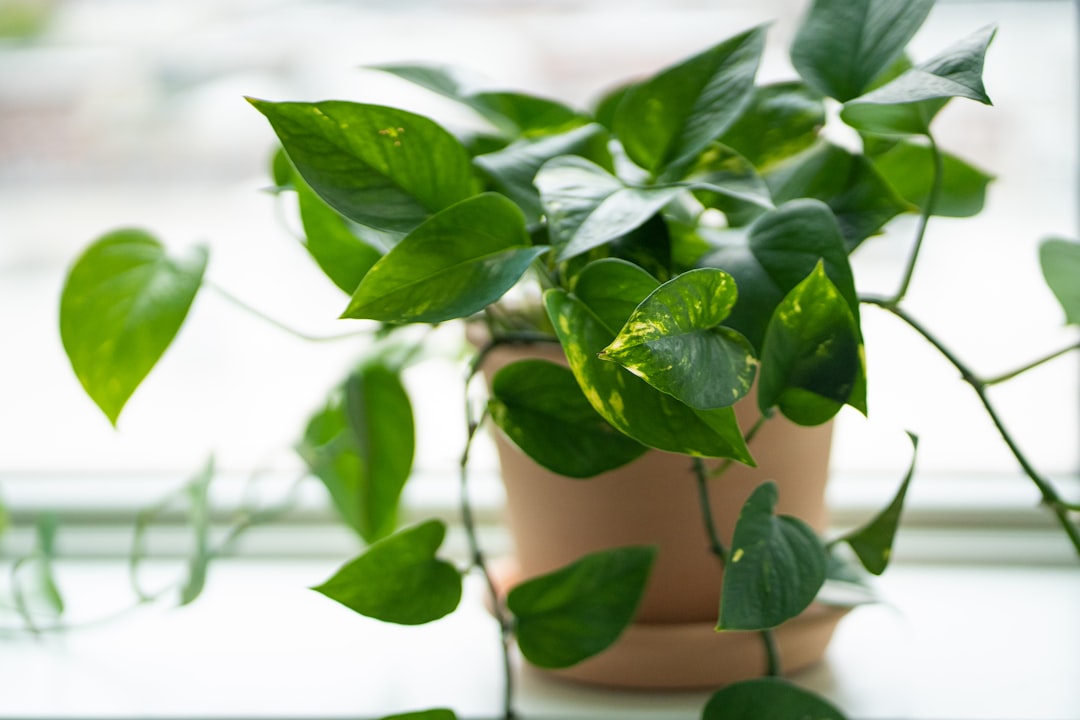
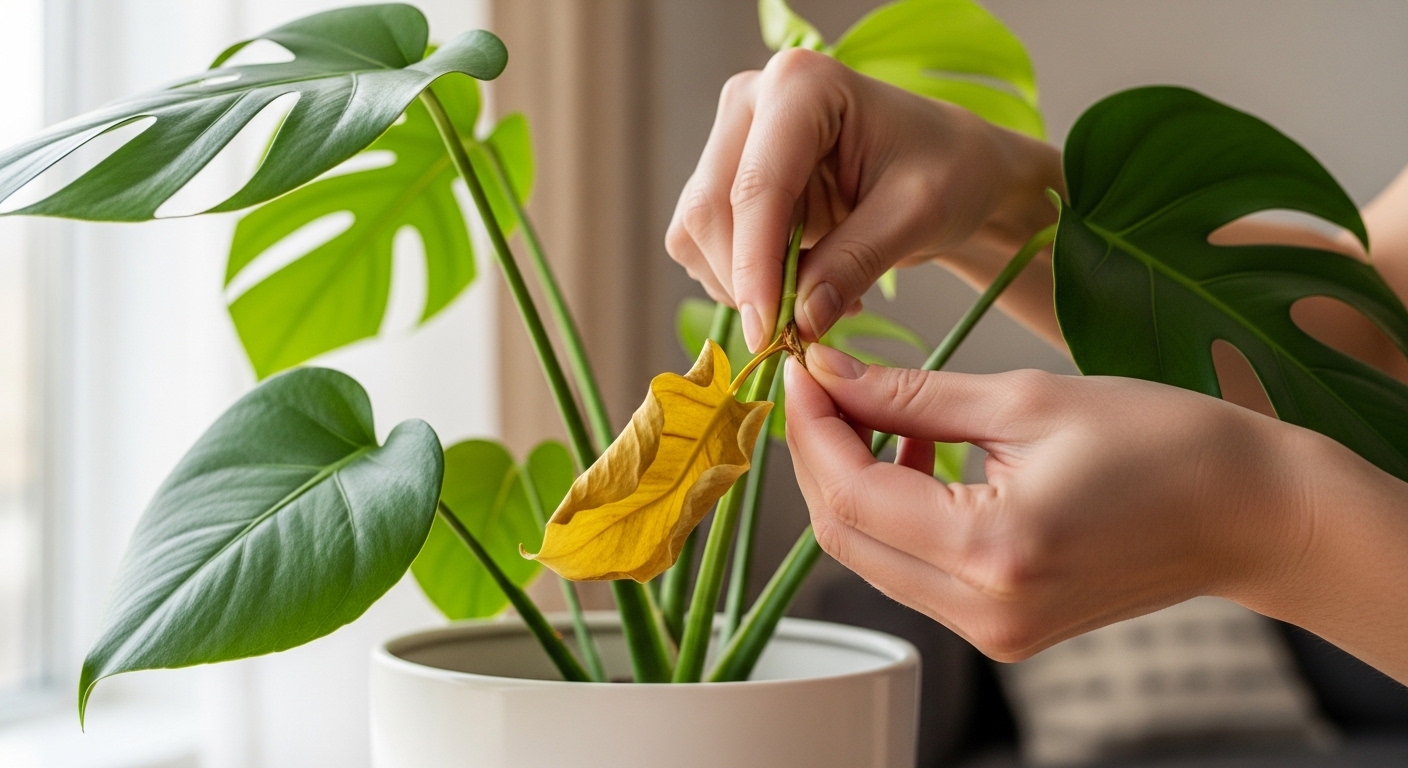
- Natural leaf aging — the lowest, oldest leaves on a plant will yellow and drop as a normal part of the plant's growth cycle. This is generally nothing to worry about if it affects only one or two leaves at a time.
- Pest damage — spider mites, fungus gnats, and scale insects can cause stippled or mottled yellowing. Check the undersides of leaves carefully.
- Root bound stress — a severely root-bound plant may struggle to take up water and nutrients efficiently, leading to gradual yellowing.
Step-by-Step Treatment Guide
Once you've identified the most likely cause, treatment is usually straightforward. Work through these steps methodically rather than making multiple changes at once — changing too many variables simultaneously makes it hard to know what actually helped.
If you suspect overwatering:
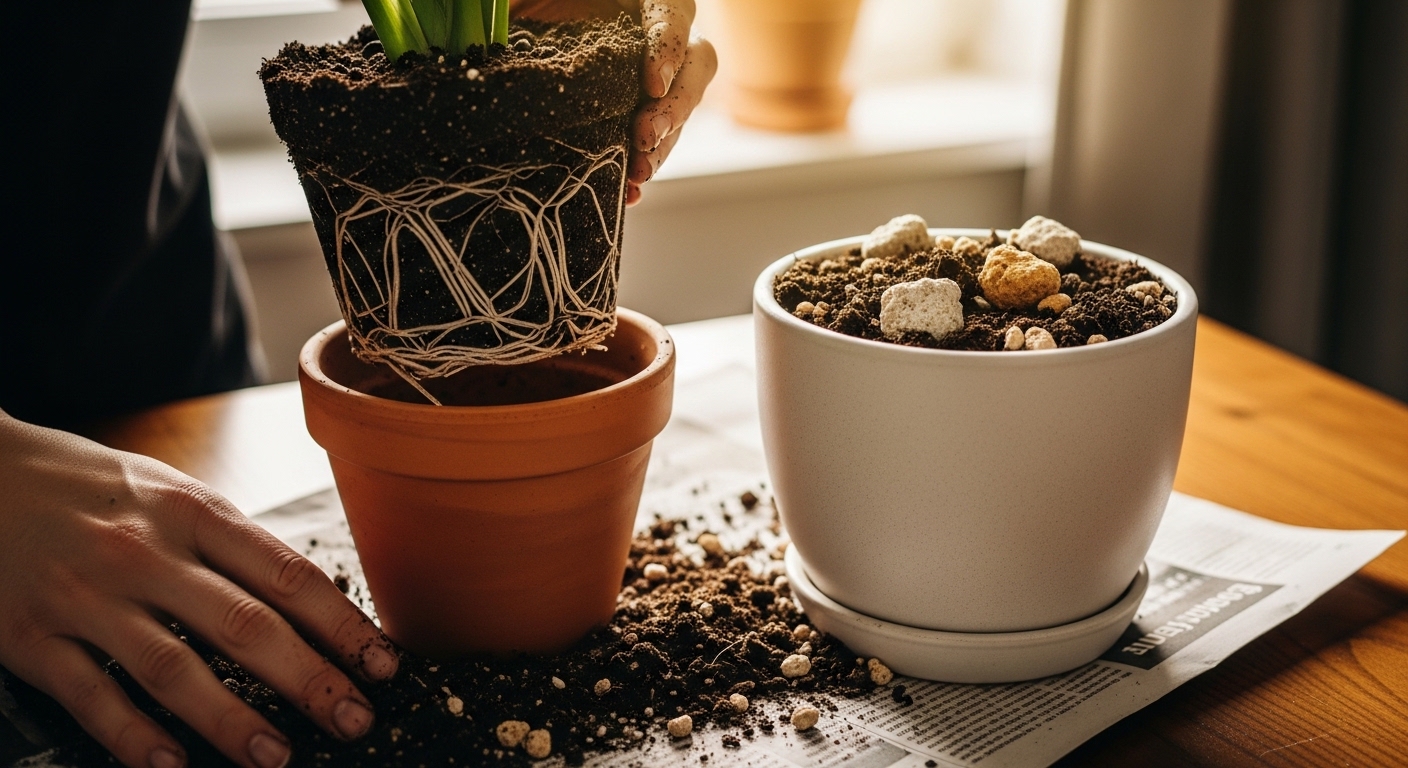
- Remove the plant from its pot and inspect the roots. Healthy roots are white or light tan; rotten roots are brown, black, and mushy.
- Trim away any rotten roots with clean, sterilized scissors.
- Repot into fresh, well-draining soil and a pot with drainage holes.
- Allow the soil to dry out completely before watering again — for most tropical houseplants, water when the top 2–3 cm of soil feels dry.
If you suspect underwatering:
- Water thoroughly until water drains freely from the bottom of the pot.
- Allow the plant to rehydrate for 24 hours before assessing recovery.
- Establish a consistent watering schedule based on soil moisture, not calendar days.
If you suspect nutrient deficiency:
- Begin a balanced liquid fertilizer regimen during the active growing season (generally spring through early autumn).
- For interveinal chlorosis specifically, a fertilizer containing chelated iron or magnesium may help.
- Avoid over-fertilizing — excess fertilizer salts can cause their own leaf damage. Fertilize at half the recommended dose if in doubt.
If you suspect low light:
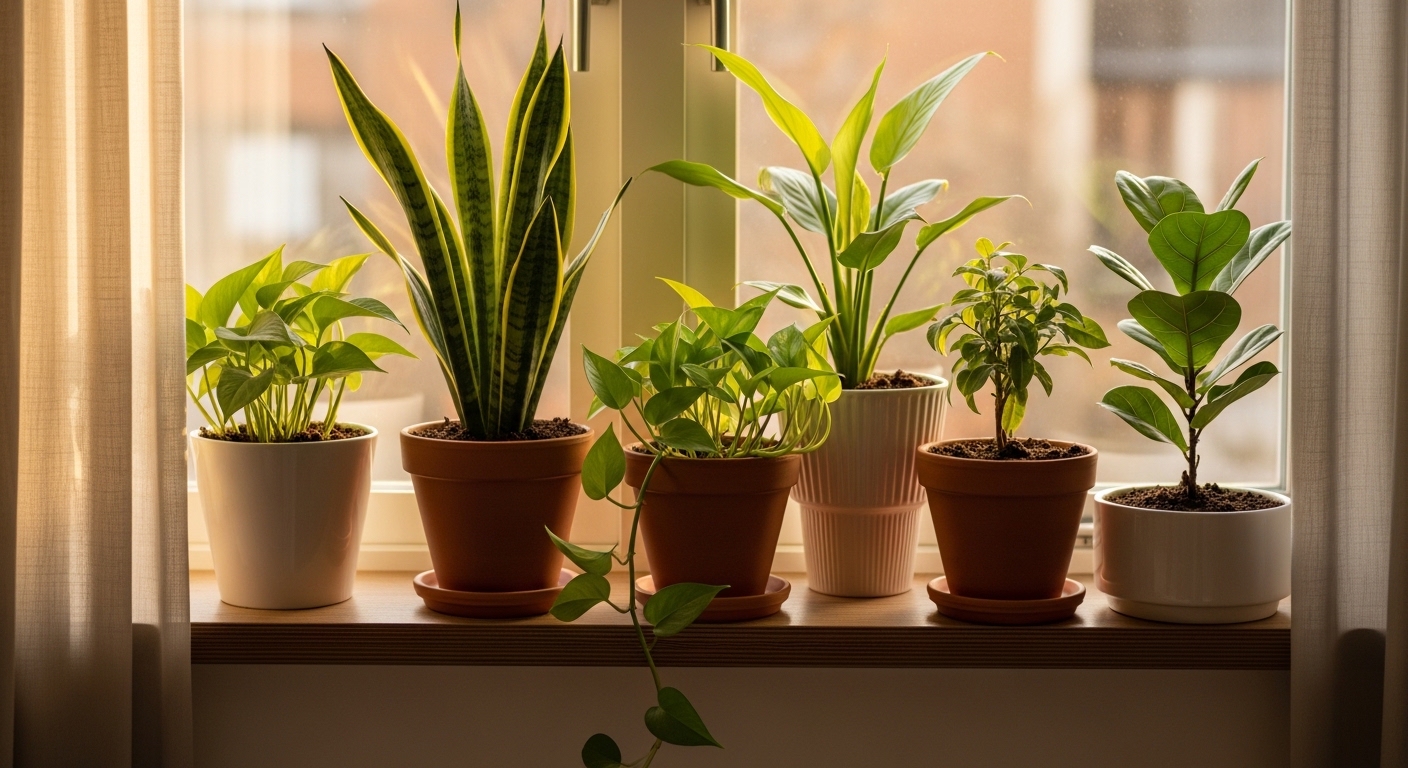
- Move the plant closer to a bright window, ideally within 1–2 metres of a south- or east-facing window.
- If natural light is genuinely limited, a full-spectrum grow light (look for a 5000–6500K colour temperature) can supplement effectively. Follow manufacturer instructions and consult a licensed electrician if any hardwired installation is needed.
- Rotate the plant every 2–4 weeks so all sides receive even light exposure.
A single yellow leaf at the base of an otherwise healthy plant is almost always just natural aging — resist the urge to panic or overreact. Save your energy for the patterns that signal a real problem.
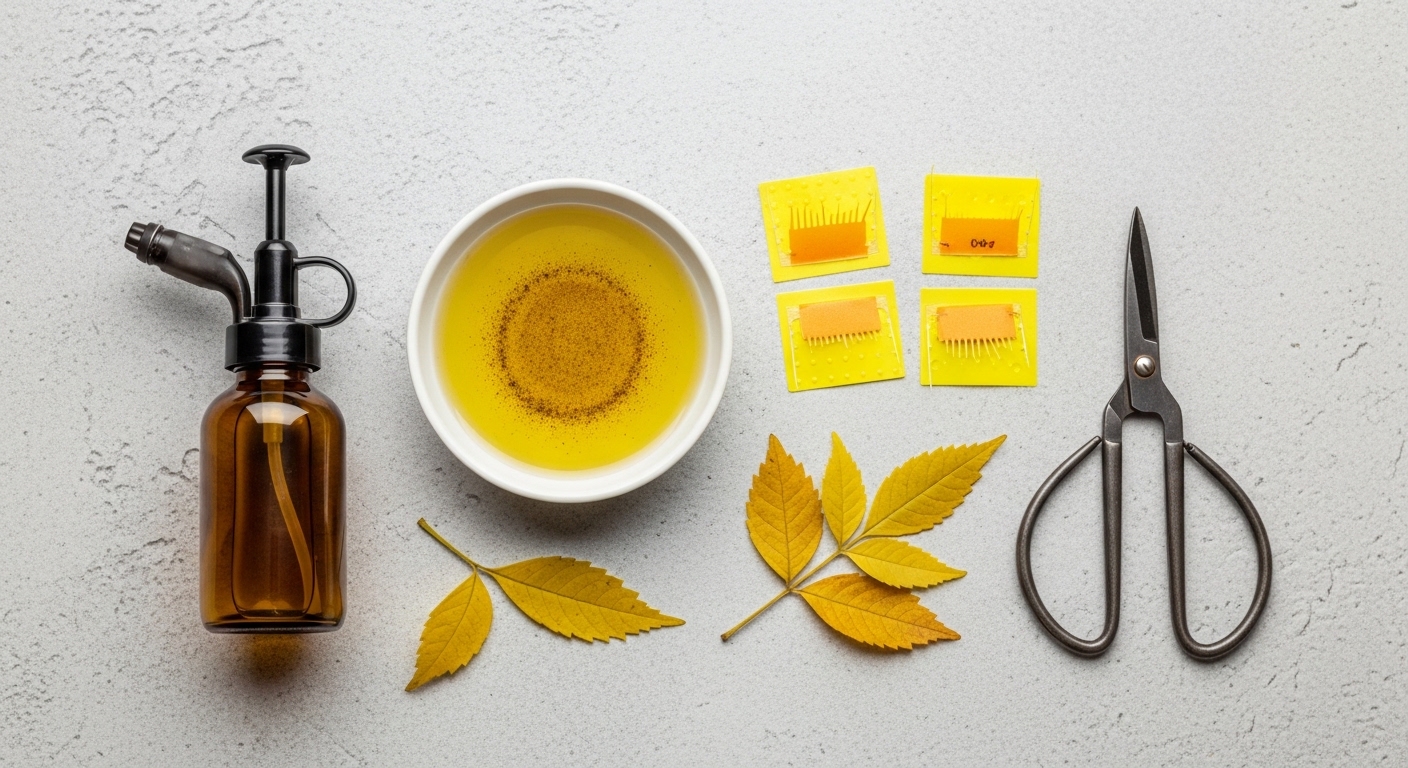
Natural vs. Chemical Solutions for Yellow Leaves
When pests or soil issues are contributing to yellow leaves, you have a range of options — from gentle, natural approaches to more targeted treatments. Many growers find that starting with the least invasive method and escalating only if needed gives the best results with the least risk to the plant.
Natural approaches that many growers find effective:
- Neem oil solution — diluted neem oil applied to leaf surfaces can help manage common soft-bodied pests like spider mites and aphids. Always test on a single leaf first and apply in the evening to avoid light-related leaf burn.
- Sticky traps — yellow sticky traps placed near the soil surface can help monitor and reduce fungus gnat populations, whose larvae damage roots and contribute to yellowing.
- Hydrogen peroxide soil drench — a diluted solution (generally 1 part 3% hydrogen peroxide to 4 parts water) can help oxygenate waterlogged soil and address early-stage root rot. Use sparingly.
- Bottom watering — placing the pot in a tray of water and allowing the soil to absorb moisture from below can help regulate moisture more evenly and reduce overwatering risk.
For more persistent pest infestations, commercial insecticidal soaps or systemic treatments may be considered. Always follow product label instructions carefully, and research whether any treatment is safe for the specific plant species you're treating.
Prevention: Keeping Yellow Leaves From Coming Back
The most effective treatment for yellow leaves is preventing the conditions that cause them in the first place. A few consistent habits can dramatically reduce the likelihood of yellowing recurring — and they apply across almost every houseplant species.
- Water by soil feel, not by schedule. Stick your finger 2–3 cm into the soil before every watering. If it still feels moist, wait another day or two.
- Ensure proper drainage. Every pot should have at least one drainage hole. Avoid leaving plants sitting in standing water in a saucer for more than 30 minutes after watering.
- Match light to species needs. Research the specific light requirements of each plant you own. A shade-tolerant plant placed in harsh direct sun, or a sun-lover tucked in a dim corner, will both struggle.
- Fertilize seasonally. Most houseplants benefit from feeding every 2–4 weeks during spring and summer, and little to no fertilizer during autumn and winter when growth slows.
- Inspect regularly. A weekly visual check of leaves — including undersides — allows you to catch pest problems or early yellowing before they escalate.
- Avoid sudden environmental changes. Moving a plant from low light to bright sun abruptly, or placing it near a heating vent or air conditioning unit, can trigger stress-related yellowing.
When to Repot or Start Over
Sometimes, despite your best efforts, a plant's root system is too far gone to recover in its current pot. Knowing when to repot — or when to take a healthy cutting and start fresh — can save you weeks of frustration.
Symptom: Yellowing continues despite corrected watering, and roots are brown and mushy throughout. Fix: Trim all rotten roots, dust with cinnamon (a natural antifungal), repot into fresh well-draining mix, and reduce watering frequency significantly.
Symptom: Roots are circling densely at the bottom of the pot or growing out of drainage holes, and yellowing is widespread. Fix: Repot into a container 5–7 cm larger in diameter with fresh soil. Spring is generally the best time to repot most houseplants.
Symptom: More than 50% of the plant's leaves are yellow or dropping, and root rot is extensive. Fix: Take any remaining healthy stem cuttings for propagation and compost the original plant. A fresh start from a healthy cutting is often more successful than trying to rescue a severely compromised root system.
Repotting is not failure — it's often the kindest and most practical thing you can do for a struggling plant. Many growers find that a plant bounces back remarkably quickly once it's given fresh soil and appropriate space.
Yellow leaves are your plant's way of asking for help — and now you know how to listen. Whether the culprit turns out to be too much water, too little light, or a hungry root system, the fix is almost always within reach. Stay curious, stay observant, and remember that even experienced plant parents deal with yellow leaves. It's part of the journey.


Comments
Post a Comment