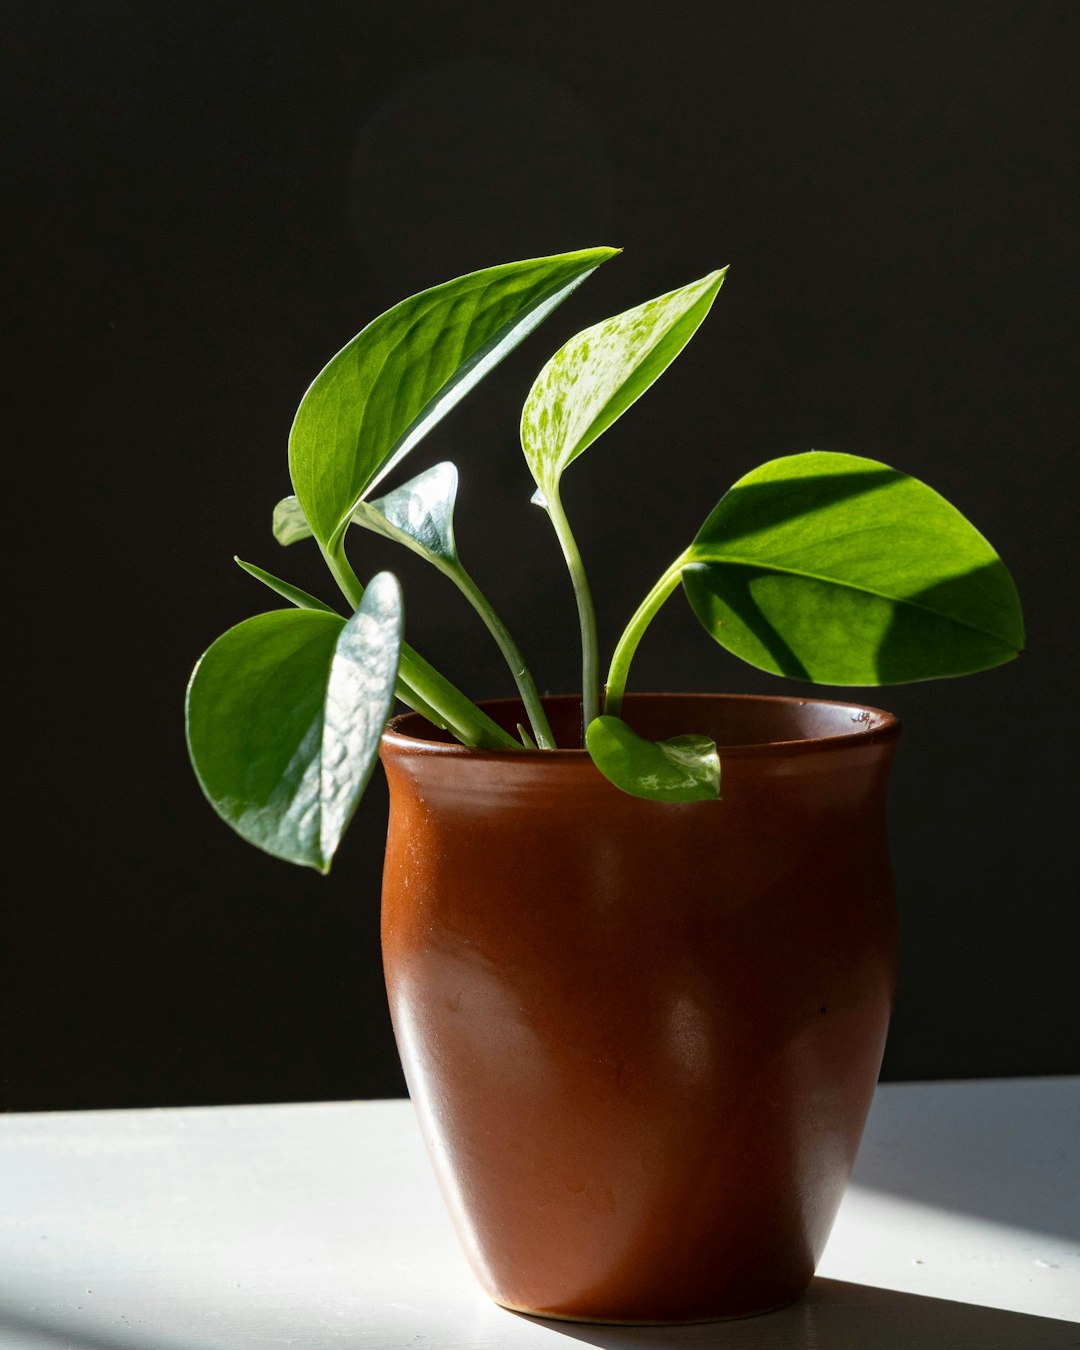
7 Signs Your Houseplant Needs Repotting
You water faithfully, wipe the leaves, and keep your plant in a bright spot — yet something still feels off. Growth has stalled, water rushes straight through the drainage hole, and the pot looks almost comically small for the lush foliage above it. These are classic signals that your houseplant needs repotting, and learning to read them early can mean the difference between a thriving plant and a struggling one. Root-bound stress is one of the most common — and most overlooked — causes of poor indoor plant health.
Understanding Your Plant's Environment
Every plant grows within a contained ecosystem when it lives in a pot. The roots, soil, moisture, and nutrients exist in a finite space — and over time, roots expand to fill every centimetre of it. When that space runs out, the plant's ability to absorb water and nutrients becomes severely limited, even if you are doing everything else right.
Most houseplants benefit from repotting every one to two years, though fast growers like monsteras, pothos, and peace lilies may need it annually. Slow growers such as snake plants and ZZ plants can often go two to three years between repots. The key is to observe your specific plant rather than follow a rigid calendar.
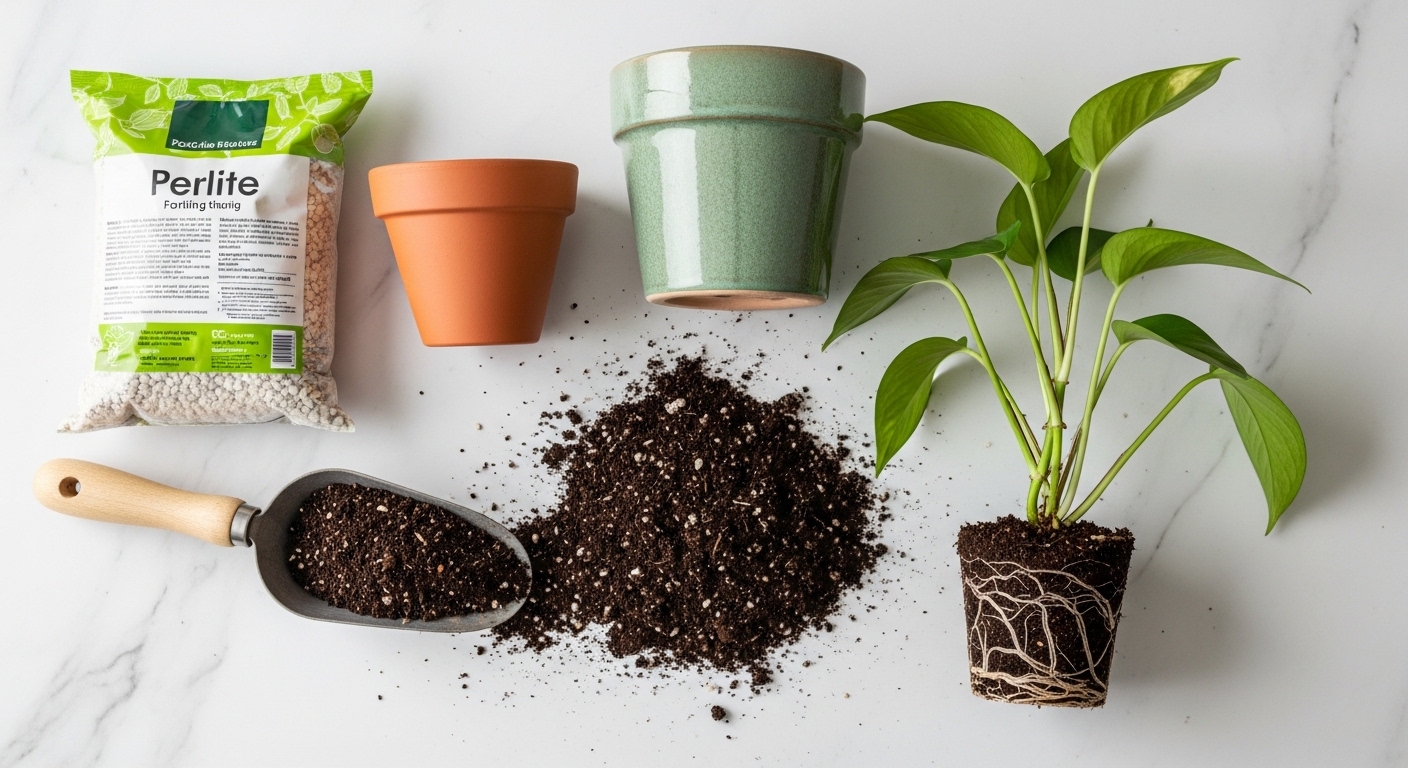
Understanding the relationship between root mass and pot volume helps you make smarter decisions. A pot that is too large holds excess moisture and can lead to root rot, while one that is too small starves the roots of expansion room. The sweet spot is a pot roughly 3–5 cm wider in diameter than the current one.
Watering the Right Way — and What Changes When Roots Are Bound
One of the earliest and most reliable signs that a plant needs repotting is a sudden change in watering behaviour. When roots have consumed most of the soil volume, water has nowhere to absorb slowly — it channels straight through the pot and out the drainage hole within seconds. This is often mistaken for healthy drainage, but it actually means the roots are so dense that soil can no longer hold moisture effectively.
Conversely, some root-bound plants dry out unusually fast between waterings, requiring water every few days even in moderate temperatures. If you find yourself watering more than twice a week and the plant still looks thirsty, check the root situation before adjusting your watering schedule.
A practical test: water your plant thoroughly and observe how quickly the soil surface dries. If the top 2 cm of soil feels bone dry within 24–36 hours in normal indoor conditions, the root-to-soil ratio is likely out of balance. Repotting into fresh, moisture-retentive mix can help restore a healthy watering rhythm.
A root-bound plant is not a failing plant — it is a thriving one that has simply outgrown its home. Repotting is a celebration of growth, not a rescue mission.
Light Requirements and How Root Stress Affects Growth
When a plant is severely root-bound, even ideal light conditions cannot compensate for the stress happening underground. Roots that are circling the pot or matted into a dense mass struggle to transport water and dissolved nutrients up to the leaves efficiently. The result is often stunted growth, smaller new leaves, or a complete halt in new growth during what should be the active growing season.
Watch for these specific visual cues that suggest root stress rather than a light problem:
- New leaves emerging noticeably smaller than mature leaves on the same plant
- Yellowing of lower leaves despite consistent watering and good light
- Stems becoming leggy or weak as the plant stretches without producing healthy foliage
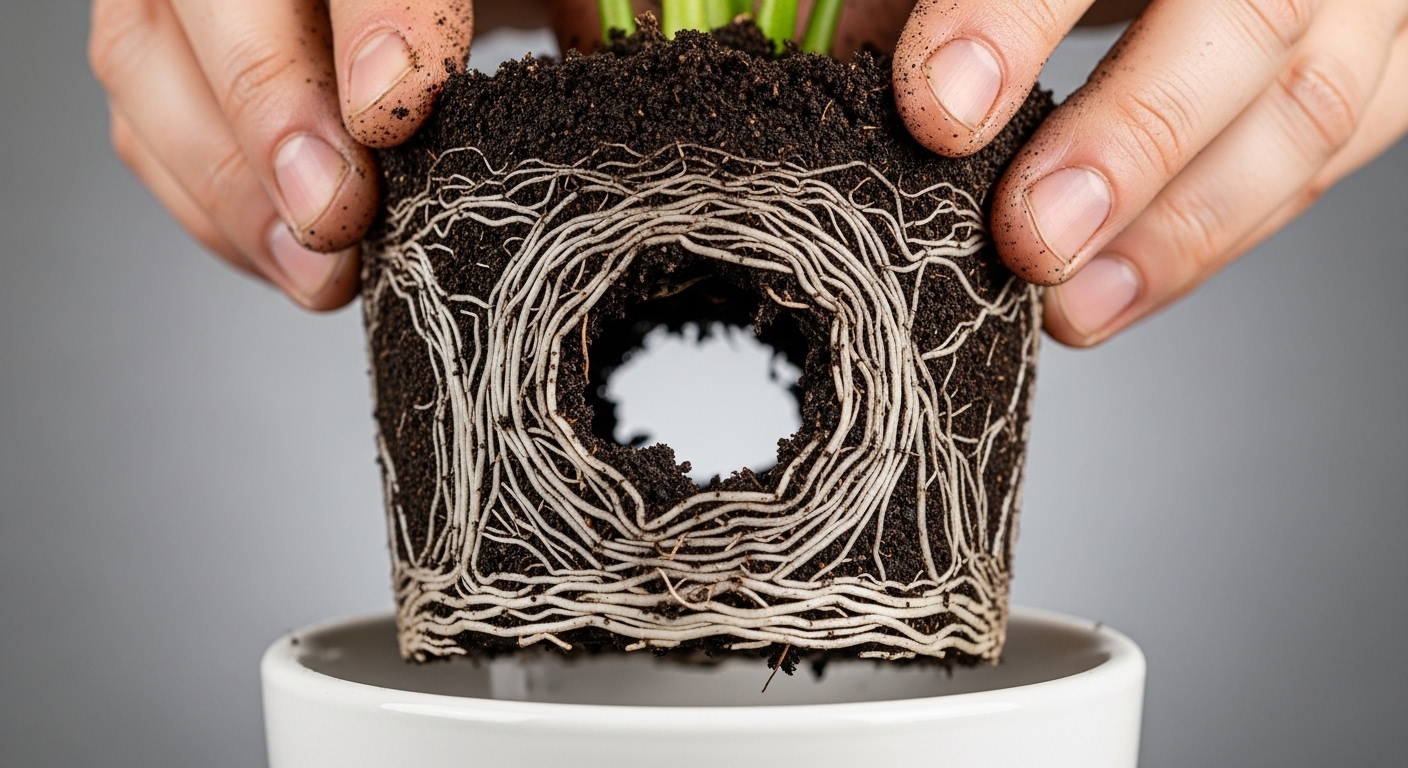
- Roots visibly emerging from the drainage holes or pushing up through the soil surface
- The pot feeling unusually light immediately after watering
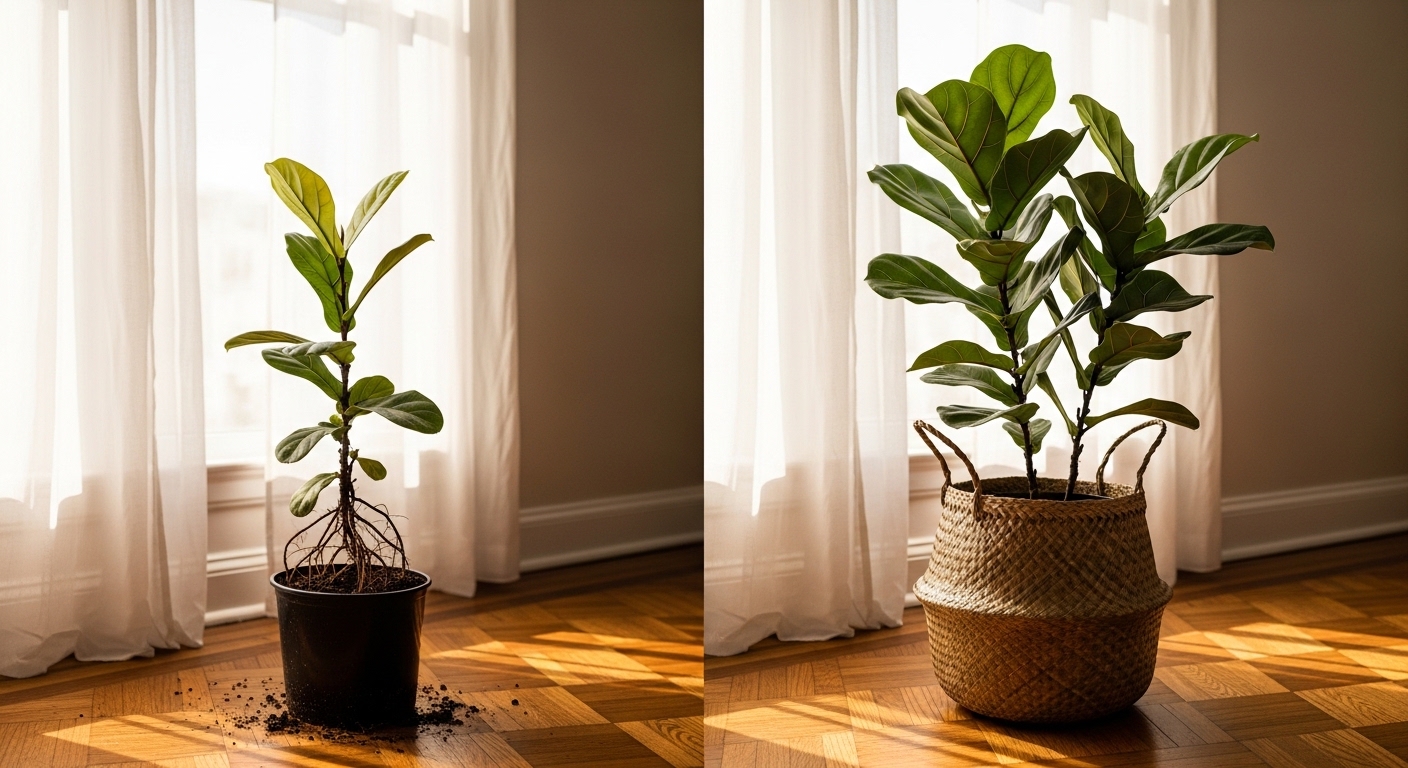
If you notice two or more of these signs together, it is a strong indicator that repotting — rather than adjusting light — is the right next step. Most houseplants respond quickly once given fresh soil and more root space, often pushing out new growth within two to four weeks.
Humidity, Temperature, Soil Condition & Pot Selection
Choosing the right pot is as important as knowing when to repot. The material, size, and drainage capacity of a new pot all influence how quickly soil dries, how much humidity the roots experience, and how stable the plant's temperature environment remains.
General pot selection guidelines:
- Terracotta pots — porous walls allow air exchange and faster drying; ideal for succulents, cacti, and plants prone to overwatering
- Glazed ceramic pots — retain moisture longer; well suited to tropical plants like calatheas and peace lilies that prefer consistently moist soil
- Plastic nursery pots — lightweight and moisture-retentive; practical for most tropical houseplants and easy to lift for root inspection
- Self-watering pots — useful for consistent moisture lovers; less suitable for drought-tolerant species
For soil, most tropical houseplants thrive in a well-draining mix of standard potting compost blended with perlite at roughly a 3:1 ratio. This structure supports healthy root aeration while retaining enough moisture between waterings. Avoid using garden soil in pots — it compacts easily and can introduce pests or pathogens.
Repot during spring or early summer when possible. This aligns with the plant's natural growth surge and gives roots the best conditions to establish quickly in fresh soil. Repotting in winter, when many houseplants are in a slower growth phase, can increase recovery time and stress.
Common Indoor Repotting Mistakes
Even well-intentioned plant parents can set their plants back by making avoidable errors during the repotting process. Knowing what to watch for helps you give your plant the smoothest possible transition.
- Choosing a pot that is too large. Jumping up more than 5 cm in diameter at once leaves excess soil that stays wet too long, significantly increasing the risk of root rot. Always size up gradually.
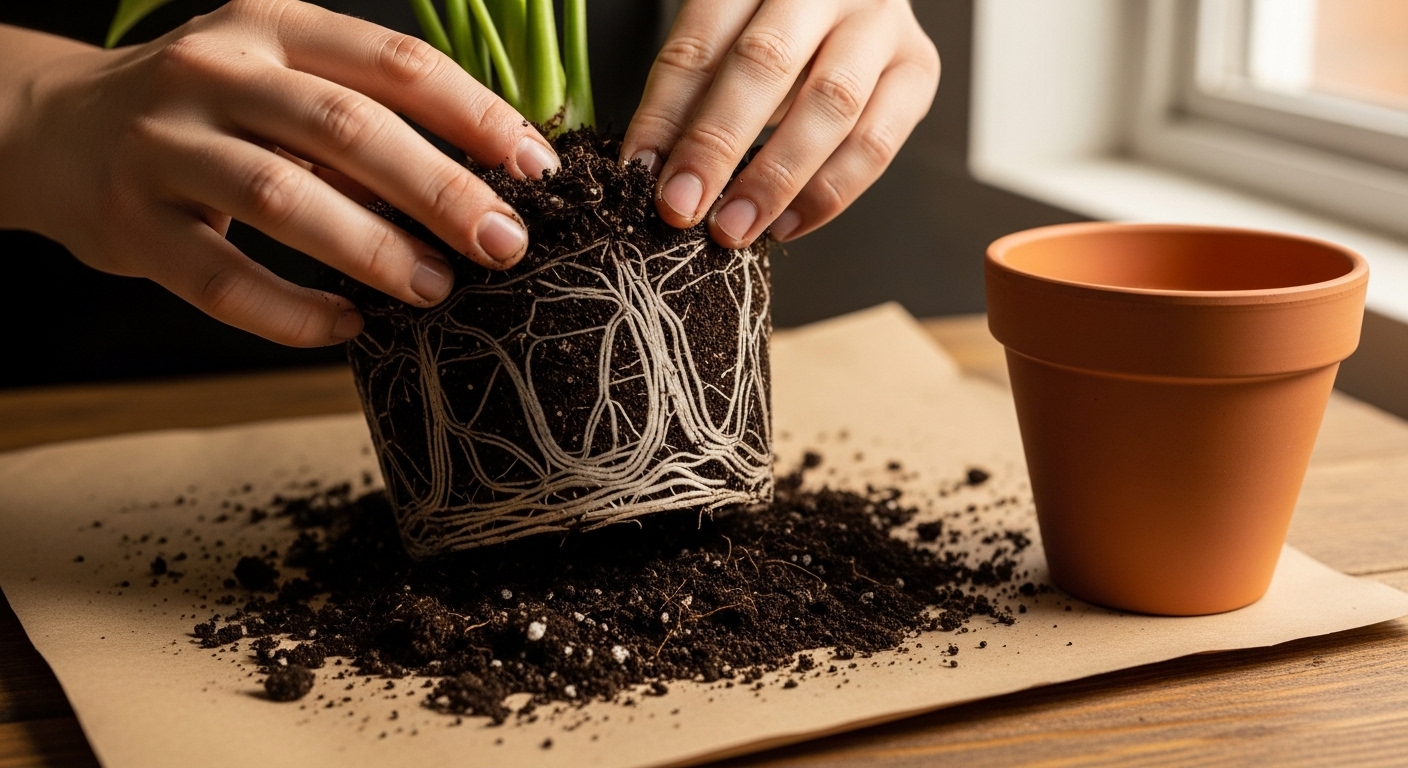
- Not loosening the root ball. A tightly coiled root ball placed directly into new soil will continue circling rather than expanding outward. Gently tease the outer roots apart before placing the plant in its new pot.
- Burying the stem too deep. The soil line should sit at the same level as it did in the original pot. Burying the stem can cause rot at the base, particularly in succulents and tropical aroids.
- Watering immediately with fertiliser. Freshly repotted plants are in a mild state of stress. Wait at least four to six weeks before introducing fertiliser to avoid burning tender new roots.
- Repotting in the wrong season. Repotting during winter dormancy slows recovery and can stress the plant unnecessarily. Spring is generally the optimal window for most houseplants.
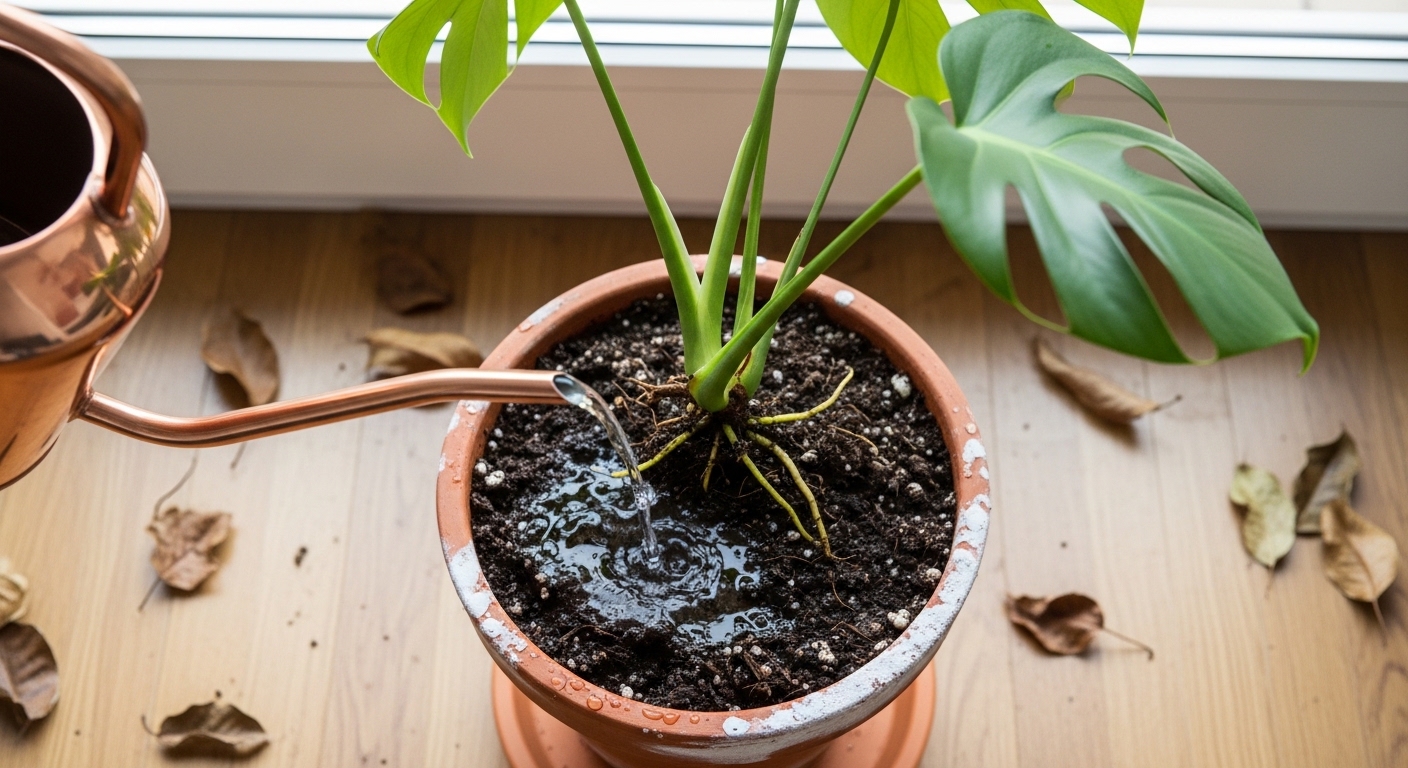
- Forgetting to water after repotting. After settling the plant into fresh soil, water thoroughly to help the mix settle around the roots and eliminate air pockets.
Symptom: Wilting immediately after repotting — Likely cause: Transplant shock or air pockets around roots. Water thoroughly and move the plant to a slightly shadier spot for one to two weeks while it adjusts.
Quick Repotting Care Checklist
Use this step-by-step checklist to guide your next repotting session from start to finish.
- Check for repotting signs: roots from drainage holes, rapid water drainage, stunted growth, or a pot that feels rock-solid when squeezed.
- Choose a new pot 3–5 cm wider in diameter than the current one, with at least one drainage hole.
- Prepare a well-draining potting mix appropriate for your plant type (add perlite for tropical plants, coarse sand for succulents).
- Water the plant lightly 24 hours before repotting to reduce root stress and make removal easier.
- Gently tip the plant out of its current pot, supporting the base of the stems with your hand.
- Loosen the outer root ball carefully, removing any visibly dead, mushy, or circling roots with clean scissors.
- Add a layer of fresh potting mix to the base of the new pot, then position the plant so the soil line sits 2–3 cm below the pot rim.
- Fill in around the root ball with fresh mix, pressing gently to eliminate air pockets without compacting the soil.
- Water thoroughly until water drains freely from the bottom, then allow the top 2 cm to dry before watering again.
- Place the plant in its usual spot (or slightly shadier) and avoid fertilising for four to six weeks.
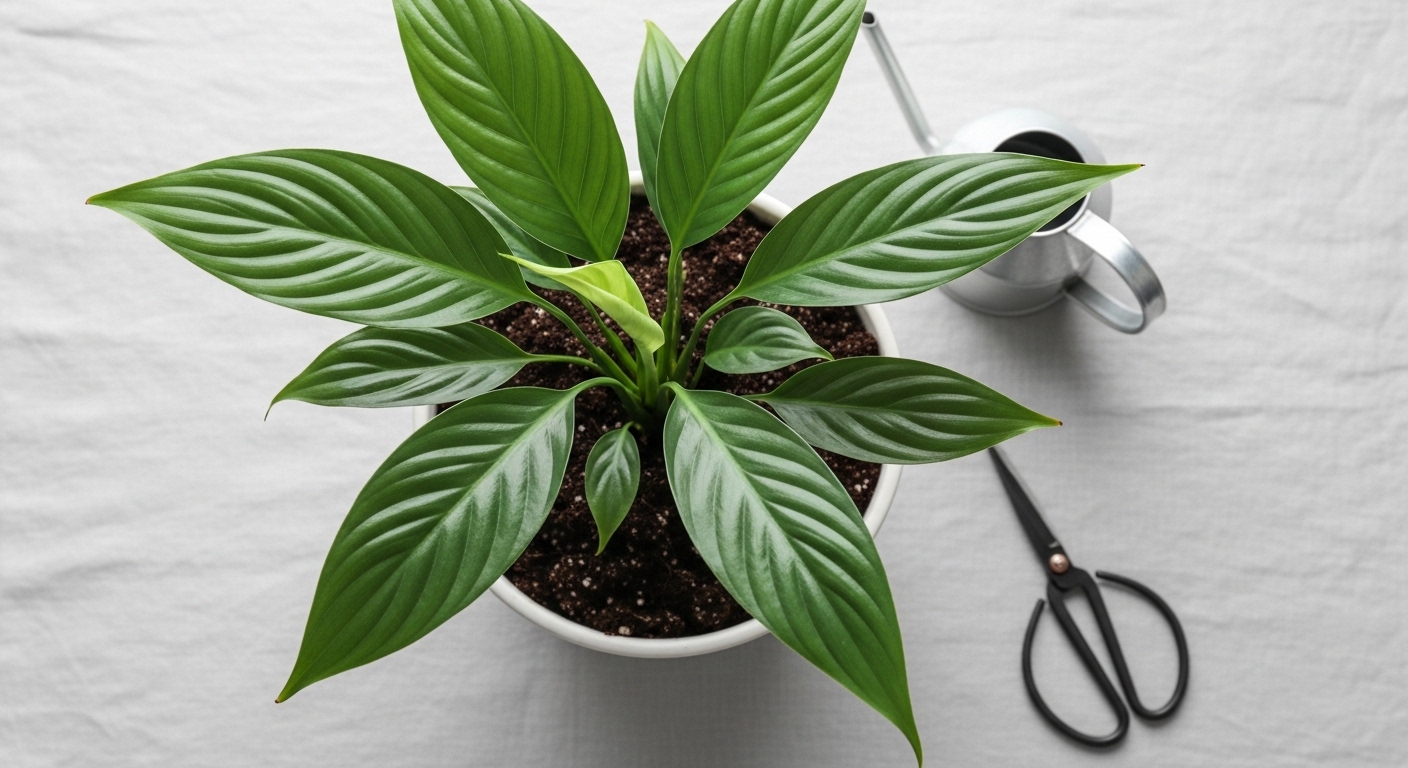
Repotting is one of the most rewarding acts of plant care — a tangible investment in your plant's long-term health. Once you learn to read the signals your plant is sending, the process becomes intuitive rather than intimidating. Give your roots the room they deserve, and your plant will respond with the kind of lush, vigorous growth that makes all the effort worthwhile.


Comments
Post a Comment