Apartment Composting: How to Do It Without the Smell
Apartment composting sounds like a contradiction — tight quarters, no yard, maybe a landlord who already side-eyes your herb collection. But composting in a small apartment is genuinely doable, and the two most popular indoor methods are cleaner and less odorous than most people expect. Whether you go with a worm bin or a bokashi system, you can turn kitchen scraps into something your plants will love, without turning your home into a compost heap. This guide walks through both approaches so you can choose what fits your space and lifestyle.
Planning Your Composting Setup
Before buying anything, spend a few minutes thinking about your kitchen habits. How much food waste do you actually generate in a week? A single-person household might fill a bokashi bucket in three to four weeks, while a family of three could fill a worm bin tray in a similar timeframe. Matching the system to your actual waste volume prevents the two most common beginner frustrations: an overloaded bin and a half-empty one that never gets going.
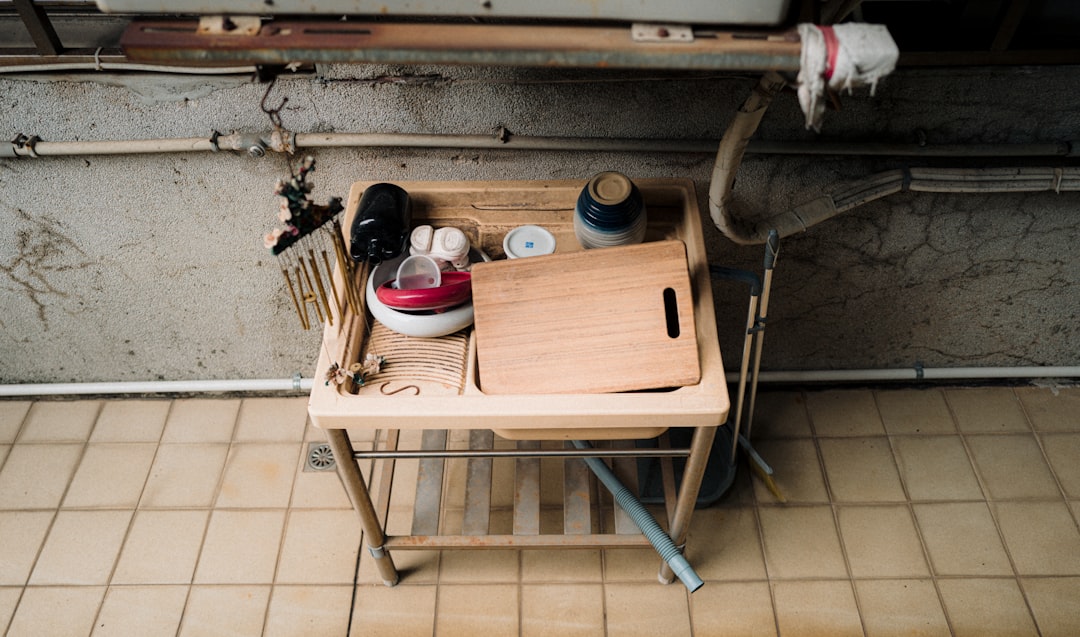
Space is the other honest consideration. A standard worm bin is roughly the size of a storage tote — about 40 to 60 liters — and works well under a kitchen counter, inside a cabinet, or on a balcony in mild weather. A bokashi bucket is more compact and fully sealed, making it a natural fit for under-sink storage. Neither system requires outdoor access, which is the whole point.
Odor is where most people hesitate, and it is worth addressing directly. A well-maintained worm bin smells earthy, like forest floor after rain. A bokashi system smells faintly sour or fermented — think mild pickling brine — which is normal and not unpleasant to most people. Off-putting smells in either system are almost always a sign of something fixable, not an inherent flaw in the method.
Vermicomposting: Setting Up Your Worm Bin
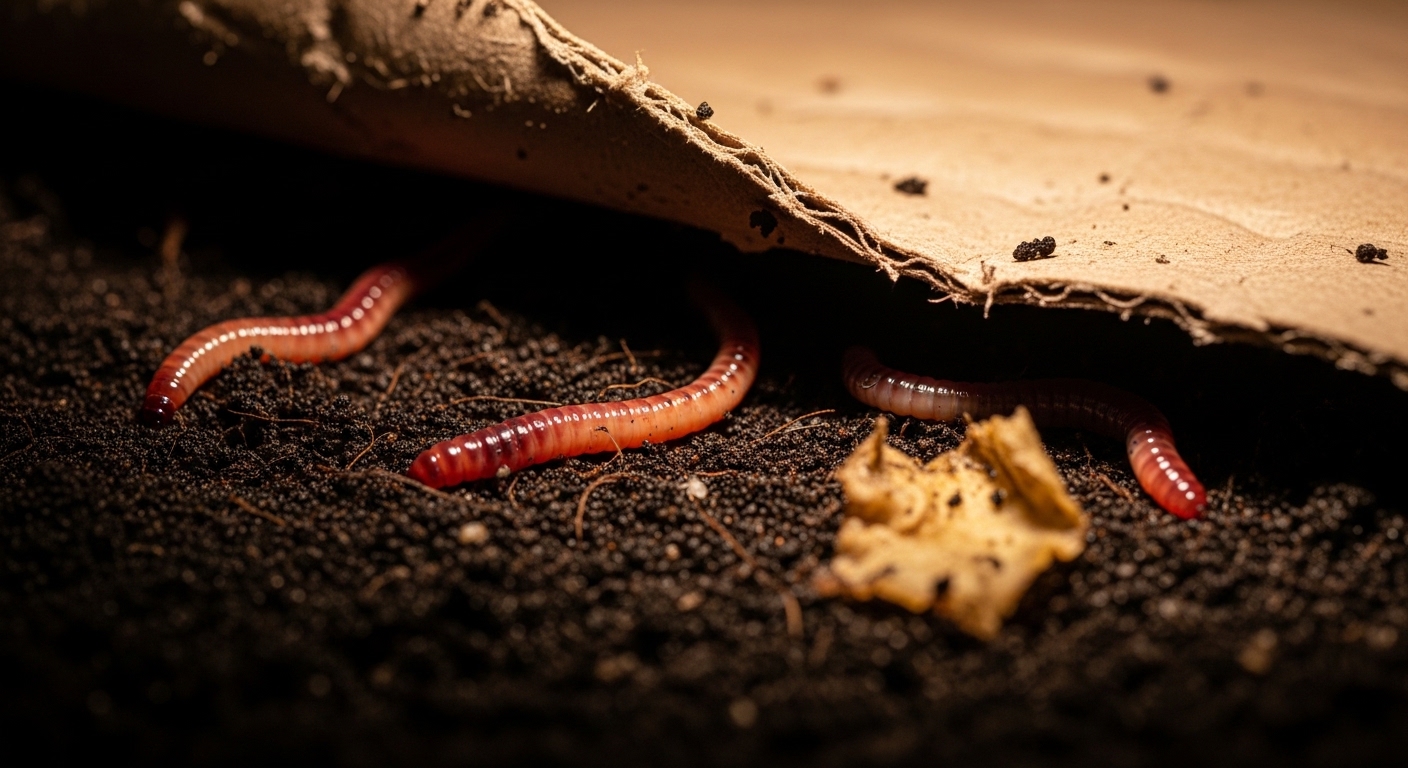
Vermicomposting uses red wiggler worms — Eisenia fetida — to break down organic matter into rich, dark castings. These are not the earthworms you find in garden soil. Red wigglers are surface dwellers that thrive in the decomposing layer of organic material, making them well-suited to a contained bin environment. A starter population of around 500 grams of worms is enough to begin processing small amounts of kitchen waste within the first week or two.
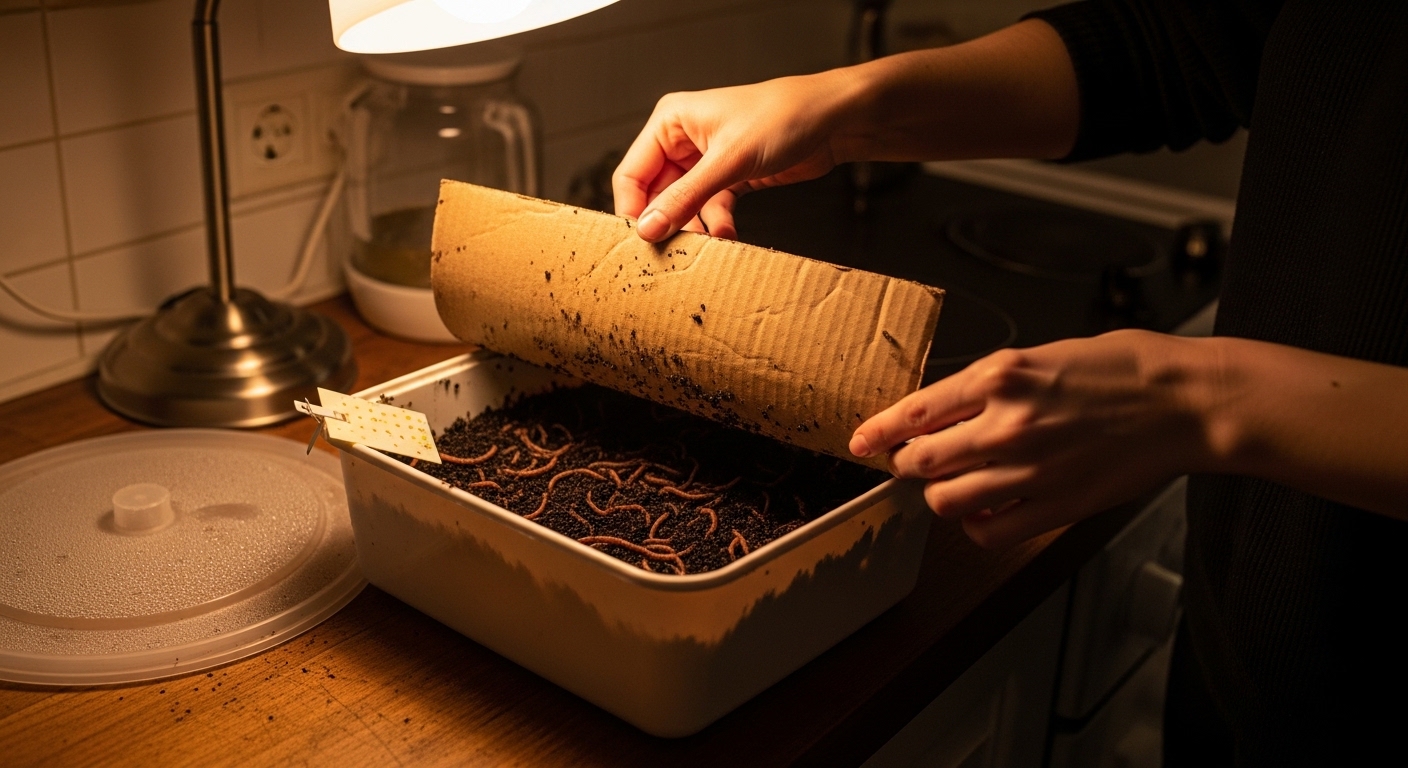
Setting up the bin takes about 20 minutes. Here is the basic process:
- Choose a bin with drainage holes in the base and ventilation holes in the lid. Many growers use a two-tray stacking system, which makes harvesting castings much easier later on.
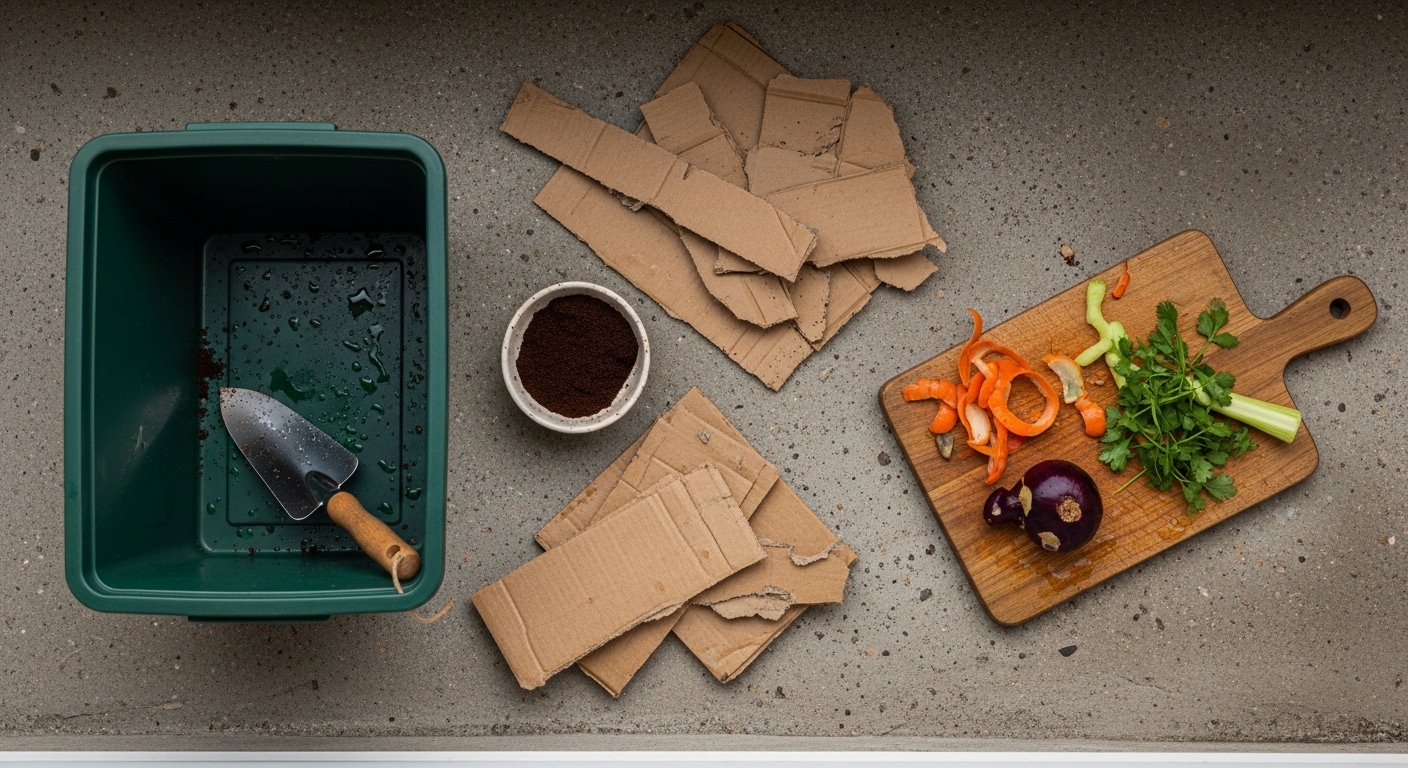
- Prepare bedding by shredding newspaper, cardboard, or coco coir into strips. Moisten it until it feels like a wrung-out sponge — damp but not dripping.
- Add a small handful of garden soil or finished compost to introduce beneficial microbes.
- Place your worms on top of the bedding and let them work their way down naturally. Avoid burying them.
- Add a thin first layer of food scraps, then cover with a damp sheet of cardboard or newspaper to retain moisture and discourage fruit flies.
Temperature matters more than most beginners realize. Red wigglers are most active between 15°C and 25°C. Below 10°C they slow dramatically; above 30°C the bin can become stressful for them. A spot near an interior wall — away from heating vents and cold windows — tends to work well in most apartments.
Keep the moisture level in your worm bin consistent. If you squeeze a handful of bedding and more than a few drops of water come out, it is too wet. Add dry shredded cardboard to rebalance. This single habit prevents the majority of worm bin odor problems.
Bokashi: Fermentation-Based Composting
Bokashi is a Japanese fermentation method that uses inoculated bran — wheat or rice bran coated with beneficial microorganisms — to pickle food waste rather than decompose it in the traditional sense. The result is a pre-compost material that breaks down very quickly once it reaches soil. The entire process happens in a sealed, airtight bucket, which is why it is particularly well-suited to apartments.
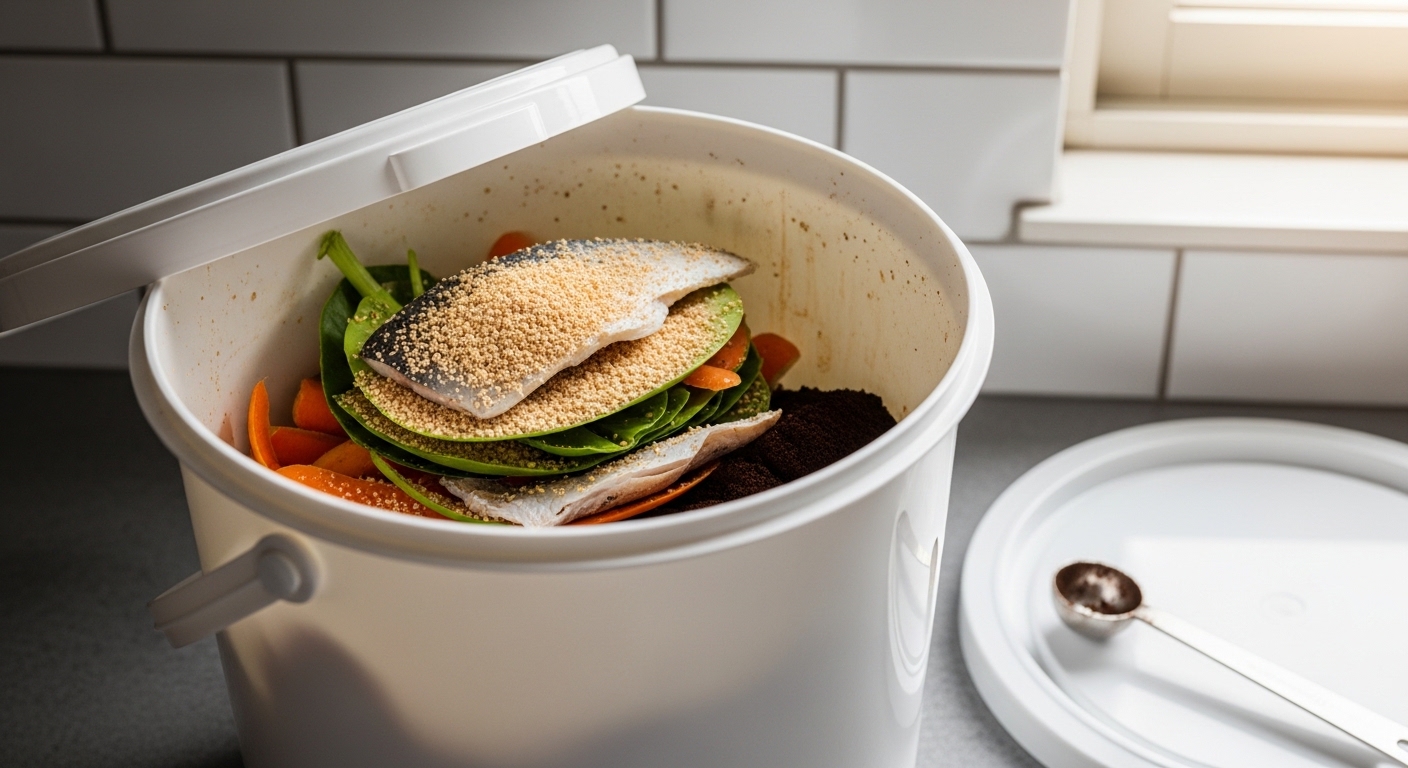
One of bokashi's biggest advantages over a worm bin is what it can accept. Meat, fish, dairy, and cooked foods — materials that would cause problems in a worm bin — are all fine in a bokashi system. This makes it a more flexible option for households that cook a wide variety of foods.
Setting up and maintaining a bokashi bucket:
- Add food scraps in layers, roughly 3 to 5 cm deep at a time.
- Sprinkle a thin layer of bokashi bran over each addition — about one tablespoon per cup of scraps is a reasonable starting point.
- Press the scraps down firmly to remove air pockets, then seal the lid tightly after each addition.
- Drain the liquid (called bokashi tea) from the spigot every two to three days. Diluted at roughly 1:100 with water, it can be used as a liquid plant fertilizer.
- Once the bucket is full, seal it and leave it undisturbed for two weeks to complete fermentation.
After fermentation, the pre-compost material still needs to be processed. In an apartment without garden access, the most practical options are burying it in a large pot of soil, mixing it into a worm bin (worms process fermented bokashi quickly), or finding a community garden or neighbor with outdoor space willing to take it.
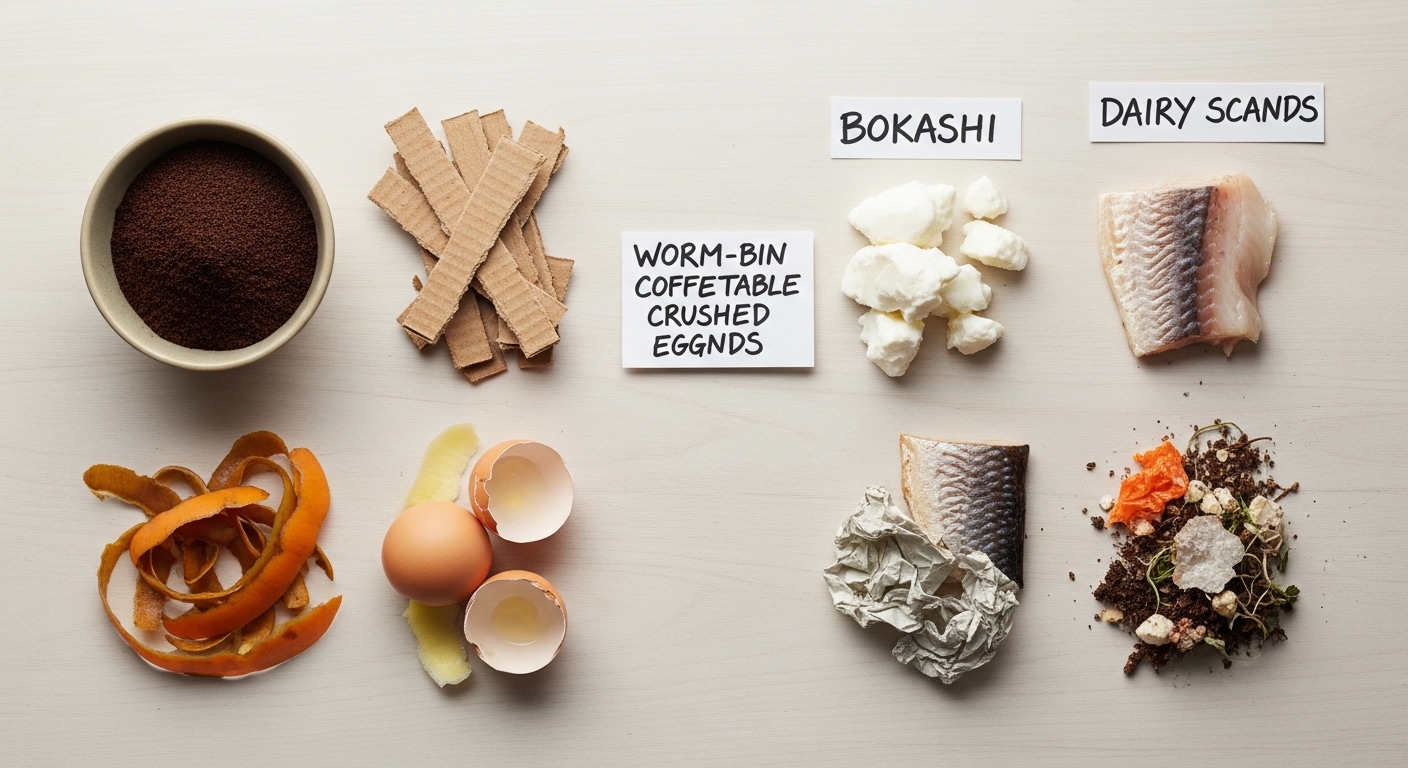
What to Add — and What to Avoid
Getting the inputs right is the fastest way to keep either system running smoothly. Both methods have their own rules, and mixing them up is one of the most common early mistakes.
For a worm bin, good inputs include:
- Fruit and vegetable scraps (avoid citrus in large quantities — the acidity can stress worms)
- Coffee grounds and paper filters
- Tea bags (remove staples)
- Crushed eggshells (help regulate pH and provide grit)
- Shredded paper, cardboard, and newspaper (essential carbon balance)
Avoid adding to a worm bin:
- Meat, fish, or dairy (attracts pests and creates odor)
- Oily or heavily seasoned cooked foods
- Onions and garlic in large amounts
- Glossy or heavily inked paper
For bokashi, you can add almost anything organic, including the items a worm bin cannot handle. The key is always sealing the bucket tightly after each addition and maintaining the anaerobic (oxygen-free) environment that makes fermentation work.
Many growers find that running both systems in parallel is the most practical approach — the worm bin handles everyday fruit and vegetable scraps, while the bokashi bucket takes care of cooked food and meat. The finished bokashi pre-compost can then go directly into the worm bin, where worms break it down quickly into usable castings.
Maintenance and Troubleshooting
Both systems are low-maintenance once established, but they do need occasional attention. The most common issues are easy to diagnose by observation.
Worm bin smells bad: Usually caused by overfeeding, excess moisture, or too much protein. Remove any rotting material, add dry carbon (shredded cardboard), and reduce feeding frequency for a week.
Worms clustering near the lid or escaping: Often a sign the bin is too wet, too acidic, or the temperature has shifted. Check moisture levels first, then consider adding a small amount of crushed eggshells to raise pH.
Bokashi smells strongly rotten rather than sour: This usually means air got into the bucket. Press down the contents, add more bran, and ensure the lid is sealing properly. A faintly vinegary or pickled smell is normal and expected.
Fruit flies around the worm bin: Almost always caused by exposed food scraps. Always bury new additions under existing bedding and keep the surface covered with a damp sheet of cardboard. Sticky traps near the bin can help manage any that appear.
One frustrating part of starting a worm bin is the first few weeks, when the worm population is still adjusting and processing is slow. It is common to see scraps sitting largely untouched for the first week or two. This is normal — the microbial community is establishing alongside the worms. Resist the urge to overfeed during this period.
Using Your Finished Compost
Worm castings are arguably the most plant-available form of compost you can make at home. They are gentle enough to use directly around plant roots without risk of burning, and they improve both soil structure and microbial diversity. For apartment gardeners, this is the real payoff.
Practical ways to use worm castings indoors and on a balcony:
- Mix into potting soil at roughly 10 to 20 percent by volume when repotting houseplants or starting seedlings.
- Use as a top dressing — spread a thin layer over the soil surface of established plants and water it in gently.
- Brew a simple worm casting tea by steeping a handful of castings in water for 24 hours, then use the liquid to water plants directly.
- Add to balcony container gardens to improve water retention and nutrient availability through the growing season.
Bokashi tea — the liquid drained from the spigot during fermentation — should always be diluted before use. A ratio of around 1 part bokashi tea to 100 parts water is a commonly used starting point. Applied undiluted, the acidity can stress plant roots. Many growers pour small amounts of undiluted bokashi tea directly down drains, where its microbial content may help reduce pipe buildup, though results vary.
Harvesting worm castings from a two-tray system is straightforward: once the lower tray is full of finished castings and the worms have migrated upward to fresh food in the upper tray, simply remove the lower tray and scoop out the castings. A single-tray system requires a bit more sorting — push the finished material to one side, add fresh bedding to the other, and let the worms migrate over a week or two before harvesting.
Quick Setup Checklist
Before you commit to a system, run through this checklist to make sure you have what you need.
For a worm bin:
- Choose a bin with drainage and ventilation (or drill your own holes in a storage tote).
- Source red wiggler worms — local composting groups, online suppliers, or some garden centers carry them.
- Gather bedding materials: shredded newspaper, cardboard, or coco coir.
- Identify a stable location between 15°C and 25°C, away from direct heat or cold drafts.
- Plan a feeding schedule — small amounts every two to three days works well for beginners.
For a bokashi system:
- Purchase a bokashi bucket with a tight-fitting lid and a spigot for draining liquid.
- Source bokashi bran — available online or at some health food and garden stores.
- Identify under-sink or cabinet storage space for the bucket.
- Plan what you will do with the finished pre-compost (large pot, community garden, worm bin).
- Keep a small container in the fridge or on the counter for collecting scraps before adding them to the bucket in batches.


Comments
Post a Comment