How to Propagate Monstera from Stem Cuttings
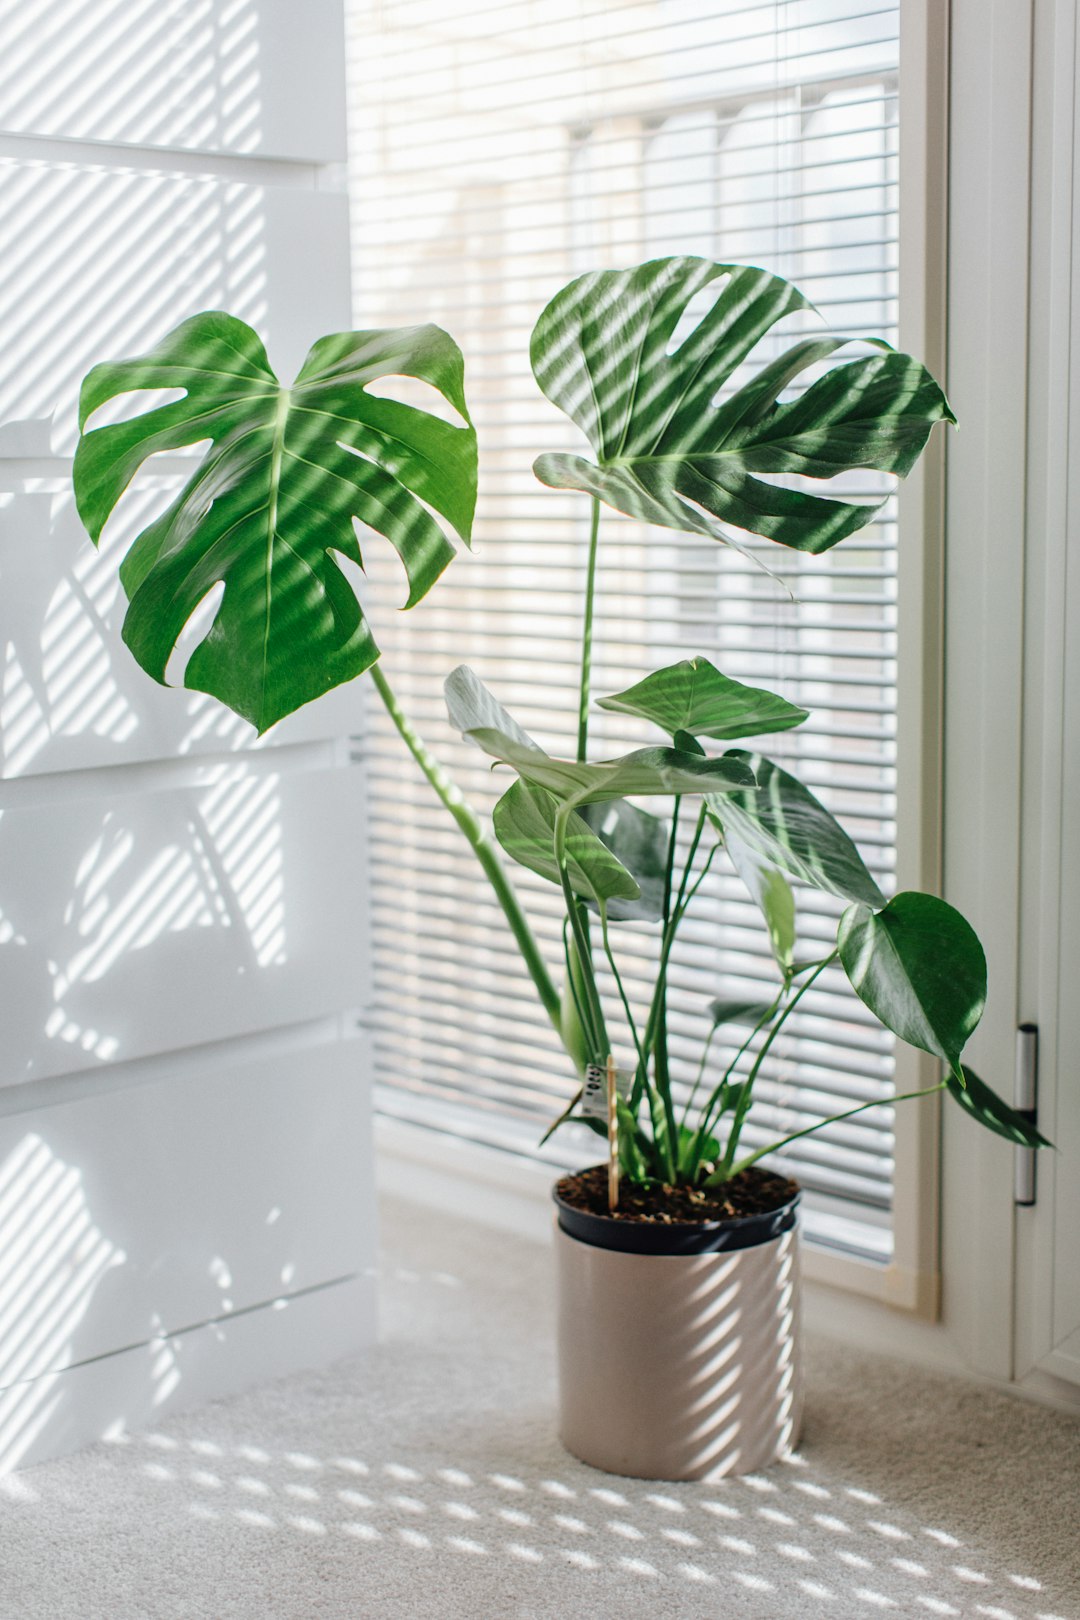
There is something deeply satisfying about turning one thriving monstera into many — and the good news is that monstera propagation from stem cuttings is one of the most rewarding skills a plant parent can learn. Whether your monstera deliciosa has grown too large for its corner or you simply want to share cuttings with friends, this method is accessible even for beginners. The key is understanding what your cutting actually needs: a healthy node, ideally an aerial root, and a little patience while roots establish. Get those fundamentals right, and propagation becomes far less mysterious than it looks.
Choosing the Right Propagation Method
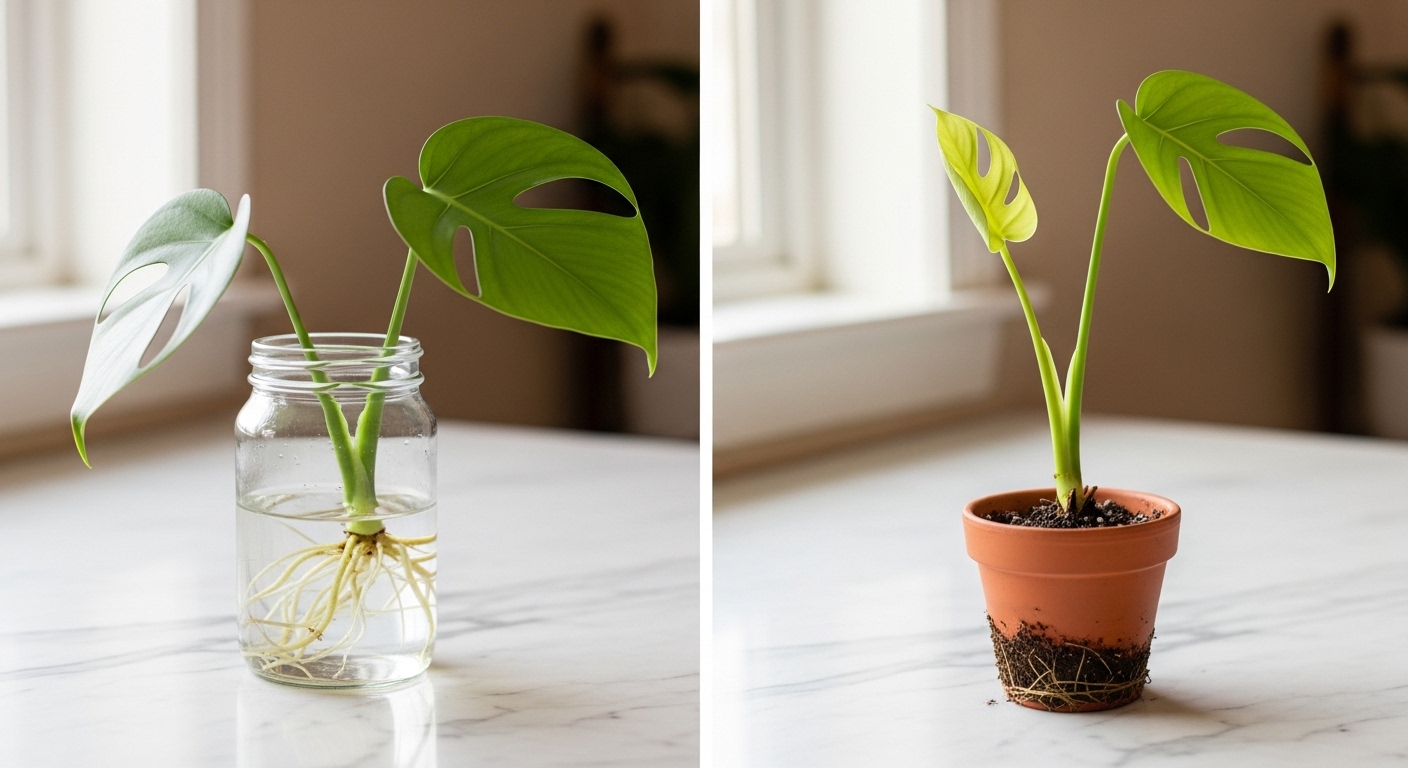
Before you reach for the scissors, it helps to understand your two main options: water propagation and soil propagation. Both can produce healthy, rooted monstera cuttings — the difference lies in how quickly you can observe progress and how the roots adapt once the plant is potted up.
Water propagation lets you watch root development in real time, which is enormously helpful for beginners who want visual confirmation that things are working. Soil propagation, on the other hand, encourages roots that are already adapted to a growing medium, which can mean a smoother transition to life as a potted plant. Many growers find that water-rooted cuttings benefit from a gradual acclimatisation period before being moved to soil.
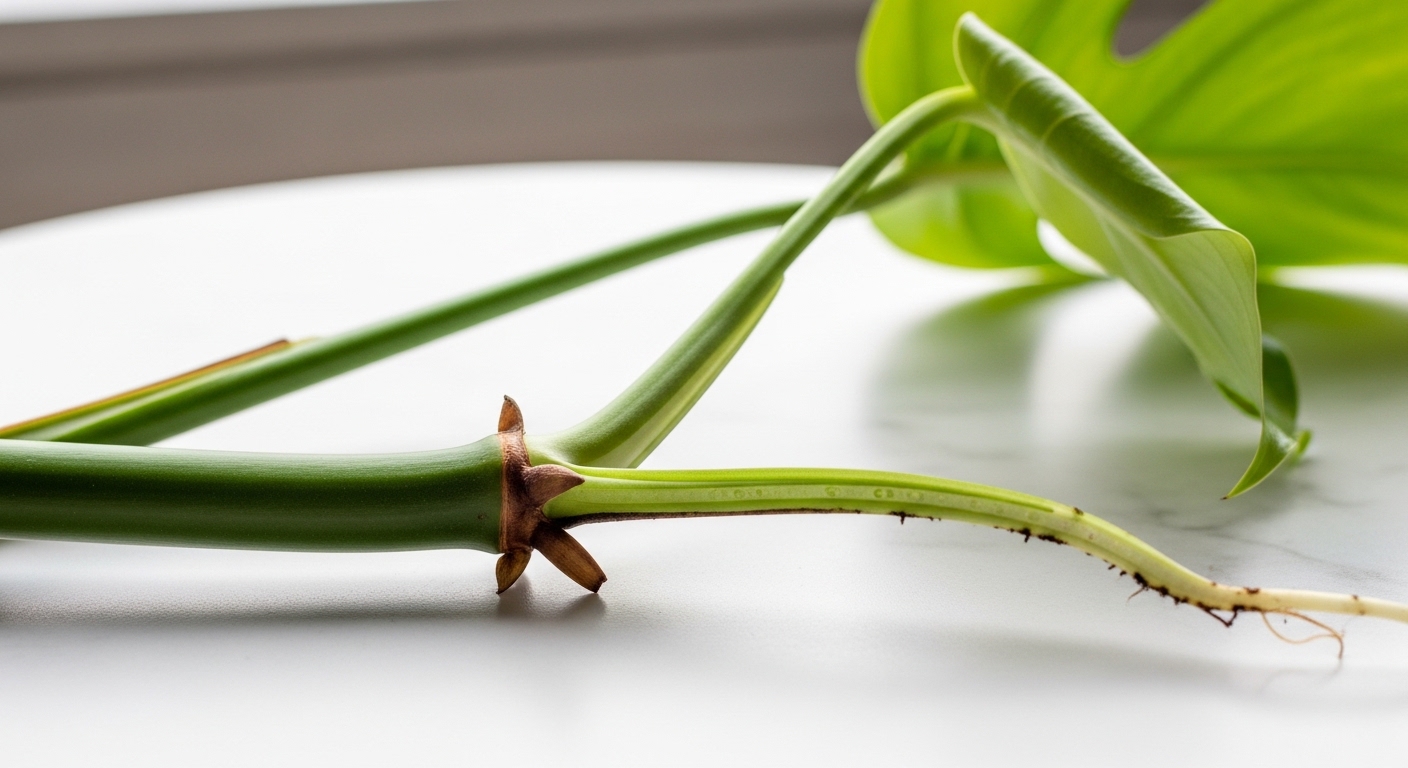
Regardless of method, the non-negotiable starting point is a cutting that includes at least one node — the small, slightly raised joint on the stem where leaves, petioles, and aerial roots emerge. A cutting without a node simply cannot produce new roots or shoots. If your cutting also includes an aerial root, consider that a bonus: it gives the cutting a head start on moisture and nutrient uptake during the rooting phase.
Step-by-Step: Water Propagation
Water propagation is the most popular starting point for monstera cuttings, and for good reason — it requires minimal equipment and gives you a clear window into root development.
Here is how to do it well:
- Take your cutting. Using clean, sharp scissors or pruning shears, cut a stem section that includes at least one node and one healthy leaf. Make the cut about 2–3 cm below the node. Wipe your tool with rubbing alcohol beforehand to reduce the risk of introducing pathogens.
- Let the cut end callus briefly. Allow the cut surface to air-dry for 30–60 minutes. This short rest can help reduce the chance of rot once the cutting is submerged.
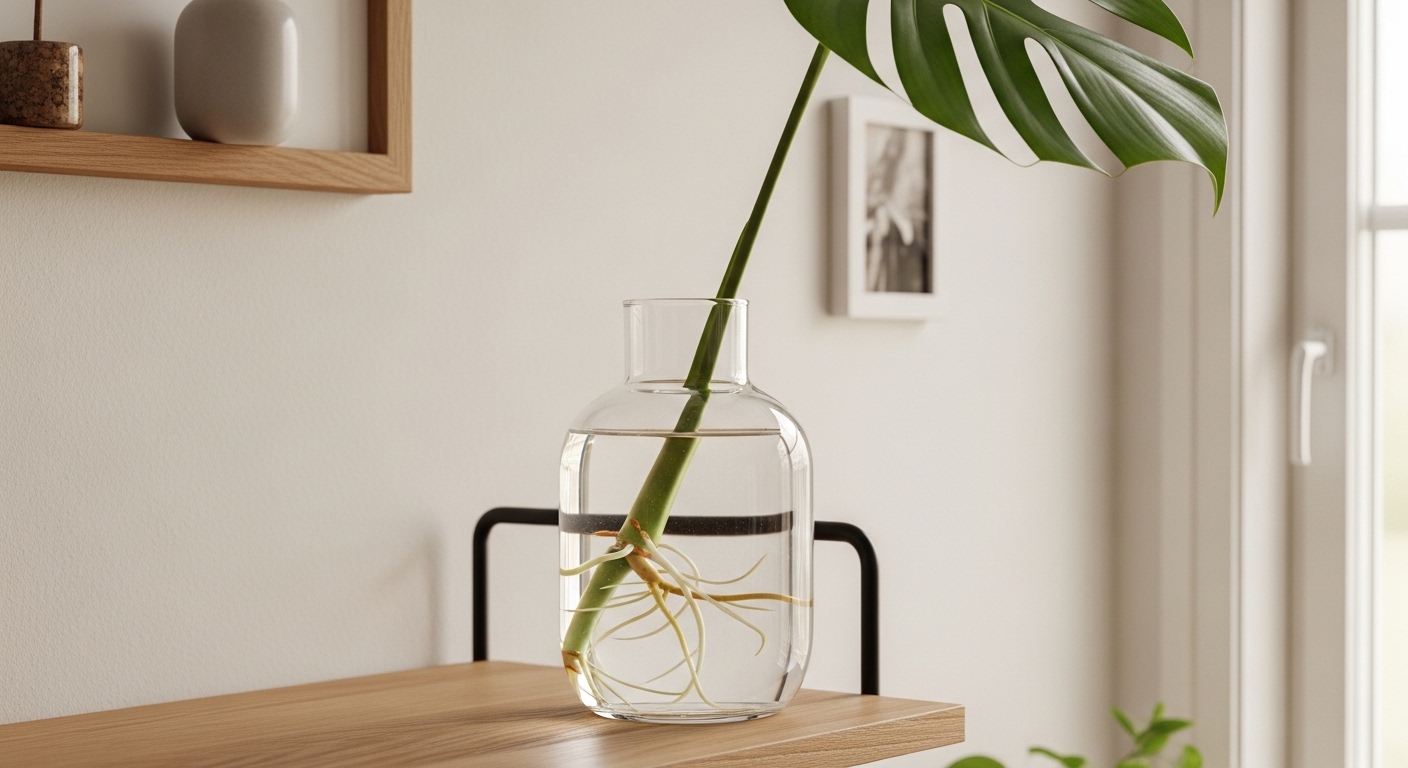
- Submerge the node, not the leaf. Place the cutting in a clean glass or jar filled with room-temperature water. The node and any aerial root should sit below the waterline, but keep the leaf above it to prevent decomposition.
- Position in bright, indirect light. A spot near a north- or east-facing window works well. Avoid direct sun on the glass, which can encourage algae growth and overheat the water.
- Change the water regularly. Refresh the water every 5–7 days to keep oxygen levels up and prevent bacterial build-up. Use filtered or room-temperature tap water that has been left to stand for a few hours if possible.
- Wait for roots to reach 3–5 cm before transitioning to soil. This generally takes 3–6 weeks depending on temperature and light conditions.
A warm room (ideally 18–27°C) genuinely accelerates root development in monstera cuttings. If your home runs cool in winter, placing the cutting near a heat source — but never directly above a radiator — can help encourage faster rooting.
Step-by-Step: Soil Propagation
Soil propagation skips the water stage entirely and encourages the cutting to root directly into a growing medium. The advantage is that roots develop already adapted to soil conditions, which can make for a stronger, more resilient young plant.
Follow these steps for the best results:
- Prepare a well-draining propagation mix. A blend of standard potting mix with added perlite (roughly a 1:1 ratio by volume) works well for most growers. The goal is a medium that holds some moisture without becoming waterlogged.
- Take and prepare your cutting using the same method described for water propagation — clean cut, 2–3 cm below the node, brief air-dry.
- Optional: apply rooting hormone. Dipping the cut end and node area in a powdered or gel rooting hormone can encourage faster callus formation and root initiation. This step is not strictly necessary, but many growers find it shortens the rooting timeline.
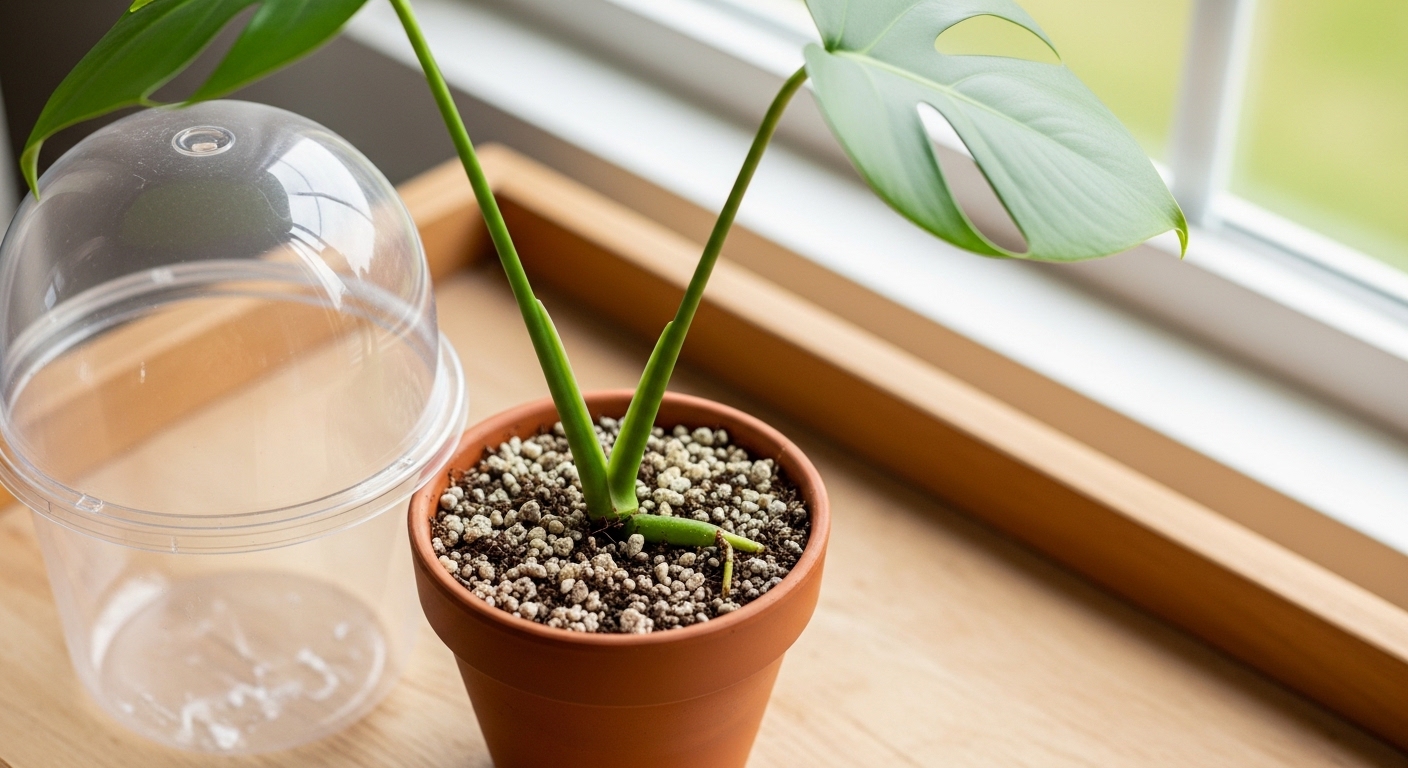
- Plant the cutting. Make a small hole in the centre of your moist propagation mix and gently nestle the node just below the surface. The aerial root, if present, can be tucked into the mix as well. Firm the substrate lightly around the stem to provide stability.
- Maintain consistent moisture. The mix should feel lightly damp — not wet. Check it every 2–3 days and water when the top 1–2 cm feels dry to the touch.
- Create a humid microclimate. Covering the cutting loosely with a clear plastic bag or a humidity dome can help reduce moisture loss through the leaf while roots establish. Ventilate briefly every couple of days to prevent mould.
Rooting Timeline and What to Expect
One of the most common questions from first-time propagators is: how long does this actually take? The honest answer is that monstera cuttings are not in a hurry, and patience is genuinely part of the process.
Here is a general timeline to set realistic expectations:
- Week 1–2: Little visible change. The cutting is focusing energy on sealing the cut surface and beginning callus formation. This is normal — resist the urge to disturb the cutting.
- Week 2–4: In water propagation, you may begin to see small white root nubs emerging from the node. In soil, you can gently tug the stem after 3–4 weeks — slight resistance suggests roots are forming.
- Week 4–8: Roots in water should reach 3–5 cm, signalling readiness for potting up. Soil-propagated cuttings may begin to push a new leaf or show visible root growth at drainage holes.
- Week 8+: A well-rooted cutting in soil can be treated increasingly like a mature plant, with regular watering and the beginning of a light fertilising routine.
Warmer temperatures, higher humidity, and consistent bright indirect light all tend to accelerate the timeline. Cuttings taken in spring or early summer generally root faster than those taken in autumn or winter, when the plant's growth naturally slows.
Common Propagation Mistakes
Even with the best intentions, a few avoidable errors can slow down or derail your propagation attempt. Here are the most common ones, in order of how frequently they affect beginners:
- Taking a cutting without a node. A leaf-only cutting, no matter how healthy it looks, cannot produce roots or a new plant. Always confirm the node is present before cutting.
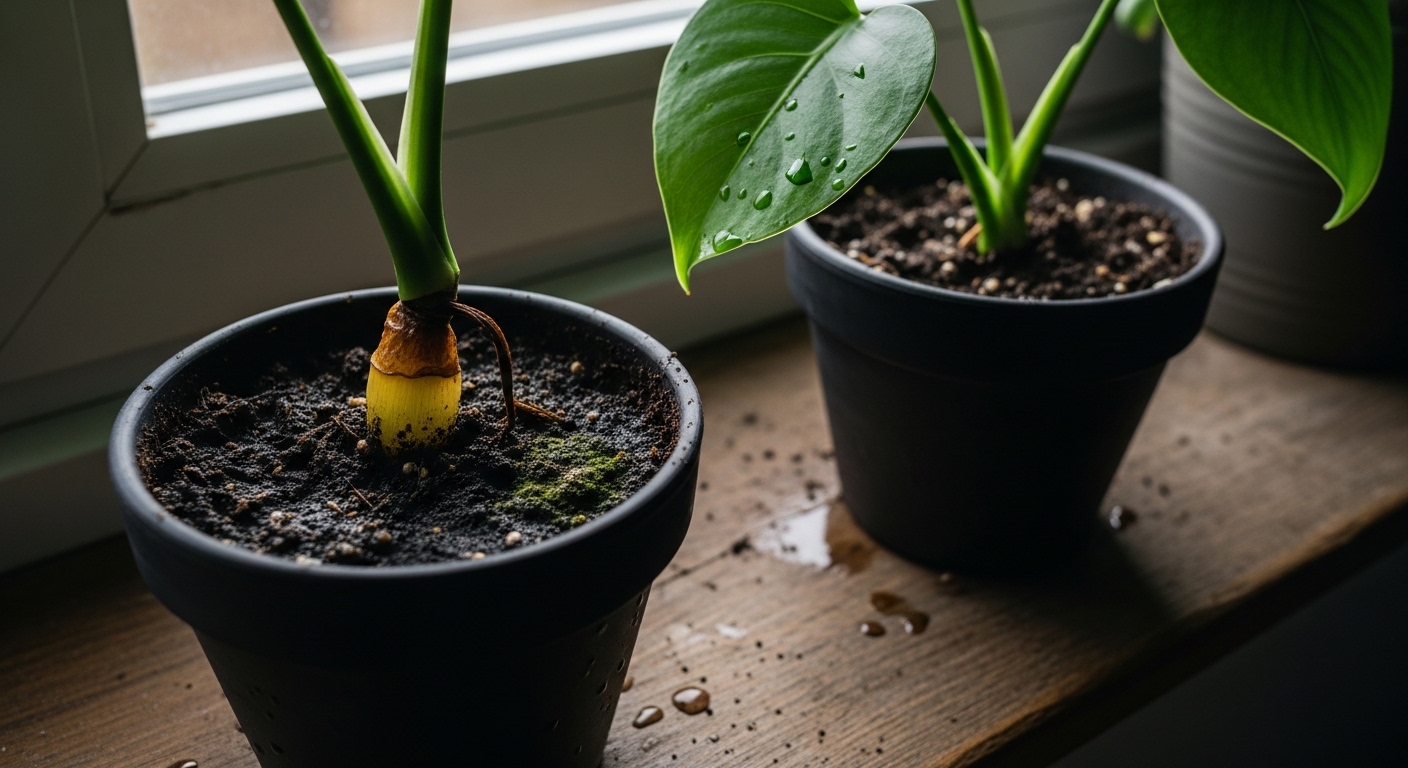
- Overwatering the soil cutting. Soggy substrate suffocates developing roots and encourages rot. Err on the side of slightly drier rather than wetter during the rooting phase.
- Placing the cutting in low light. Cuttings still need energy to drive root development. Bright, indirect light is essential — a dark corner will significantly slow the process.
- Changing water too infrequently. Stagnant water in propagation jars becomes oxygen-depleted and can harbour bacteria. Weekly water changes make a meaningful difference.
- Potting up too early. Moving a water-rooted cutting to soil before roots reach at least 3 cm means the plant is not yet equipped to absorb moisture from the new medium efficiently.
- Skipping the acclimatisation step. Water-rooted cuttings benefit from a gradual transition — some growers mix increasing amounts of soil into the water over several days, or pot up and keep the mix very moist for the first week.
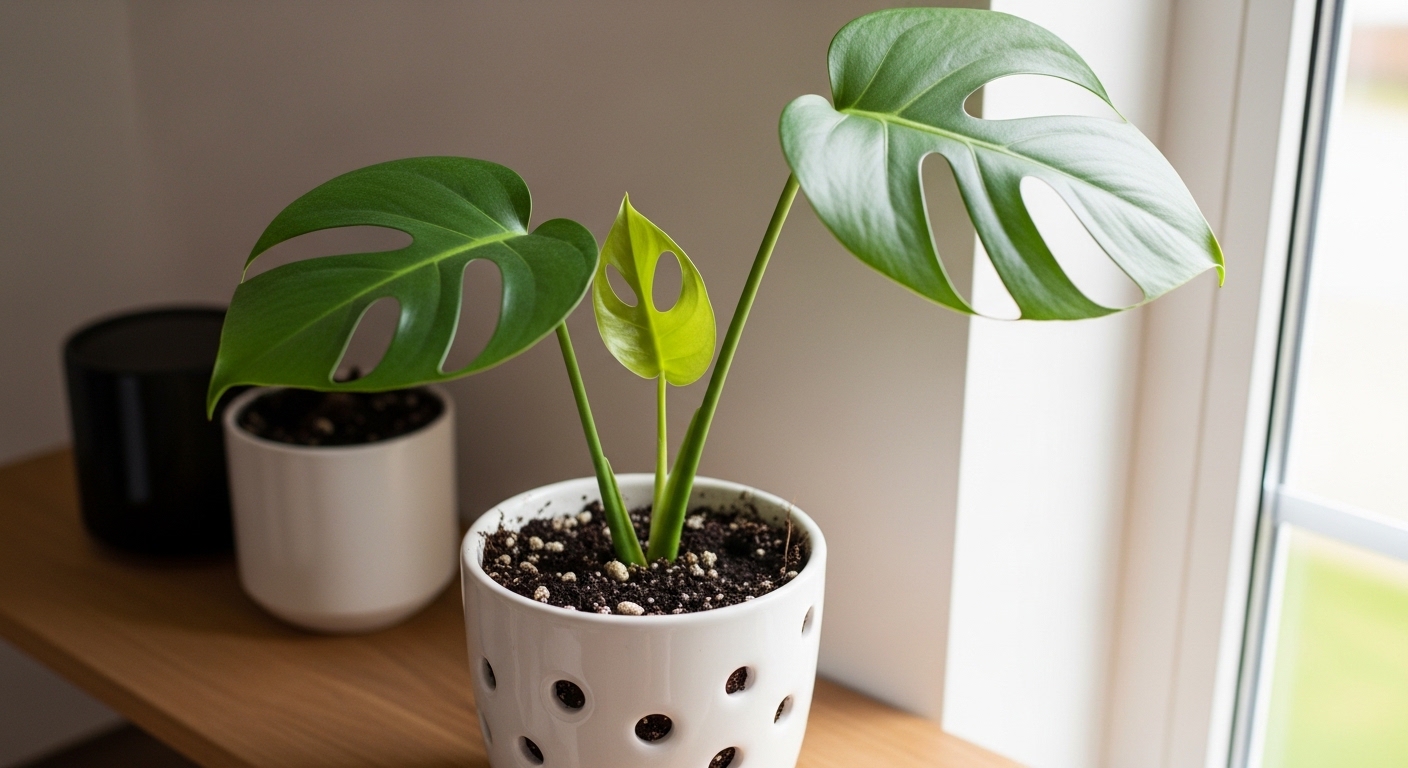
Potting Up Your New Plant
Congratulations — your cutting has rooted, and it is time to give it a proper home. This transition is a milestone, and doing it thoughtfully sets your new monstera up for strong, healthy growth.
Choose a pot that is proportionate to the root system — typically a 10–12 cm nursery pot works well for a freshly rooted cutting. A pot that is too large holds excess moisture around underdeveloped roots, which can lead to rot. Ensure the pot has drainage holes.
For the growing medium, a well-draining mix is key. Many growers use a combination of:
- Good-quality indoor potting mix as the base
- Perlite or coarse pumice for drainage and aeration
- A small amount of orchid bark for structure and air pockets
After potting, water the cutting thoroughly until water runs from the drainage holes, then allow the top 2–3 cm of soil to dry before watering again. Hold off on fertilising for the first 4–6 weeks — the roots are still tender, and feeding too early can cause stress rather than encourage growth. Place your new plant in bright, indirect light and watch for the first new leaf as confirmation that it has settled in successfully.
Propagating monstera from stem cuttings is one of those skills that rewards every plant parent who tries it. Once you understand the role of the node, the importance of light and warmth, and the value of patience, the process becomes genuinely enjoyable rather than nerve-wracking. Your new monstera may start small, but given time, bright light, and consistent care, it will develop the same dramatic fenestrated leaves that made you fall in love with this plant in the first place. Share your cuttings, keep experimenting, and enjoy every unfurling leaf along the way.


Comments
Post a Comment