Why Do Houseplant Leaves Have Brown Tips?
You water your plants, you give them light, you even talk to them — and yet those crispy, brown-tipped leaves keep showing up. Brown leaf tips are one of the most common houseplant complaints, and the good news is that they are almost always fixable once you understand what is actually causing them. The frustrating part is that several different problems can look nearly identical. Low humidity, fluoride in tap water, over-fertilizing, and underwatering can all produce the same telltale browning at the leaf edges. This guide walks you through each cause, how to identify it, and exactly what to do about it.
Identifying the Problem: Reading Your Plant's Leaf Tips
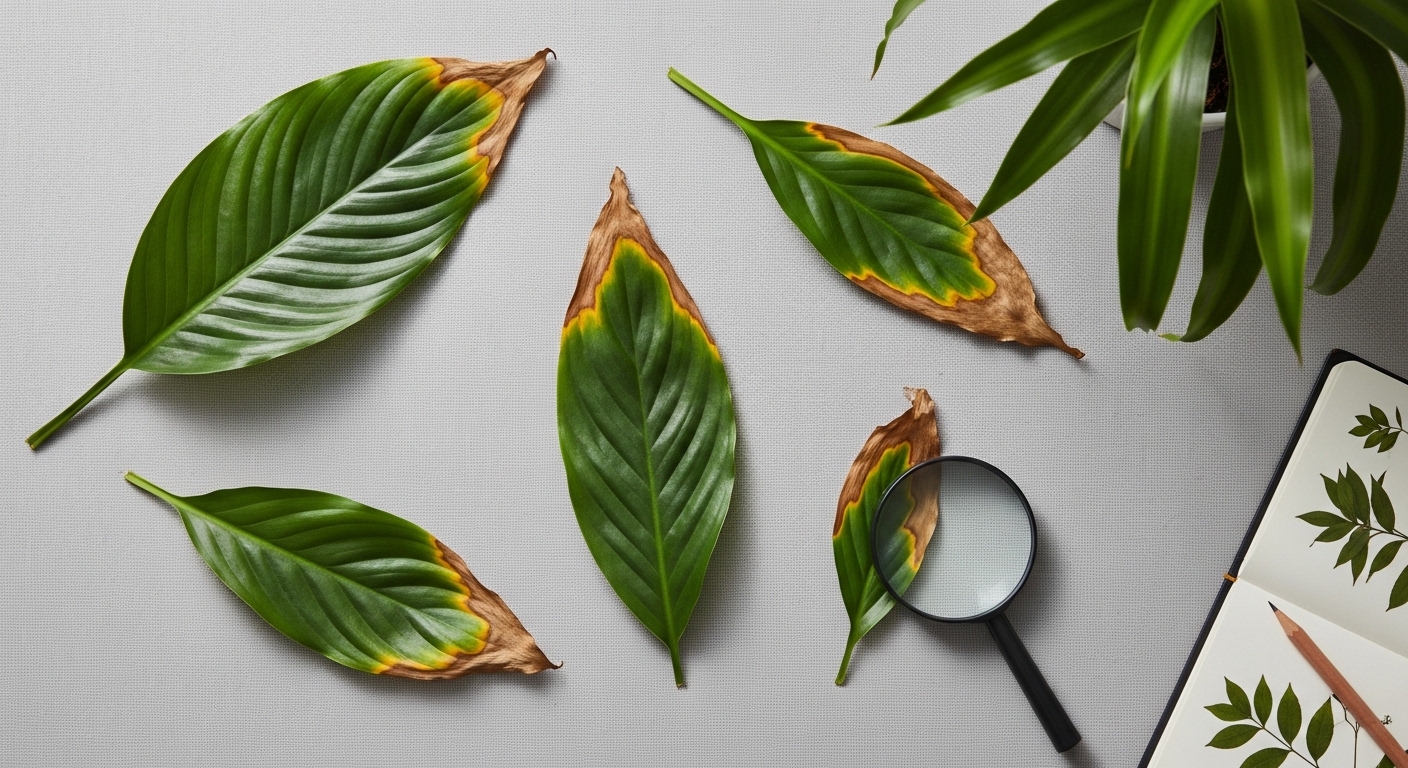
Before you reach for the watering can or change your fertilizer routine, take a close look at exactly where and how the browning appears. The pattern, texture, and spread of the discoloration are your first clues. Brown tips that are dry and papery feel very different from those that are soft, mushy, or yellowing at the base.
Here is a quick symptom-to-cause reference to help you narrow things down:
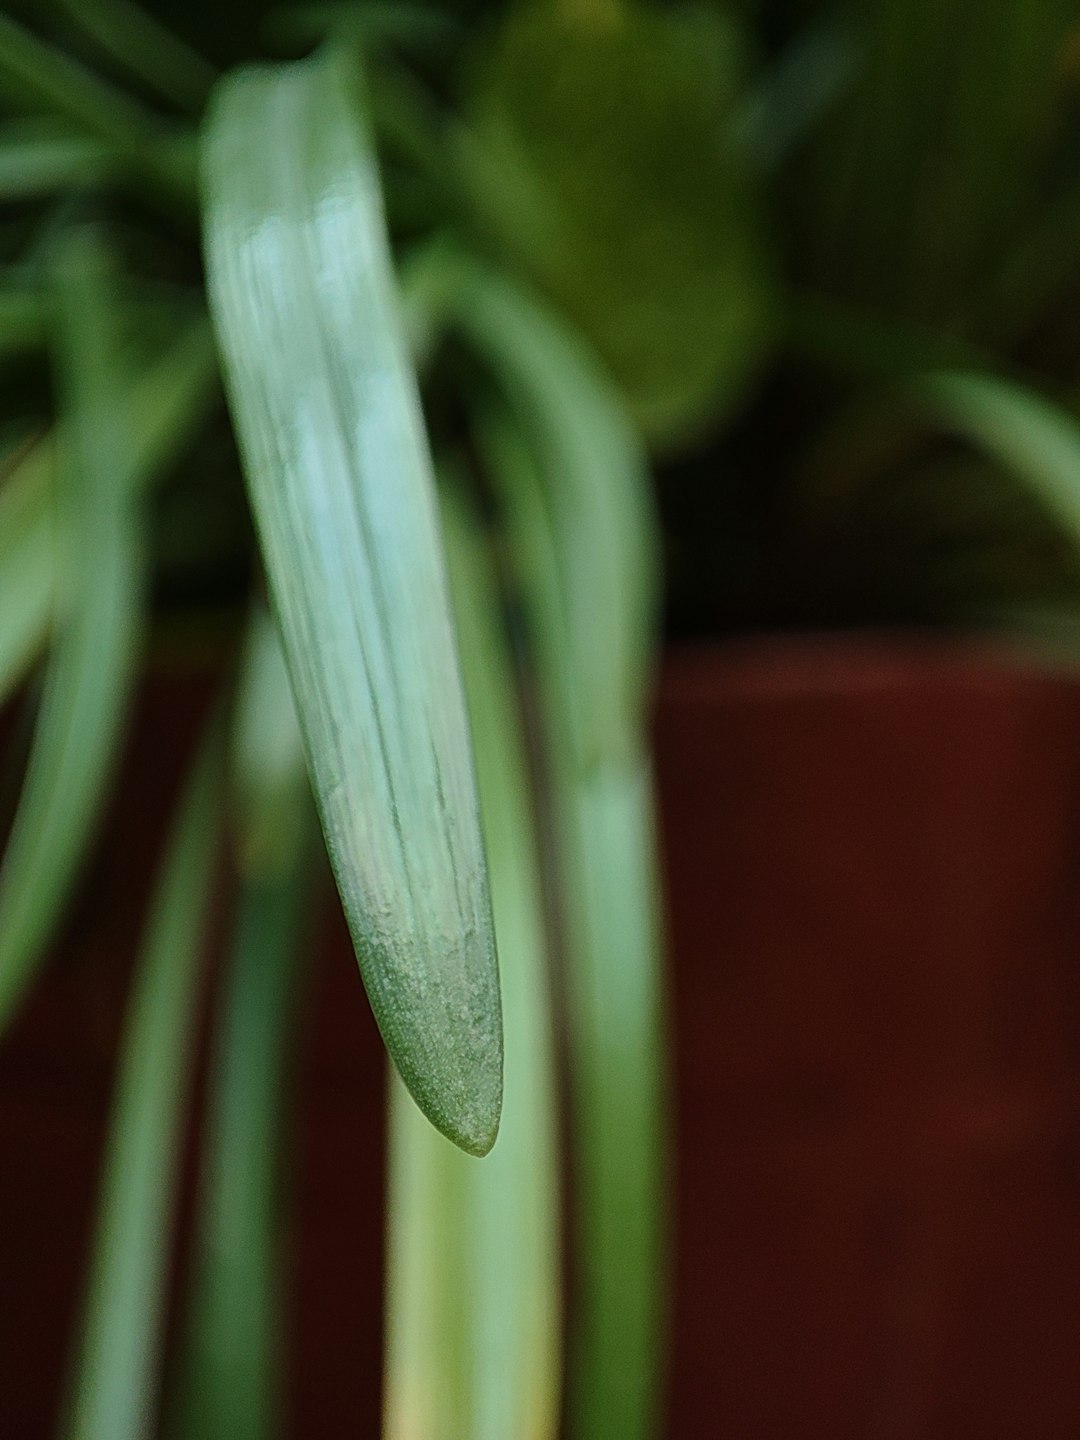
Crispy, dry brown tips with healthy green elsewhere → likely low humidity or underwatering.
Brown tips that start at the very tip and stay confined there → often fluoride sensitivity or salt buildup from over-fertilizing.
Browning that spreads inward with yellowing around it → may indicate root stress from overwatering or compacted soil.
Uniform browning across multiple leaf tips at once → frequently linked to a recent fertilizer application or tap water quality.
Checking the soil, the roots, and the environment around the plant together gives you a much clearer picture than looking at the leaves alone.
The Most Common Causes of Brown Leaf Tips
Most cases of brown tips trace back to one of four root causes. Understanding each one helps you stop guessing and start solving. These causes are not mutually exclusive — sometimes two or three are happening at the same time, especially in dry apartments during winter.
Low Humidity
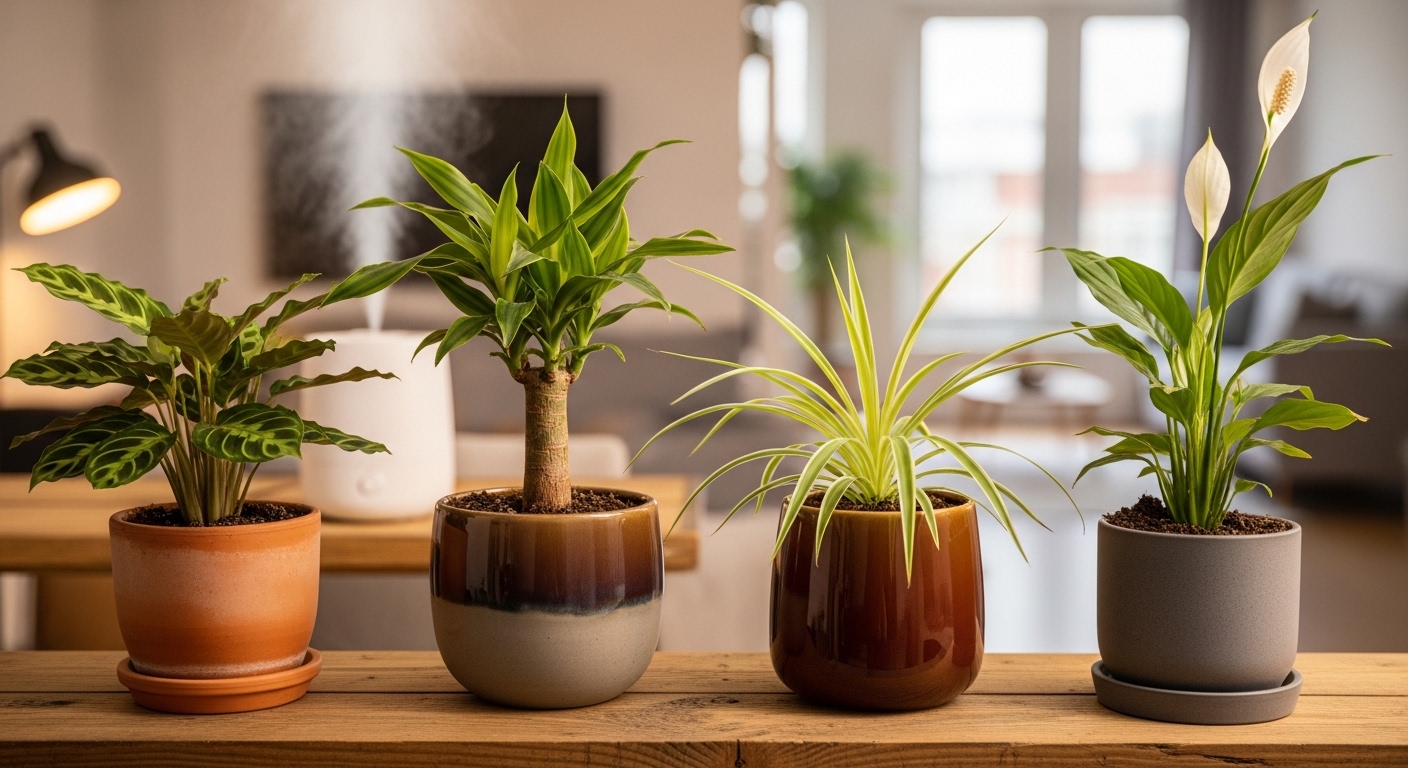
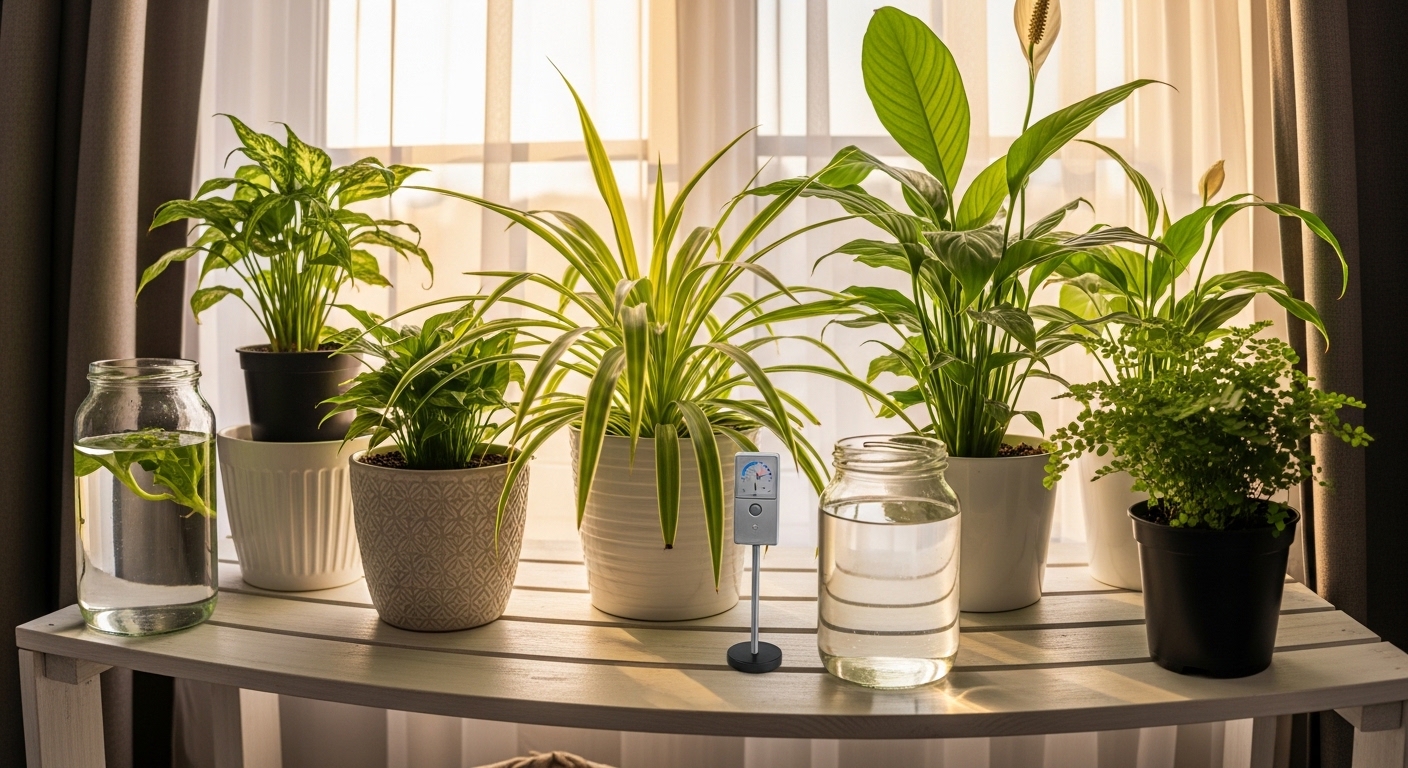
Many popular houseplants — including spider plants, calatheas, ferns, and peace lilies — originate from tropical or subtropical environments where humidity regularly sits above 50 to 60 percent. Indoor air, especially in winter when heating systems run constantly, can drop well below 30 percent. When the air is too dry, moisture evaporates from leaf edges faster than the plant can replace it through its roots, and the tips dry out and turn brown.
Fluoride and Chlorine in Tap Water
Many municipal water supplies contain fluoride and chlorine, which are harmless to humans but can accumulate in plant tissue over time. Fluoride-sensitive plants — including dracaenas, spider plants, and peace lilies — often develop brown tips as a direct response to fluoride toxicity. The damage tends to appear at the very tip of the leaf and stays confined there rather than spreading widely.
Over-Fertilizing and Salt Buildup
Fertilizer provides essential nutrients, but applying too much — or too frequently — causes soluble salts to accumulate in the soil. These salts draw moisture away from roots through osmosis, essentially dehydrating the plant from the inside out. The result is brown, scorched-looking leaf tips, often accompanied by a white crusty residue on the soil surface or pot rim.
Underwatering
When a plant does not receive enough water consistently, the outermost cells at the leaf tips are the first to lose turgor and die. The tips turn brown and crispy, and the soil will feel bone dry well below the surface. Unlike humidity-related browning, underwatering often also causes the leaves to feel limp or curl slightly inward.
Step-by-Step Treatment Guide
Once you have identified the likely cause, targeted action makes a real difference. Work through the relevant steps below based on your diagnosis, and give your plant at least two to four weeks to respond before deciding whether the treatment is working.
If the cause is low humidity:
- Move the plant away from heating vents, radiators, and air conditioning units, which all strip moisture from the air.
- Group plants together — transpiration from neighboring plants gently raises local humidity.
- Place the pot on a tray filled with pebbles and water, keeping the pot base above the waterline to allow evaporation without waterlogging roots.
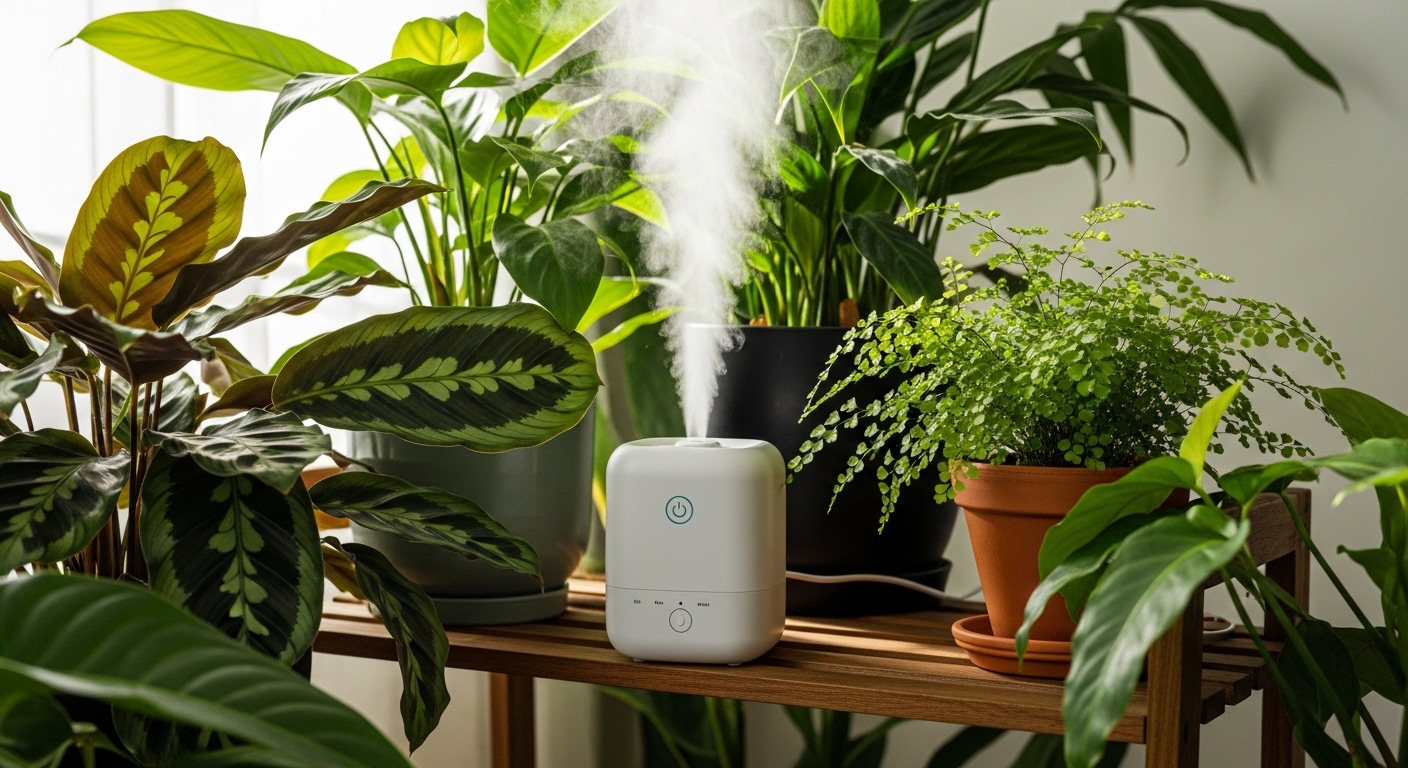
- Use a small cool-mist humidifier near your most sensitive plants, aiming for ambient humidity above 50 percent.
- Misting can offer brief relief but tends to evaporate quickly — it is generally more effective as a supplement than a primary solution.
If the cause is fluoride or tap water quality:
- Switch to filtered water, rainwater, or water that has been left uncovered overnight to allow chlorine to off-gas.
- Ensure the pot has adequate drainage so fluoride-containing water does not pool and concentrate in the root zone.
- Flush the soil thoroughly every two to three months by watering slowly and heavily until water runs freely from the drainage holes, carrying accumulated minerals with it.
- Repot into fresh, well-draining potting mix if salt crust is visible on the soil surface.
If the cause is over-fertilizing:
- Stop fertilizing immediately and flush the soil with plain water two or three times over the course of a week to leach out excess salts.
- Scrape away any white salt crust visible on the soil surface before flushing.
- Resume fertilizing at half the recommended dose, and only during active growing season — generally spring through early autumn.
- Switch to a balanced, slow-release fertilizer if you find it difficult to avoid over-application with liquid feeds.
If the cause is underwatering:
- Water thoroughly until it drains freely from the bottom — a light splash on the surface does not reach the deeper roots where moisture is most needed.
- Check soil moisture by pressing a finger 2 cm below the surface; water when this layer feels dry for most tropical houseplants.
- For severely dry soil that repels water, try bottom watering: place the pot in a basin of water for 20 to 30 minutes and allow the soil to absorb moisture from below.
- Establish a consistent watering rhythm rather than waiting until the plant shows stress symptoms.

Natural vs. Targeted Solutions at a Glance
Many growers prefer to start with the gentlest, most natural interventions before making bigger changes to their plant care routine. In most cases, adjusting one variable at a time — rather than overhauling everything at once — makes it much easier to see what is actually working.
- Pebble tray with water: A low-effort, passive way to raise local humidity without any equipment.
- Rainwater collection: Naturally soft, fluoride-free, and often slightly acidic — ideal for sensitive species.
- Soil flushing: Removes accumulated salts and mineral deposits without the need for any additives.
- Grouping plants: Creates a microclimate with higher ambient humidity through shared transpiration.
- Reducing fertilizer frequency: Often more effective than switching products — less is genuinely more for most houseplants.
- Cool-mist humidifier: The most reliable solution for consistently dry indoor environments, especially in winter.
"The most common mistake plant owners make is treating the symptom — trimming brown tips — without addressing the underlying cause. Trim by all means, but always investigate first."
Trimming brown tips with clean, sharp scissors is perfectly fine for aesthetics, but it will not stop new browning from appearing if the root cause is still present. Cut just inside the brown area at a slight angle to mimic the natural leaf shape.
Prevention for the Future
Once you have addressed the immediate problem, a few simple habits can keep brown tips from returning. Prevention is far easier than treatment, and most of these adjustments take only a few minutes to build into your regular plant care routine.
- Check ambient humidity seasonally — indoor air tends to dry out significantly in winter, even if your summer routine was working well.
- Use a moisture meter or the finger-dip method consistently rather than watering on a fixed schedule, which ignores seasonal variation.
- Fertilize only during active growth periods and always dilute to at least half the recommended strength for sensitive plants.
- Flush soil thoroughly every two to three months to prevent mineral and salt accumulation.
- Collect and store rainwater when possible, or let tap water sit overnight in an open container before use.
- Avoid placing humidity-sensitive plants near windows that are frequently opened in cold or dry weather.
When to Repot or Start Over
Sometimes, despite your best efforts, the damage is too widespread or the soil too degraded to recover with surface-level fixes. Knowing when to repot — or when to take cuttings and start fresh — is a valuable skill that saves you from prolonged frustration.
Consider repotting if you notice any of the following:
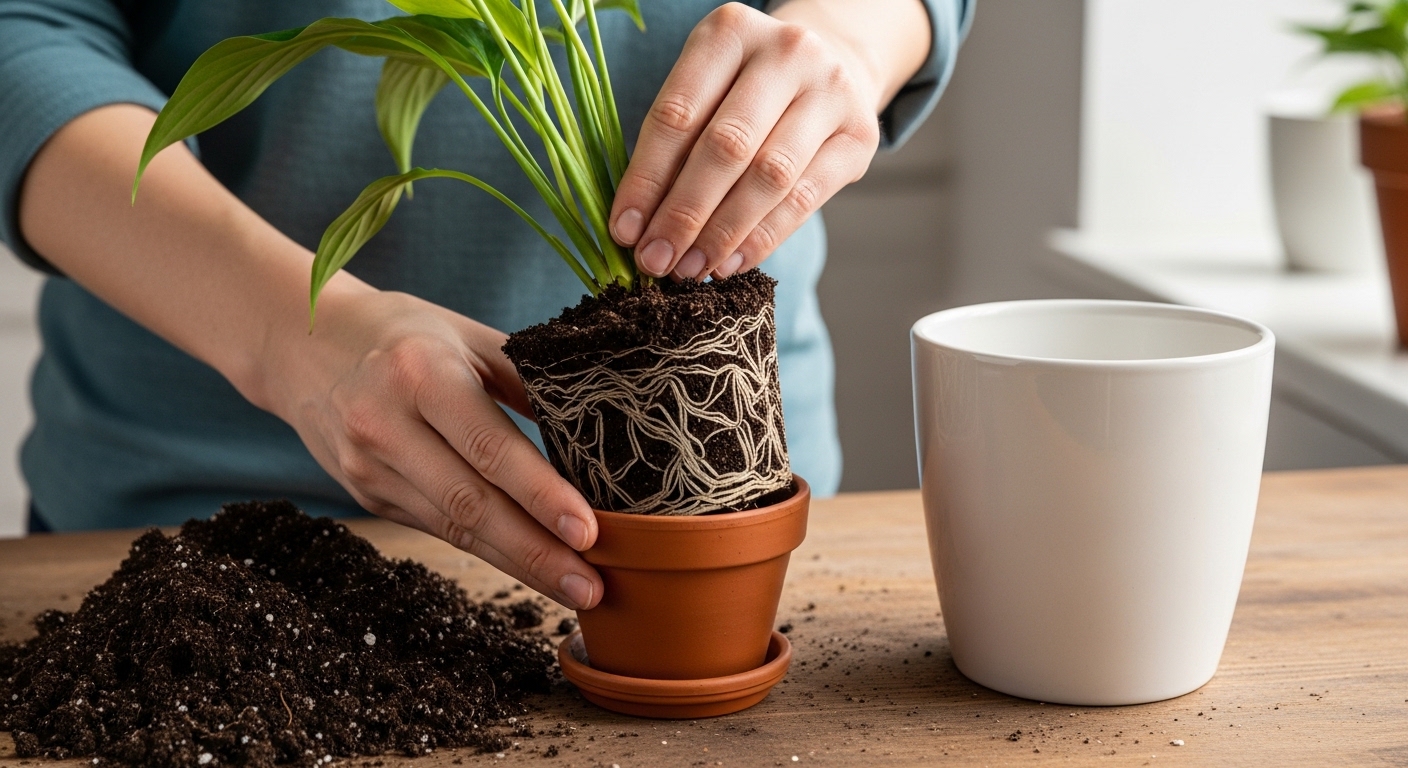
- Roots are circling the bottom of the pot or emerging from drainage holes, indicating the plant is root-bound and struggling to absorb water evenly.
- The soil surface has a heavy white or grey crust that does not clear after flushing.
- Water runs straight through the pot without being absorbed, suggesting the soil has become hydrophobic.
- More than 50 percent of the foliage is affected despite addressing the identified cause.
- The plant has been in the same pot and soil for more than two years without a refresh.
When repotting, choose a pot only one size larger than the current one, use fresh well-draining potting mix appropriate for the species, and avoid fertilizing for at least four to six weeks after repotting to allow roots to settle without additional stress.
Brown leaf tips are your plant's way of telling you something in its environment needs adjusting — and now you have the tools to listen. With a little observation and a few targeted changes, most plants bounce back beautifully. The existing brown tips will not turn green again, but healthy new growth is a clear sign you have solved the problem.


Comments
Post a Comment