Spring Garden Prep Checklist for Beginners
Spring has a way of arriving before you feel ready. One week the soil is still cold and compacted, and the next, tiny green shoots are pushing through last year's mulch — and suddenly you're scrambling to remember what you meant to do back in February. If you're new to gardening, spring garden prep can feel like a long, vague to-do list with no clear starting point. This guide breaks it down into five practical focus areas: soil amendment, pruning dead growth, starting seeds indoors, dividing perennials, and planning your bed layout. Work through them in order and the season will feel a lot more manageable.
What's Happening in Your Garden Right Now
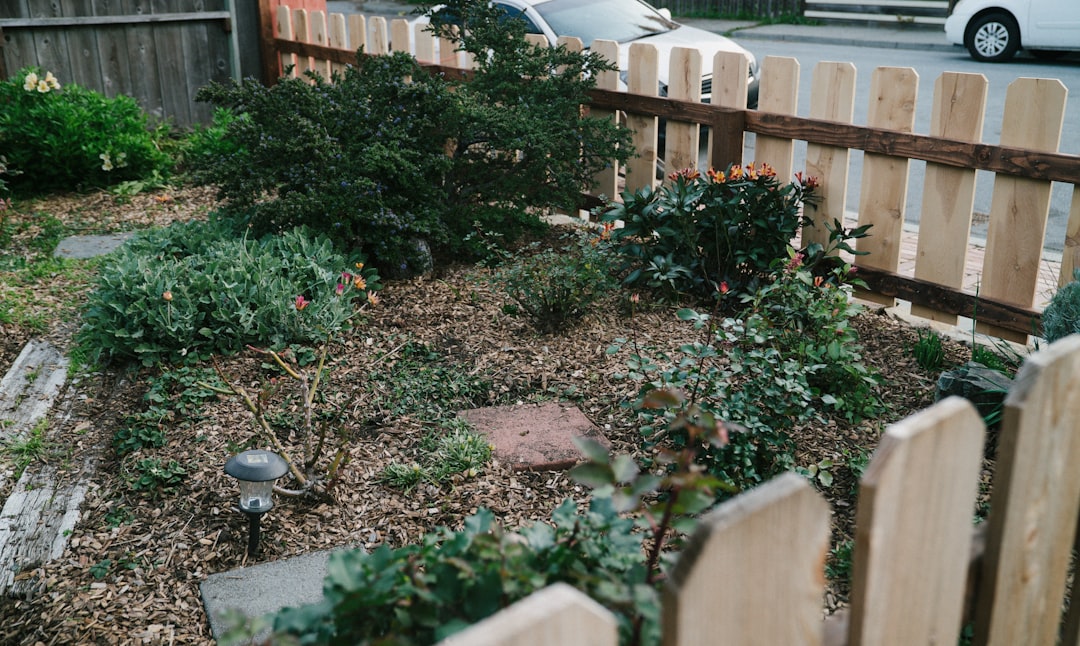
Before you do anything else, spend ten minutes just observing. Walk the beds slowly. Press two fingers into the soil — if it clumps and holds moisture without dripping, it's workable. If it's still waterlogged or frozen beneath the surface, wait another week. Working compacted or saturated soil can damage its structure in ways that take a full season to recover from.
What you're likely to see right now: matted dead foliage from last year, a few brave perennial crowns swelling at the soil surface, and possibly some self-seeded annuals that overwintered as seedlings. The weeds will have noticed spring before you did. Early-season weeds like hairy bittercress and chickweed are already setting seed, so clearing them now — before they flower — saves significant effort later.
This is also the moment to assess winter damage. Look for frost-heaved plants where freeze-thaw cycles have pushed root crowns above the soil line. Gently press them back down and firm the soil around them. Many growers notice this most with shallow-rooted perennials like heuchera and strawberries.
Key Tasks for This Season
Spring prep isn't one task — it's a sequence. Doing things in the right order saves rework and protects the plants already waking up in your beds.
1. Amend Your Soil First
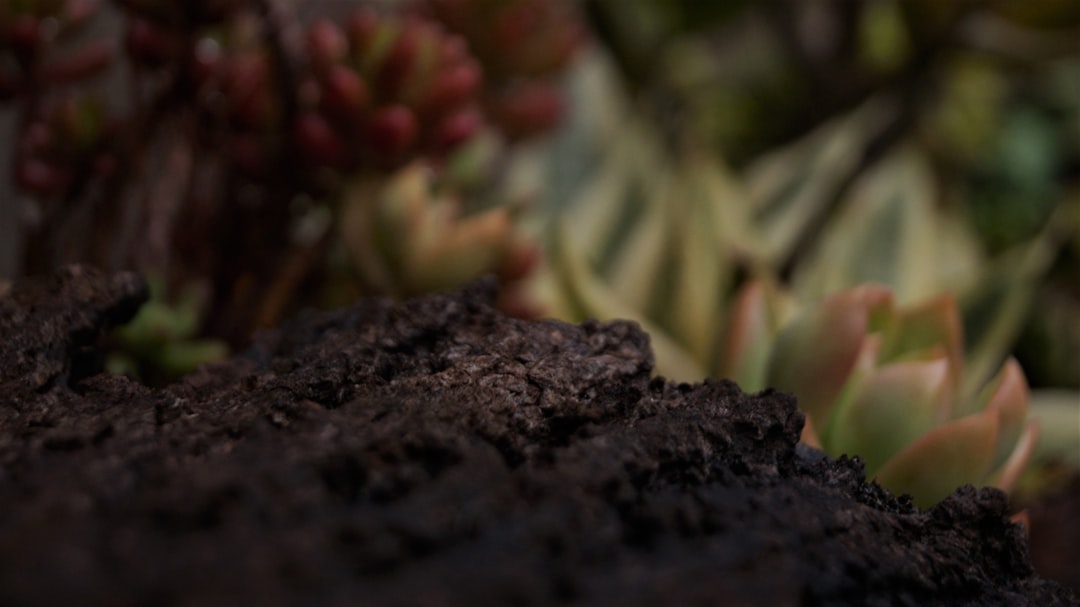
Healthy soil is the foundation everything else depends on. In most home gardens, working in 5–8 cm of compost across the top of each bed — without tilling deeply — is enough to meaningfully improve structure, drainage, and microbial activity. Avoid digging when soil is wet. A no-dig approach, where compost is layered on top and left for worms and rain to incorporate, tends to preserve soil biology better than aggressive turning.
If your soil is heavy clay, adding horticultural grit or coarse sand alongside compost can help open up drainage. Sandy soils benefit more from aged compost or well-rotted leaf mould, which improves moisture retention.
2. Prune Dead and Damaged Growth
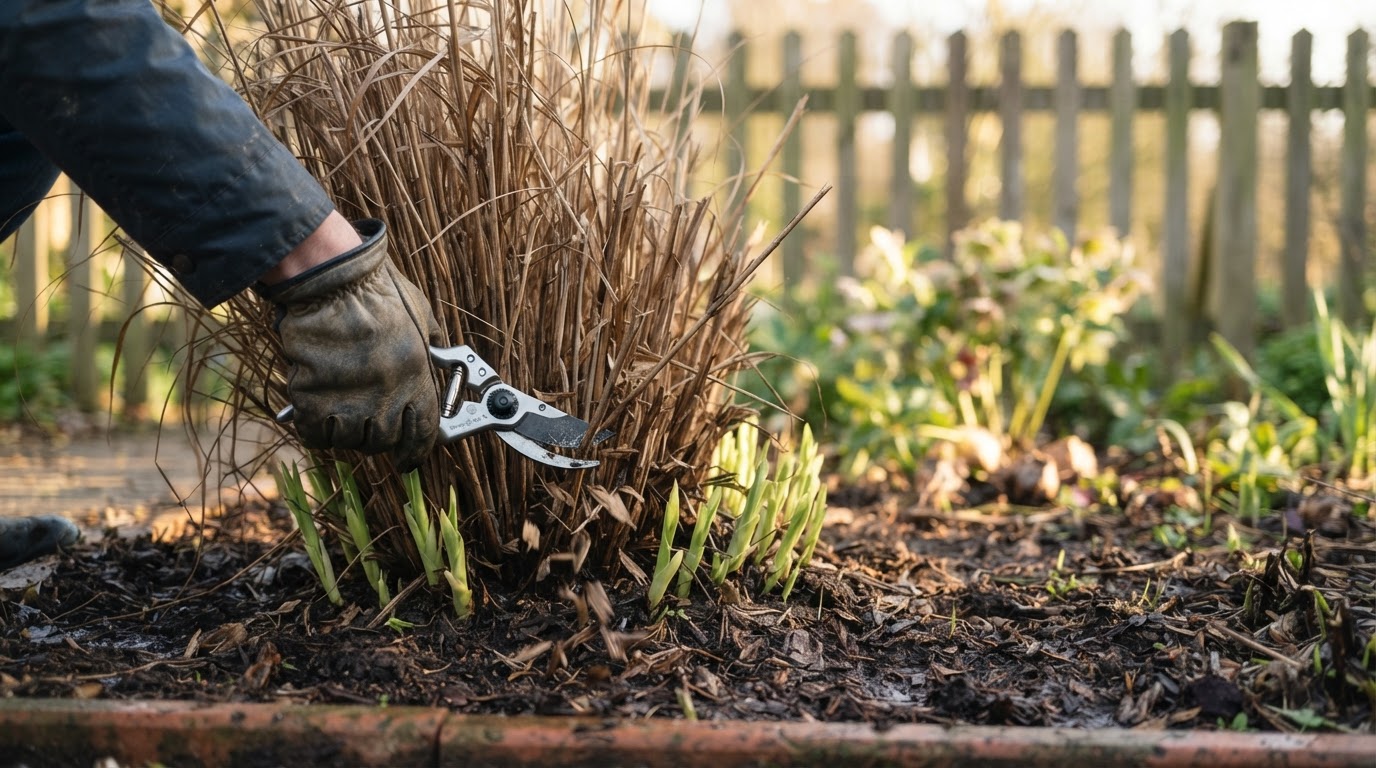
Cut back dead stems from last year's perennials once you can clearly see new growth emerging at the base — this tells you the plant is alive and active. Cutting too early in a cold snap can expose tender new growth to frost. Use clean, sharp secateurs and cut just above the lowest visible new bud or crown. Ornamental grasses can be cut back hard to about 10–15 cm from the ground before new growth begins.
3. Clear Beds and Edge Borders
Re-cutting the edges of your beds gives the whole garden a sense of intention, even before anything is planted. Use a half-moon edger or a sharp spade to create a clean vertical edge between lawn and bed. This also discourages grass from creeping into your planting areas through the season.
What to Plant (or Start) This Season
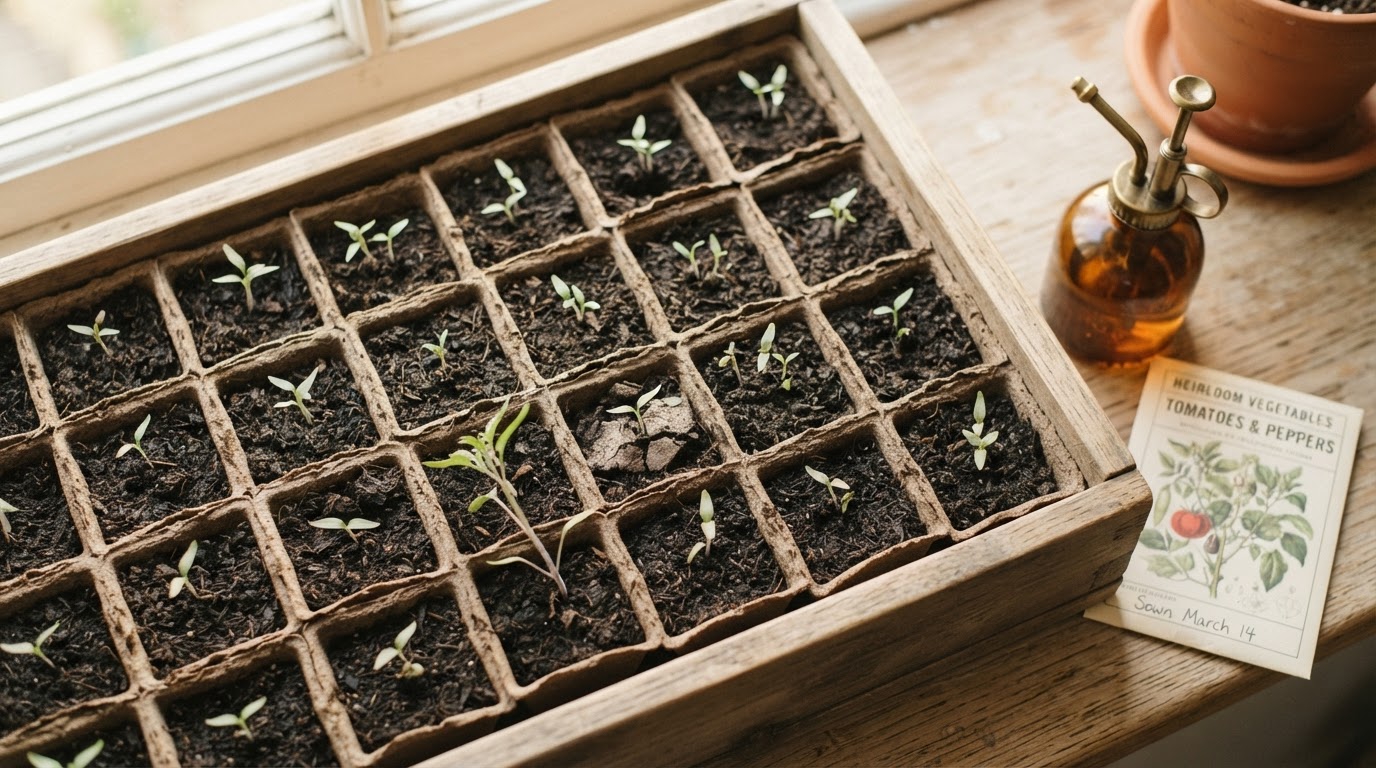
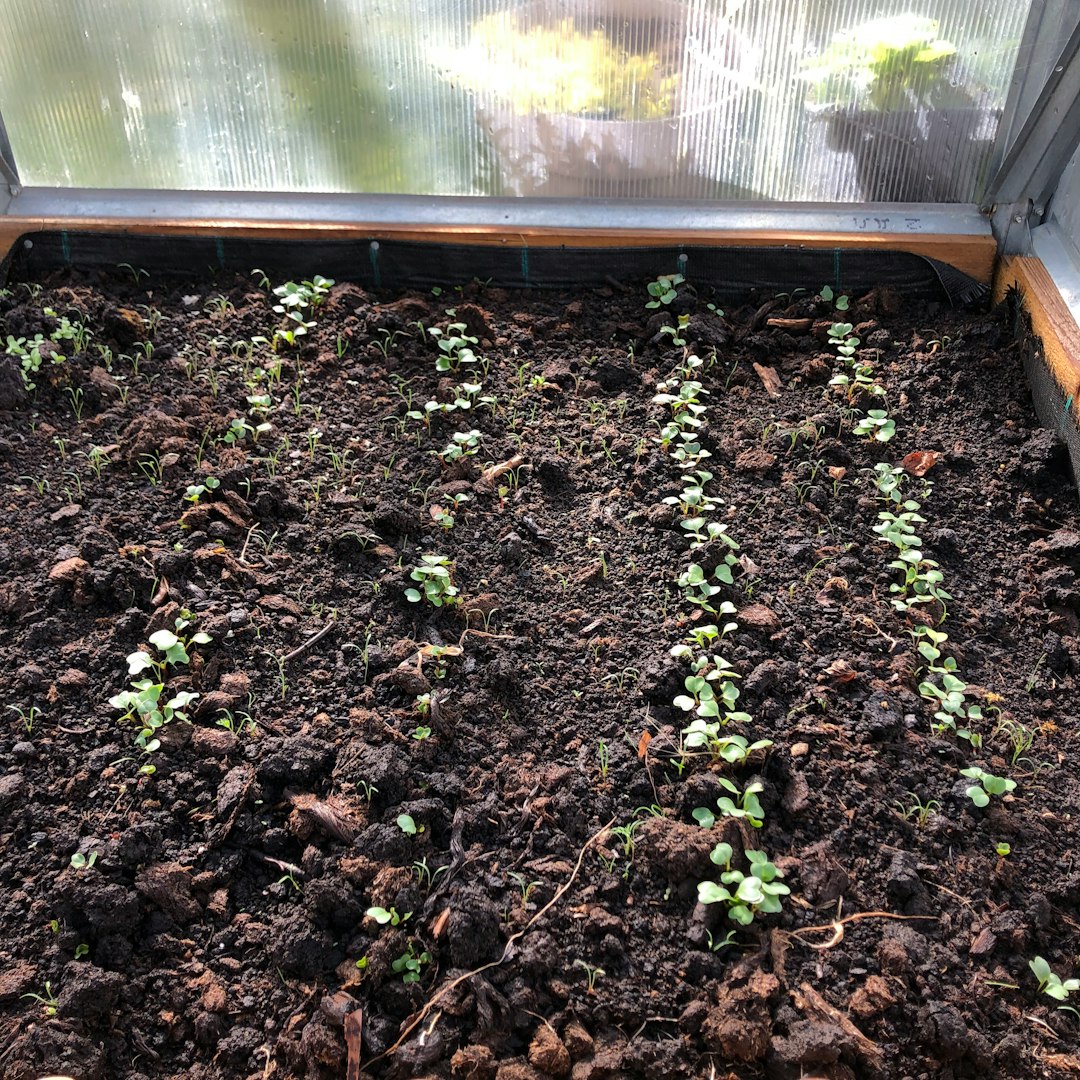
Starting seeds indoors is one of the most satisfying parts of spring prep — and one of the most commonly mistimed. Most warm-season vegetables like tomatoes, peppers, and aubergines need 6–8 weeks of indoor growing time before they can be transplanted outside after the last frost. Starting too early leads to leggy, root-bound seedlings that struggle to establish.
A simple indoor seed-starting setup doesn't require much:
- Seed trays or small biodegradable pots filled with a fine-textured seed compost (not general potting mix, which can be too coarse)
- A warm location — most seeds germinate best between 18–24°C
- Consistent moisture without waterlogging — a spray bottle works well for surface watering at this stage
- Bright light once germination occurs — a south-facing windowsill or a grow light set to a 6500K spectrum for 14–16 hours daily can help prevent legginess
For grow light electrical setup, follow the manufacturer's instructions carefully and consult a licensed electrician if you're wiring a dedicated circuit.
Cool-season crops — lettuce, spinach, peas, and broad beans — can often go directly into the ground or into outdoor containers as soon as the soil is workable. They handle light frost well and actually prefer the cooler temperatures of early spring.
It's common to see seedlings damping off (collapsing at the stem base) when trays are kept too wet or in poor airflow. A small fan running on low nearby for a few hours each day can help, and it also strengthens stems through a process called thigmomorphogenesis — the plant's response to physical movement.
Protecting Plants from Seasonal Stress
Spring weather is unpredictable. A warm week in March can be followed by a hard frost in April — and young plants, fresh divisions, and newly emerged perennials are all vulnerable. Knowing how to protect them without overreacting is a skill that comes with a season or two of observation.
Dividing Perennials
Early spring — just as growth is resuming but before plants put significant energy into new leaves — is generally the best window to divide most perennials. Hostas, daylilies, rudbeckia, and ornamental grasses all respond well to division at this stage. Dig the entire clump, shake off loose soil, and use a sharp spade or garden fork to split it into sections, each with healthy roots and at least two or three growth points. Replant divisions promptly and water them in well.
One frustrating part is that freshly divided plants often look terrible for two to three weeks — wilted, pale, sometimes dropping leaves. This is normal transplant stress. Keep the soil consistently moist (not waterlogged) and resist the urge to fertilize heavily right away. Most divisions settle in quietly and begin growing normally within a month.
Frost Protection
Keep a roll of horticultural fleece on hand through April. A single layer draped over tender seedlings or newly planted divisions on a forecast frost night can make a meaningful difference. Remove it during the day so plants get airflow and light. Cold frames and cloches serve the same purpose and are worth the investment if you start seeds outdoors early.
Hardening Off
Any seedlings started indoors need a gradual transition to outdoor conditions before planting out. Place them outside in a sheltered spot for 1–2 hours on the first day, increasing exposure over 7–10 days. Skipping this step is one of the most common reasons transplants fail in spring.
Seasonal Care Checklist
Use this as a working reference through the season. The order reflects timing — earlier tasks first.
- Test soil workability — press two fingers in; if it holds shape without dripping, proceed.
- Clear winter debris — remove dead leaves, spent stems, and early weeds before they seed.
- Top-dress beds with compost — apply 5–8 cm across all planting areas using a no-dig approach.
- Prune dead growth — cut back perennials once new growth is clearly visible at the base.
- Divide overcrowded perennials — dig, split, and replant with good root sections and growth points.
- Start warm-season seeds indoors — 6–8 weeks before your last expected frost date.
- Direct-sow cool-season crops — peas, lettuce, spinach, and broad beans can go in as soon as soil is workable.
- Harden off indoor seedlings — begin outdoor exposure 7–10 days before transplanting.
- Plan bed layout — sketch planting zones, note sun exposure, and account for plant spacing at maturity.
- Keep fleece accessible — late frosts are common through April in many temperate climates.
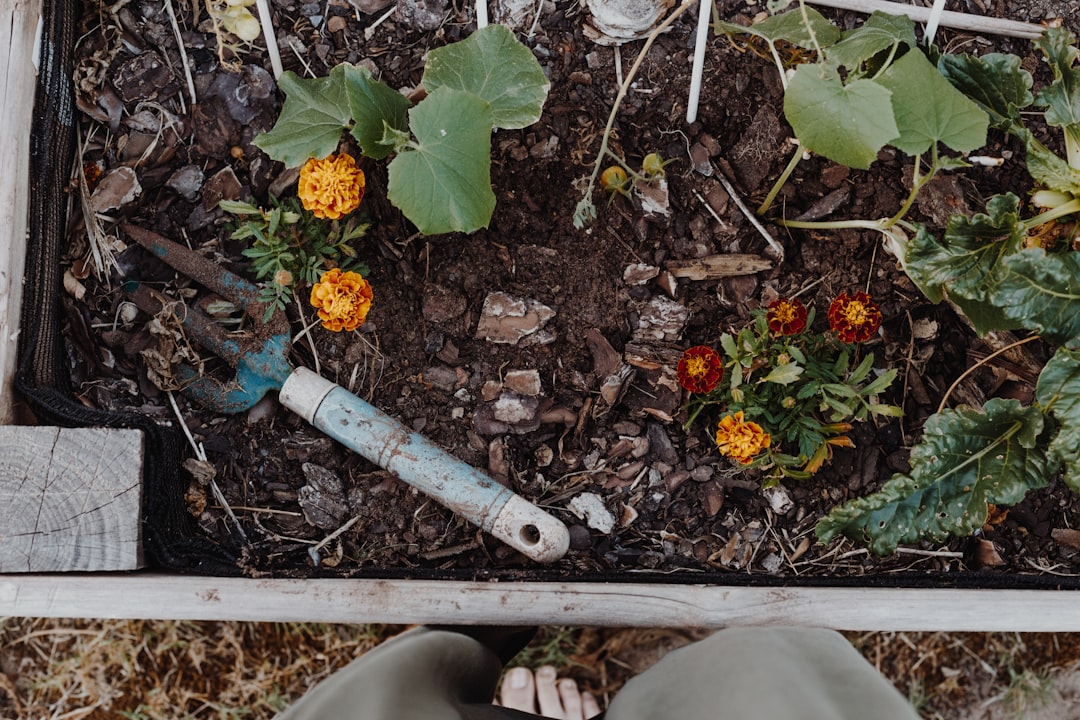
Planning your bed layout on paper before you plant is worth the thirty minutes it takes. Note which areas receive full sun (6+ hours), partial shade, or deep shade throughout the day — this changes significantly as the season progresses and neighboring trees leaf out. Mark where tall plants will go so they don't shade shorter ones. Leave realistic spacing: crowded plants compete for light and airflow, which tends to increase disease pressure.
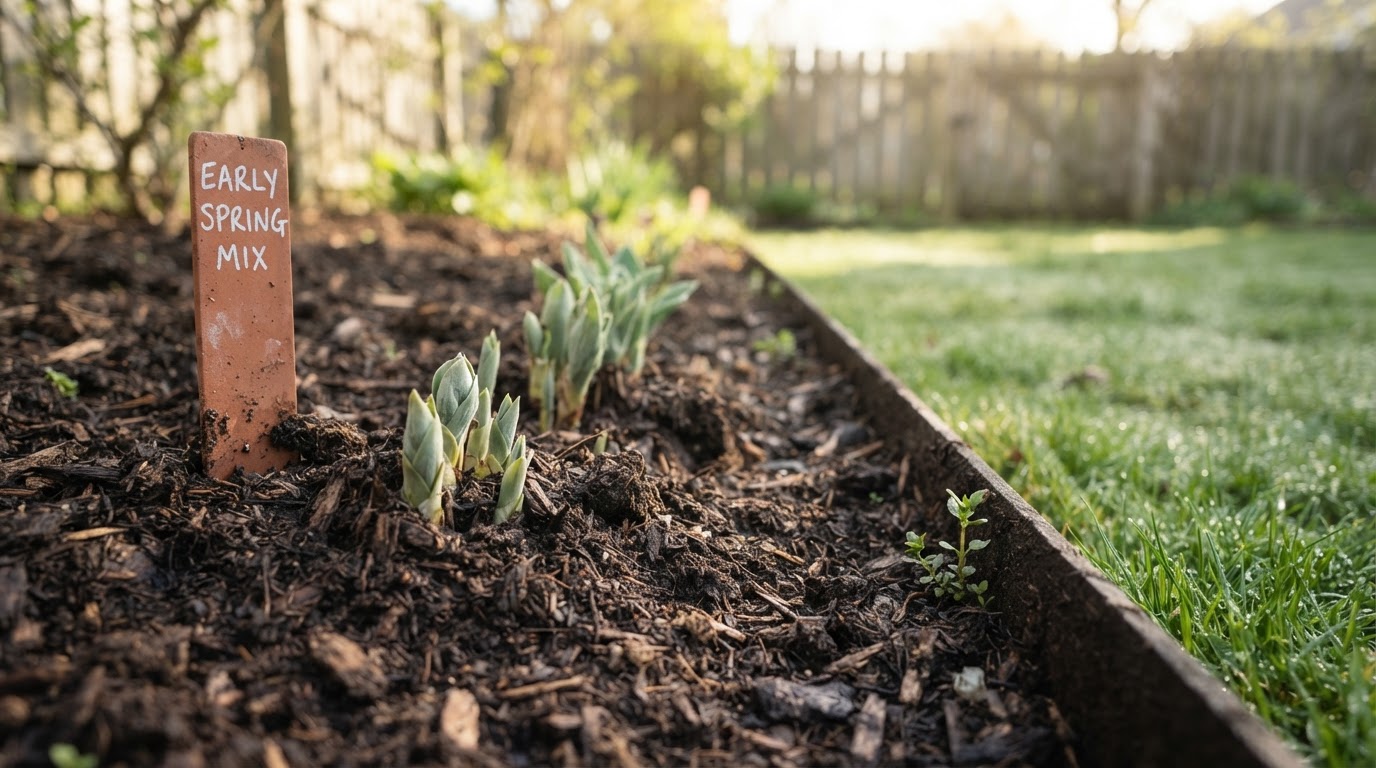
Many growers find it helpful to photograph the garden at the same time each week through spring. It's a practical record of what's emerging where — useful when plant labels have faded or disappeared entirely, which happens more often than anyone admits.
Closing
Spring prep doesn't have to be done in a single weekend. Pick one task from the checklist and start there — even an hour of clearing debris or turning compost into a bed makes the next step easier. The garden rewards incremental effort more than it rewards grand gestures. If you find yourself dealing with persistent soil compaction or drainage issues as you work through these steps, exploring raised bed gardening might be worth a look — it solves a lot of the problems that make in-ground growing frustrating for beginners.


Comments
Post a Comment