Air Layering Propagation: Beginner's Guide
Stem cuttings get all the attention, but there's a quieter technique that many growers swear by — especially when dealing with a leggy ficus that's lost its lower leaves, or a dracaena that's grown straight into the ceiling. Air layering propagation encourages roots to form on a stem while it's still attached to the parent plant, giving your new cutting a serious head start before it ever touches soil. It sounds more complicated than it is. With a sharp blade, some moist sphagnum moss, and a little patience, most beginners can pull this off successfully on their first try.
Why Air Layering Is Worth Learning
Most propagation methods ask you to cut first and hope for roots later. Air layering flips that logic. You create the conditions for rooting while the stem is still drawing water and nutrients from the parent plant — which means the cutting is never truly stressed during the rooting phase.
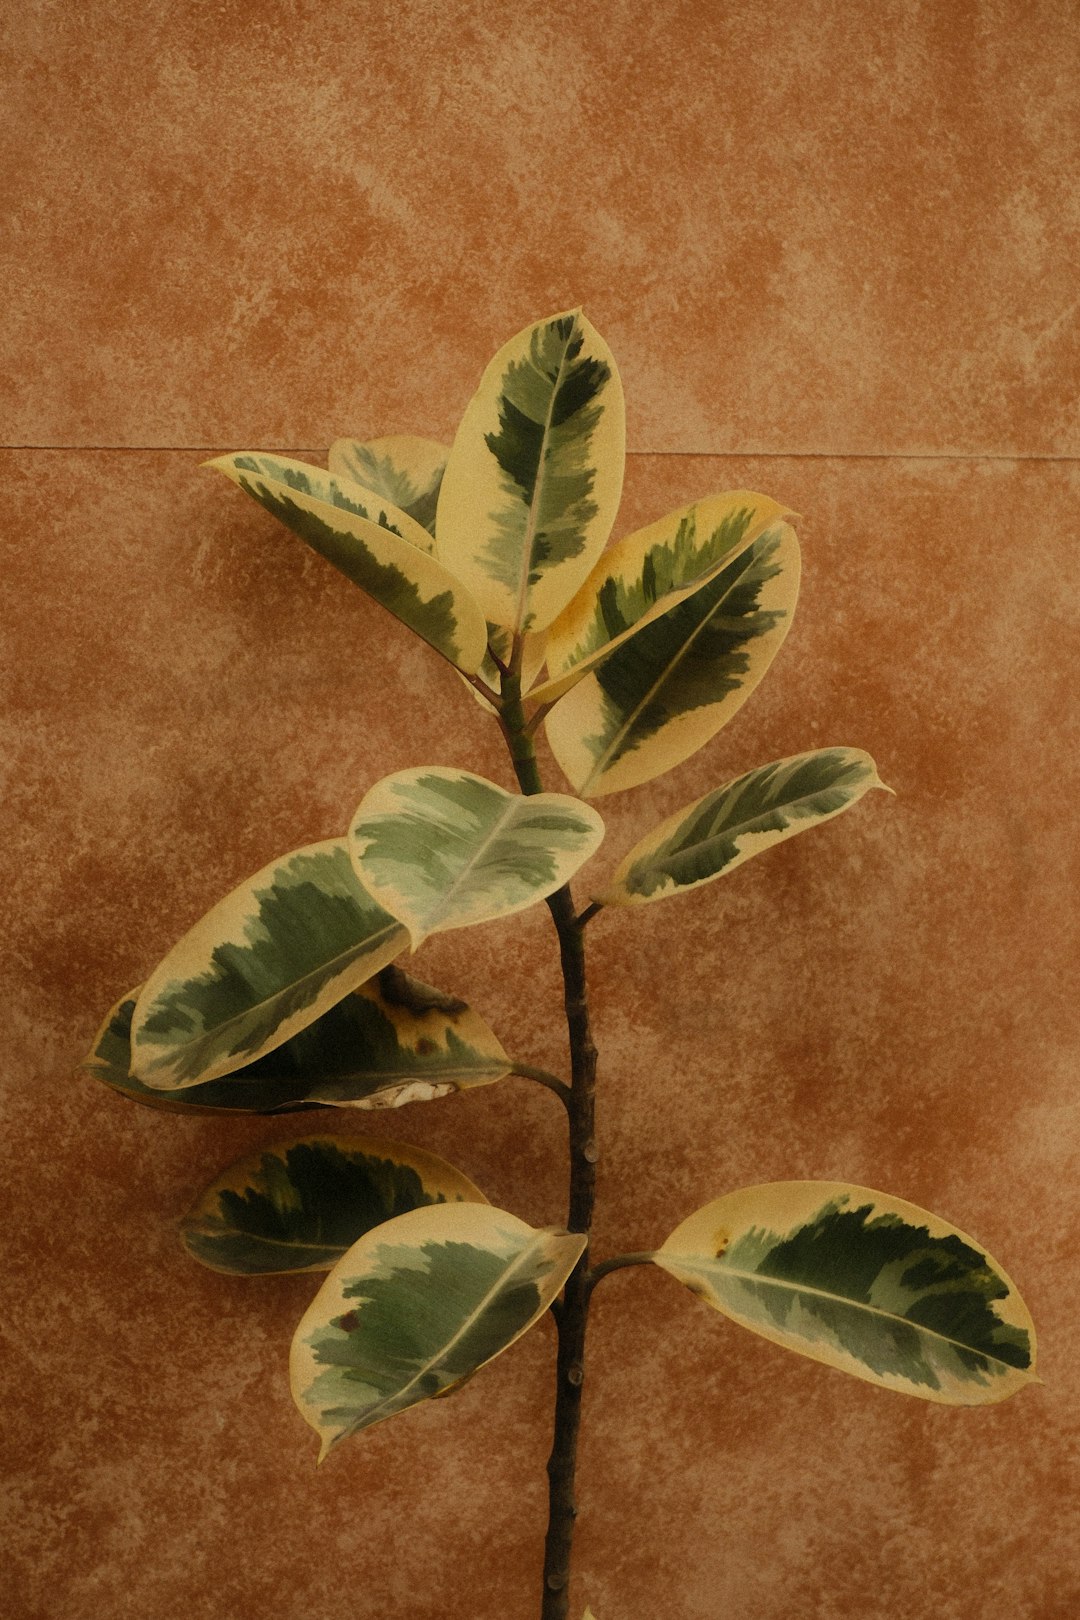
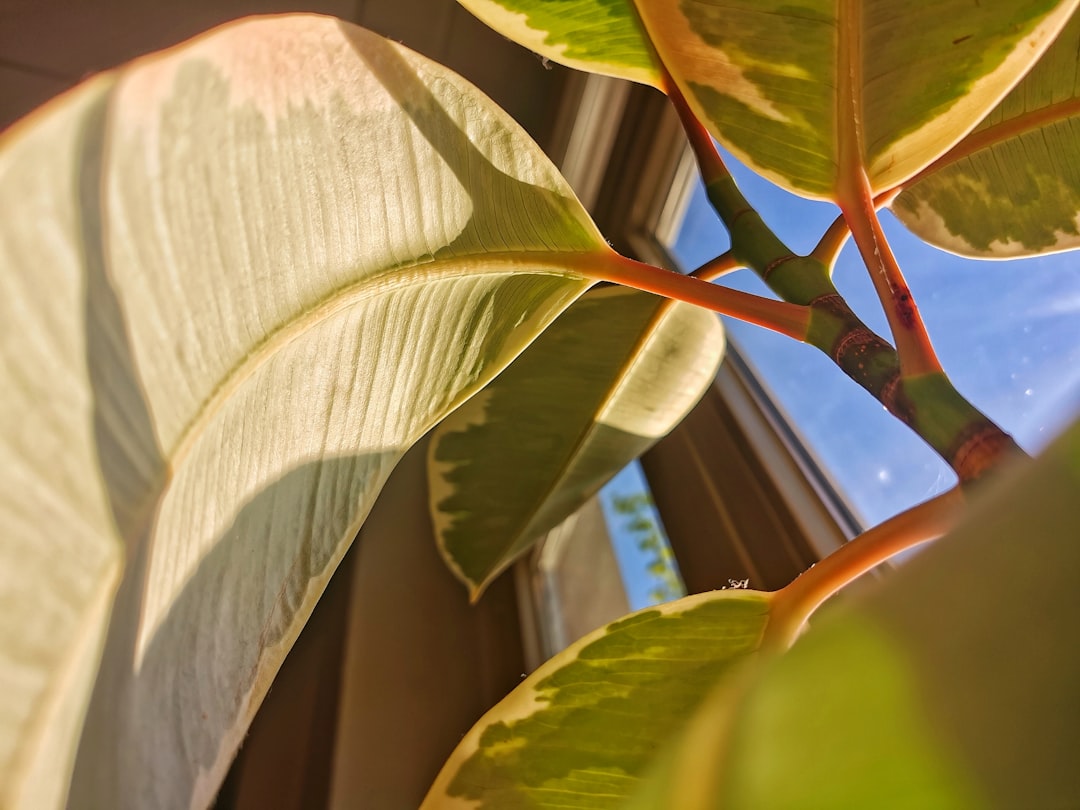
This makes it particularly well-suited to woody houseplants that don't root easily from standard cuttings. Ficus, dracaena, rubber plants, croton, and even some schefflera varieties respond well to this technique. If you've tried stem cuttings on a ficus and watched them slowly decline in a glass of water, air layering may be the method that finally works for you.
There's also a practical upside for plant shaping. When a tall plant becomes top-heavy or bare at the base, air layering lets you propagate the upper section and replant it — giving you a fuller, shorter plant and a new cutting at the same time.
Choosing the Right Propagation Method
Air layering works best on stems that are semi-woody to fully woody, at least pencil-thick, and actively growing. Before committing to this technique, it helps to understand when it's the right call — and when a simpler method might serve you better.
Choose air layering when:
- The plant has a thick, woody stem that doesn't root easily in water or soil
- You want to propagate a section with several healthy leaves already attached
- The parent plant is tall and leggy and would benefit from being cut back
- You've had repeated failures with stem cuttings on the same species
Stick with stem cuttings or division when:
- The plant is soft-stemmed or herbaceous (pothos, tradescantia, philodendron)
- You need many new plants quickly
- The parent plant is small and can't afford to lose a significant section
The best time to start an air layer is during active growth — spring through early summer. Stems are producing new cells rapidly, and rooting hormones produced naturally by the plant are at their seasonal peak.
Step-by-Step: Preparing the Stem
To prepare a stem for air layering, select a healthy section about 30–45 cm from the tip, make two clean cuts through the bark roughly 3–4 cm apart, and remove the ring of bark between them to expose the cambium layer. Apply rooting hormone to the exposed area, pack moist sphagnum moss around it, and seal with clear plastic wrap. Roots typically appear within 4–8 weeks.
Here's the full process in sequence:
- Select your stem: Choose a healthy, semi-woody section with at least two or three leaves above the intended cut site. Avoid sections with pest damage or soft spots.
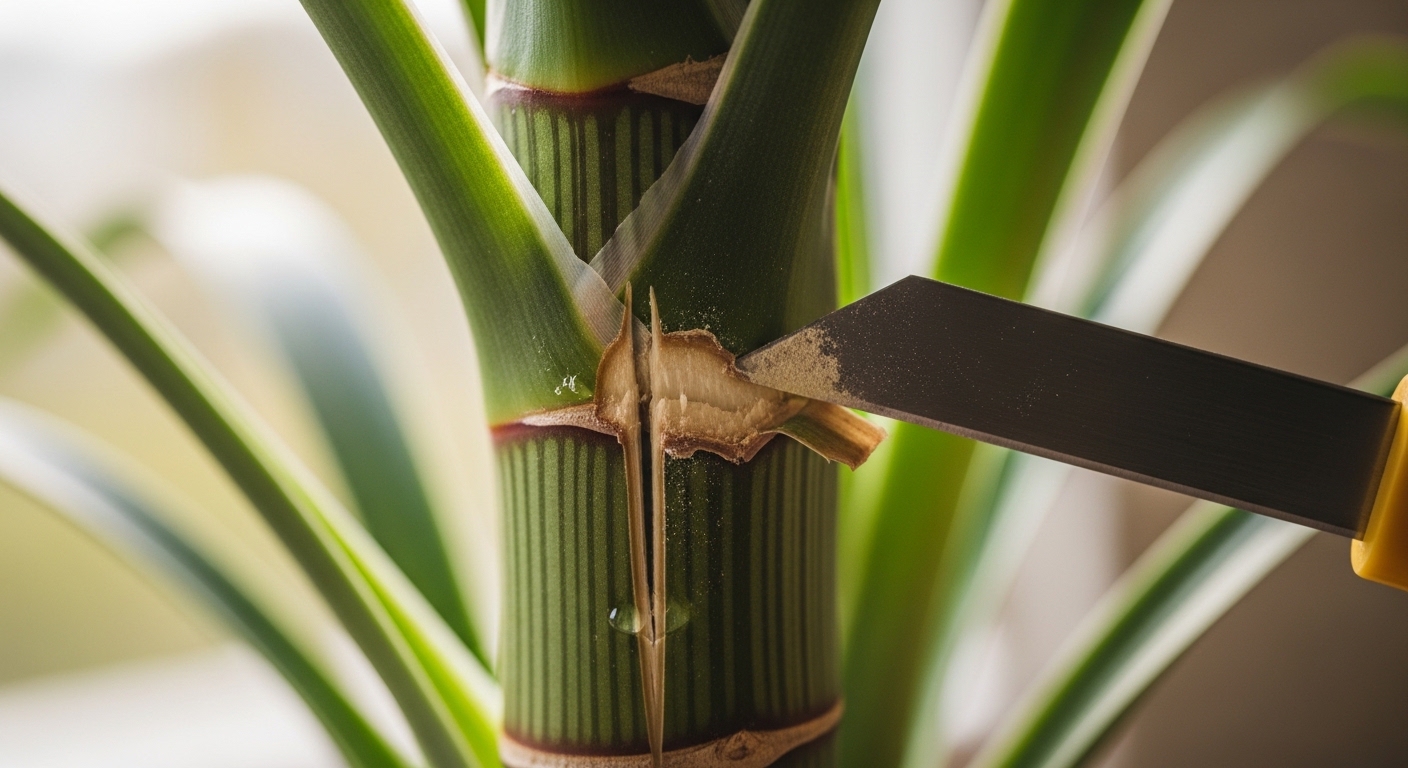
- Make the cuts: Using a clean, sharp knife, make two parallel cuts through the bark, spaced about 3–4 cm apart. Cut only through the outer bark and cambium layer — not into the woody core.
- Remove the bark ring: Carefully peel away the strip of bark between the two cuts. This is called girdling, and it interrupts the downward flow of sugars, which encourages rooting at that point.
- Scrape the cambium: Gently scrape the exposed green cambium layer to prevent the wound from healing over before roots form.
- Apply rooting hormone: Dust the exposed area with rooting hormone powder or dab on a gel formula. This step is optional but many growers find it shortens the rooting timeline noticeably.
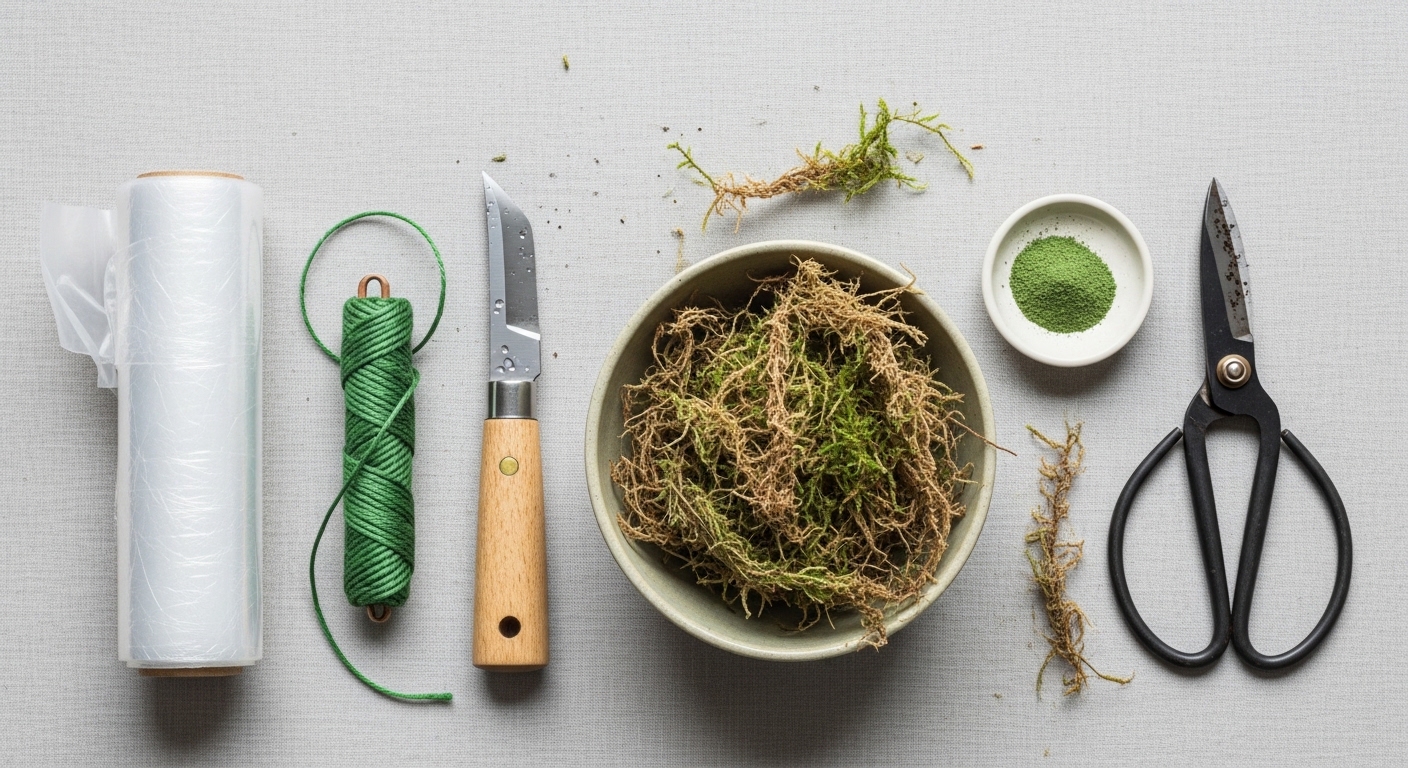
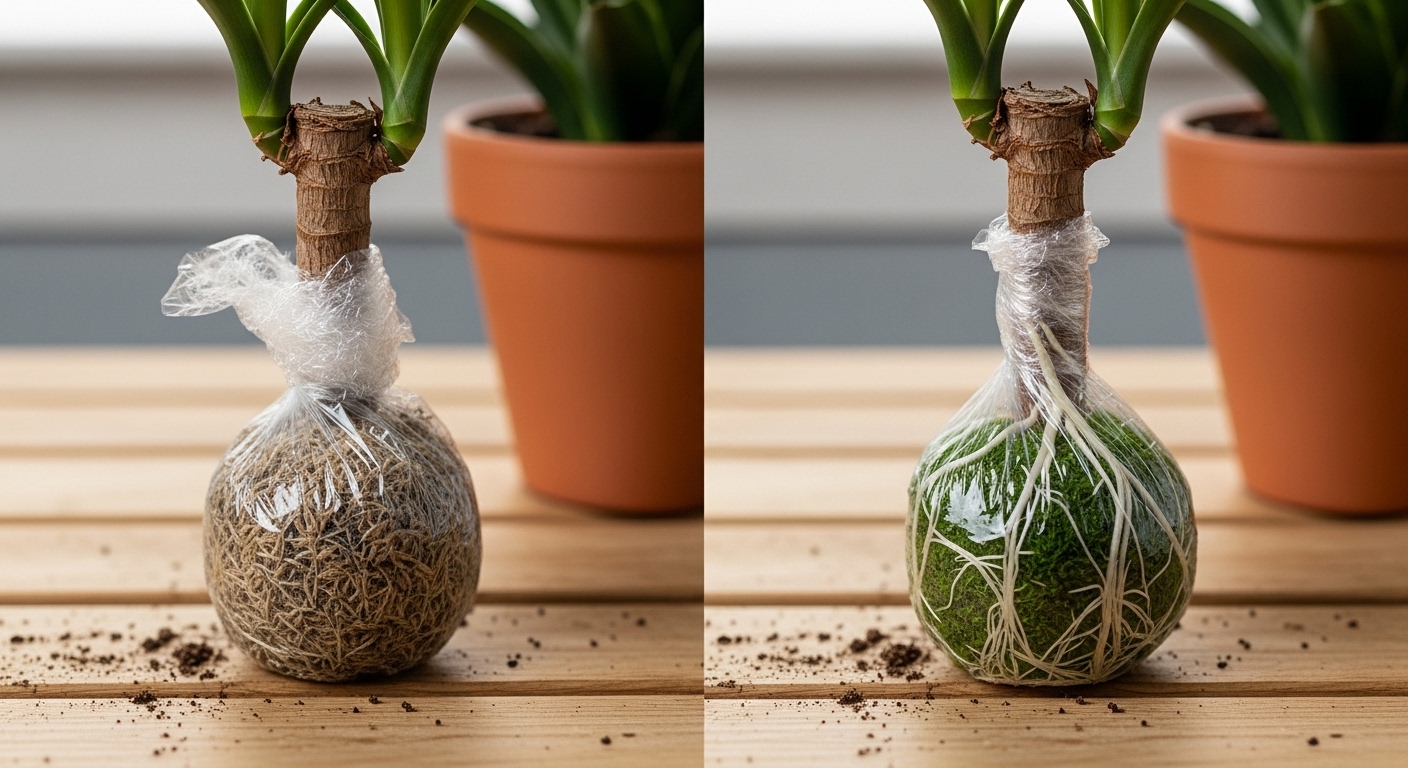
- Pack with moist sphagnum moss: Take a generous handful of sphagnum moss that has been soaked and wrung out to a damp — not dripping — consistency. Mold it around the wound site in a ball roughly the size of a tennis ball.
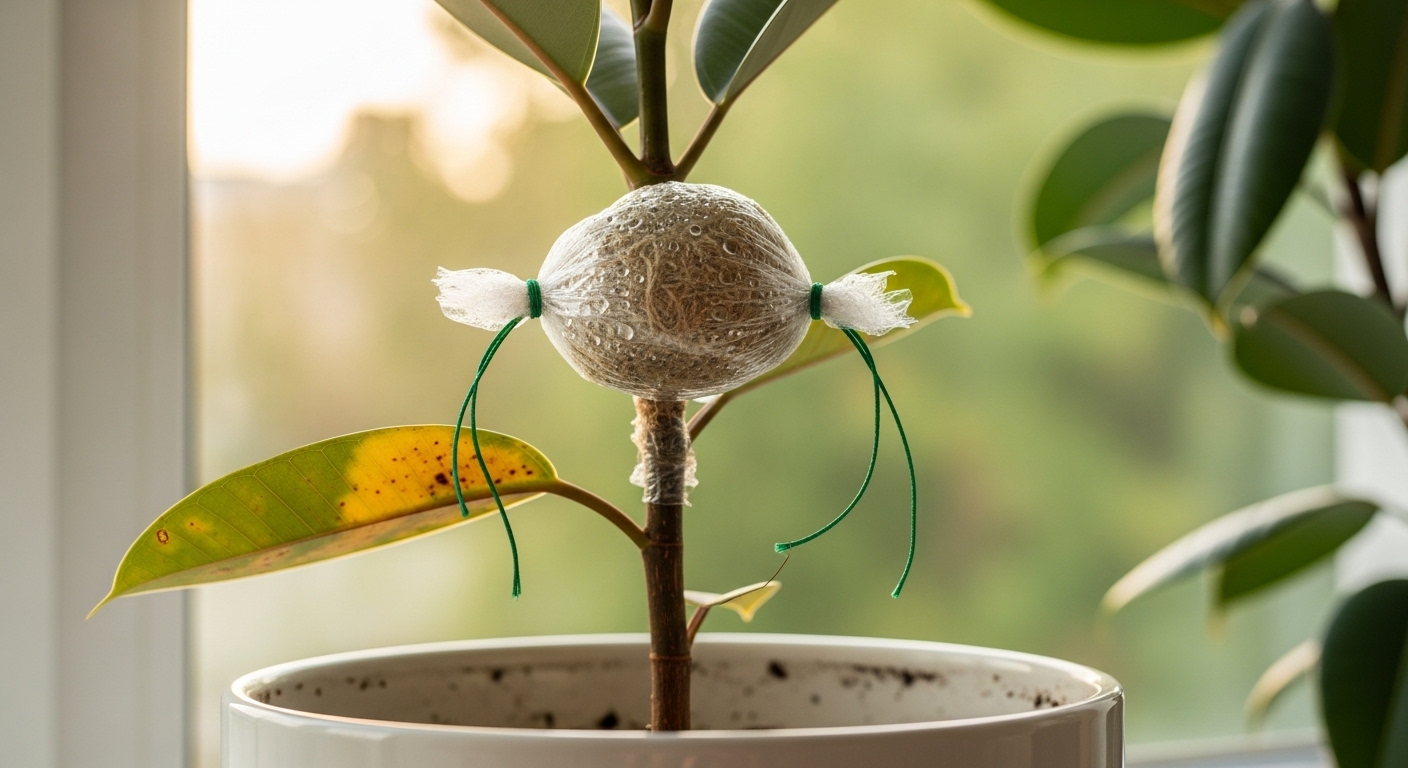
- Wrap with plastic: Wrap the moss tightly with clear plastic wrap, overlapping generously. Seal both ends with garden twine or grafting tape to hold moisture in. The moss should stay consistently damp inside the wrap.
One thing many growers notice at this stage: it's easy to make the moss too wet. If water is visibly pooling inside the plastic after a few days, unwrap, wring the moss out slightly, and rewrap. Soggy moss can encourage rot rather than rooting.
Rooting Timeline and What to Expect
This is where patience becomes the most important tool you have. After wrapping, place the plant back in its usual spot — good indirect light, normal watering routine. Don't disturb the wrap.
A general timeline for common species:
- Ficus elastica (rubber plant): roots typically visible in 4–6 weeks during active growing season
- Dracaena: often slower, 6–10 weeks; some growers report up to 12 weeks before visible roots
- Ficus benjamina: 5–8 weeks, though this species can be unpredictable
- Croton: 4–7 weeks in warm, humid conditions
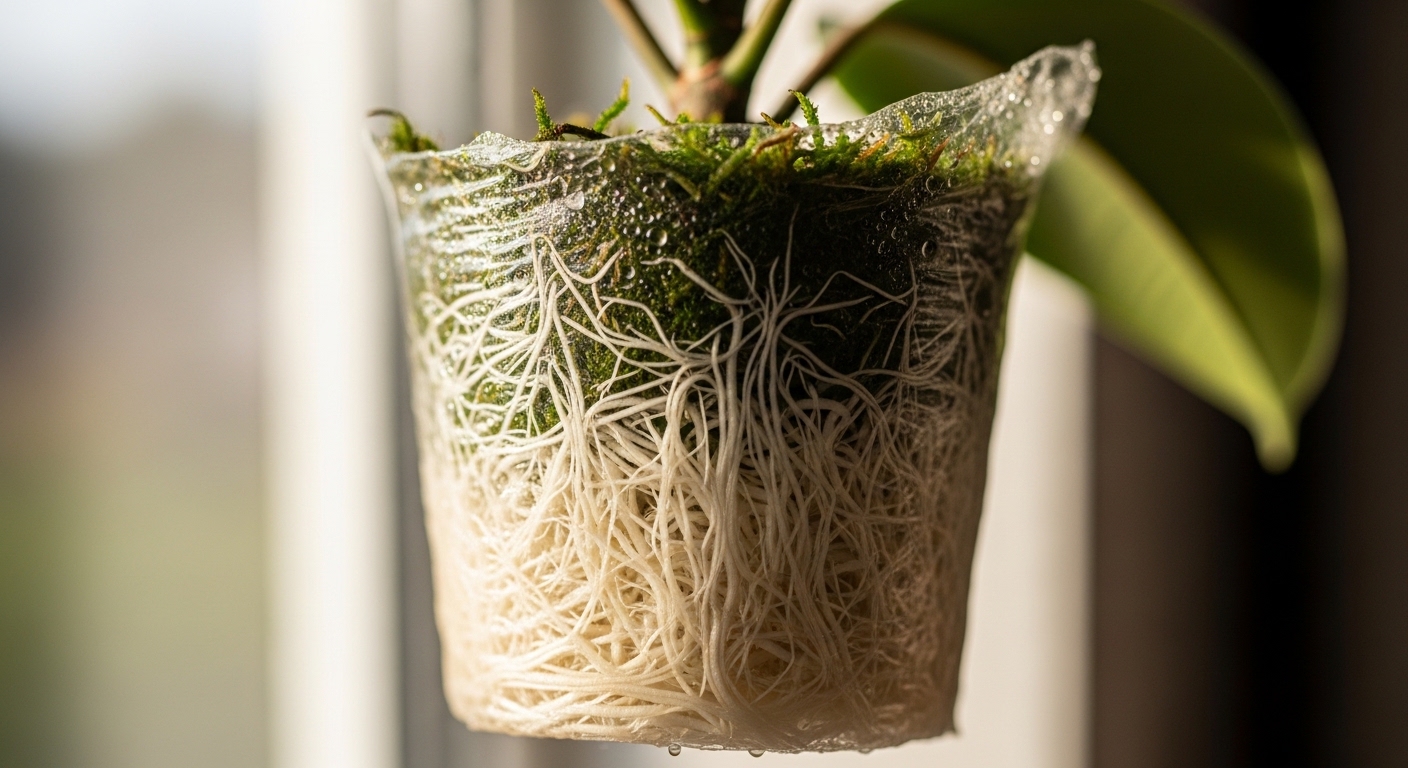
The first sign of success is usually a faint white thread visible through the clear plastic — a single root tip pushing into the moss. Within a week or two of that first sighting, the moss ball will often fill with a dense white root network. That's your cue to move to separation.
If you see no roots after 12 weeks, it's worth unwrapping carefully to check the wound. Sometimes the cambium heals over before rooting occurs, especially if the scraping step was skipped. In that case, re-score the area, reapply rooting hormone, and rewrap with fresh moss.
Common Air Layering Mistakes
Most failures with air layering come down to a handful of avoidable errors. Knowing what to watch for makes the difference between a healthy new plant and a frustrating restart.
- Incomplete girdling: If the bark ring isn't fully removed, the plant's vascular system remains intact and rooting is unlikely to occur. Take your time with this step.
- Moss that's too wet or too dry: The moss should feel like a wrung-out sponge — damp throughout but not dripping. Check the wrap every two weeks and mist through a small gap if the moss appears to be drying out.
- Wrapping in low light: The parent plant still needs to photosynthesize actively to support root development at the wound site. Keep it in its usual bright indirect light.
- Separating too early: Cutting the stem before the root system is well-established is one of the most common mistakes. Wait until roots are clearly filling the moss ball, not just a few threads at the edge.
- Using a diseased or stressed parent plant: Air layering draws on the parent plant's resources. A plant already struggling with root rot, pests, or severe underwatering will have little energy to redirect toward rooting at the wound site.
Potting Up Your New Plant
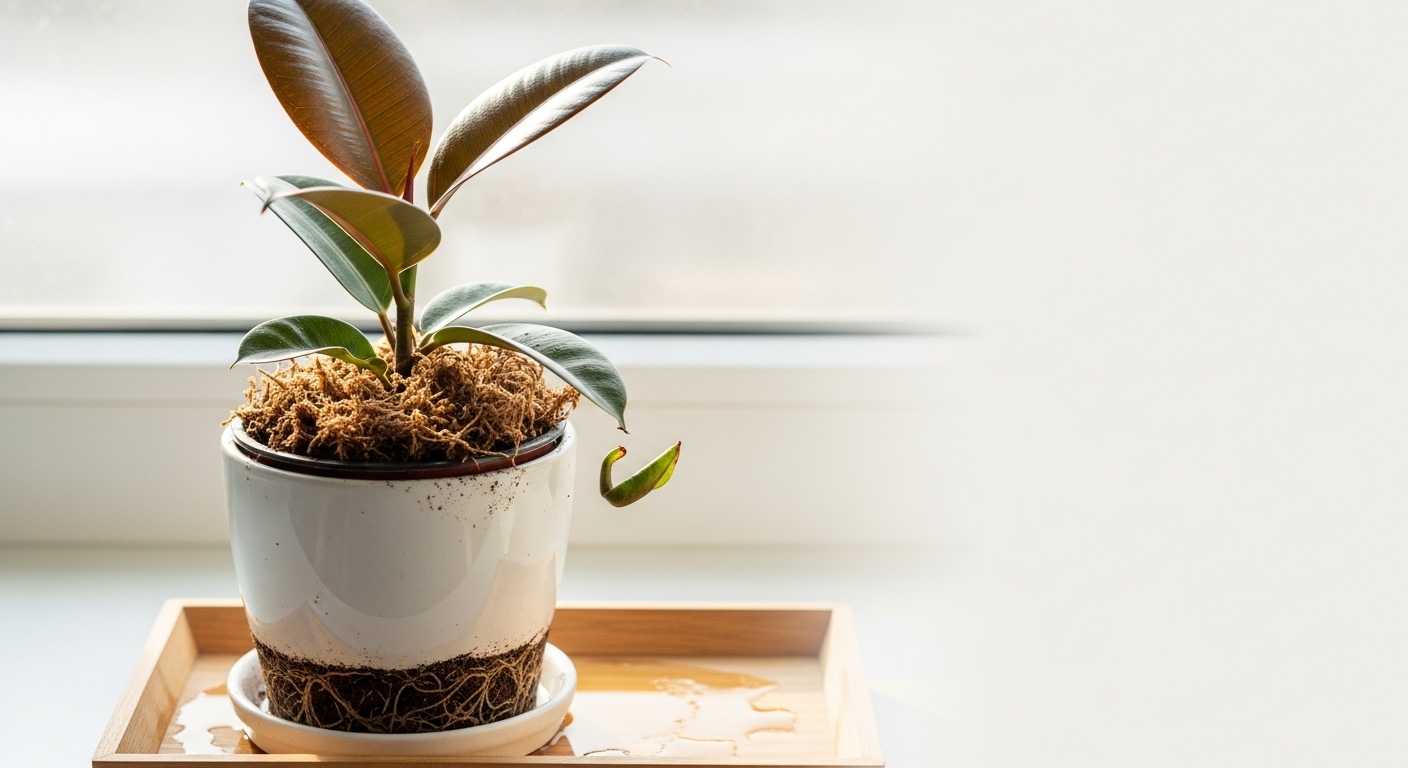
Once roots are dense and white throughout the moss ball, it's time to separate the cutting from the parent plant. Cut the stem cleanly just below the root mass using sharp, sterilized pruning shears. Remove the plastic wrap carefully, but leave the sphagnum moss intact around the roots — it will integrate naturally into the new potting mix and disturbing it risks snapping the young roots.
For potting, choose a mix that balances moisture retention with good drainage:
- 60% quality peat-free potting mix
- 20% perlite for aeration
- 20% coarse bark or coconut coir
Select a pot only slightly larger than the root ball — roughly 2–3 cm wider on each side. A pot that's too large holds excess moisture that young roots can't yet access, which can lead to root rot in the early weeks.
After potting, water thoroughly and place the new plant in bright indirect light. Avoid direct sun for the first two to three weeks — the root system is still establishing, and high light intensity increases water demand before the roots are ready to meet it. Many growers find that new air-layered plants settle in faster than expected, showing new leaf growth within three to four weeks of potting up.
The parent plant, now cut back, will often respond by pushing new growth from dormant buds lower on the stem. It's a satisfying outcome — two plants where there was one, and a tidier silhouette on the original.
Air layering rewards the growers who slow down. It's not a technique for impatience — but for woody plants that resist other methods, it's often the most reliable path to a healthy new plant. Once you've done it once, the process becomes intuitive, and you'll start eyeing every leggy stem with new possibility.
If you're building a propagation practice at home, it's worth exploring how humidity and seasonal timing affect rooting success across different methods — water propagation and soil propagation each have their own rhythms worth understanding alongside this one.


Comments
Post a Comment