Orchid Care Guide: Keep Phalaenopsis Blooming
Phalaenopsis orchids have a reputation for being delicate, but most of the time when they struggle, the cause is surprisingly straightforward. Too much water, too little light, or the wrong potting medium — and suddenly those elegant blooms are gone and the roots look like something went wrong underground. This orchid care guide walks you through everything moth orchid owners actually need to know: from reading your plant's roots and leaves to coaxing a second bloom spike out of a plant that looks like it's done for the season.
Species Overview & Origin
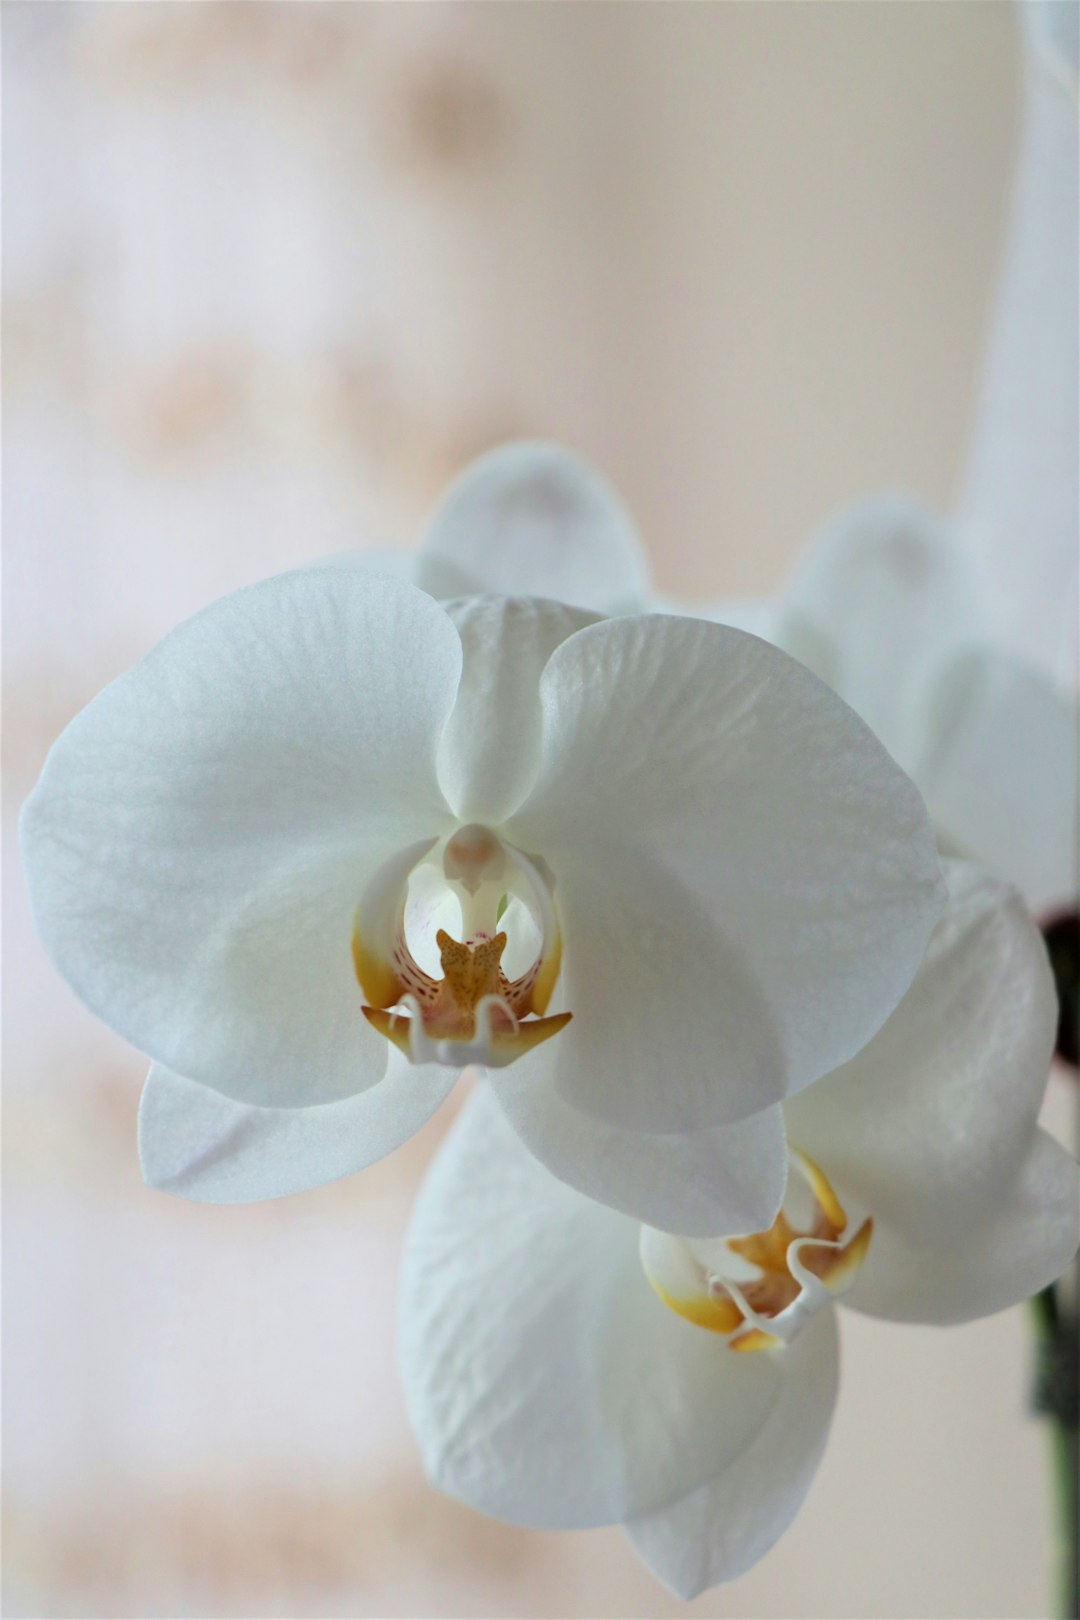
Phalaenopsis — commonly called the moth orchid — is native to tropical and subtropical Asia, growing naturally in warm, humid forests where it clings to tree bark rather than soil. That epiphytic lifestyle is the key to understanding almost every care decision you will make. In the wild, the roots are exposed to air, drenched by rain, and then allowed to dry out between showers. The plant is not a ground dweller, and it never evolved to sit in dense, moisture-retaining potting mix.
There are dozens of Phalaenopsis species, but the hybrids sold in most garden centers and supermarkets are bred for long bloom times and tolerance of indoor conditions. They generally produce one or two arching flower spikes, each carrying anywhere from five to twenty blooms that can last two to four months. After blooming, the plant enters a quieter phase — not dead, just resting — and with the right conditions, it can rebloom reliably once or twice a year.
Understanding this background matters because it reframes how you think about the pot, the watering schedule, and even the fertilizer. You are not growing a typical houseplant. You are recreating, in a small way, the conditions of a forest canopy.
Light & Temperature Needs
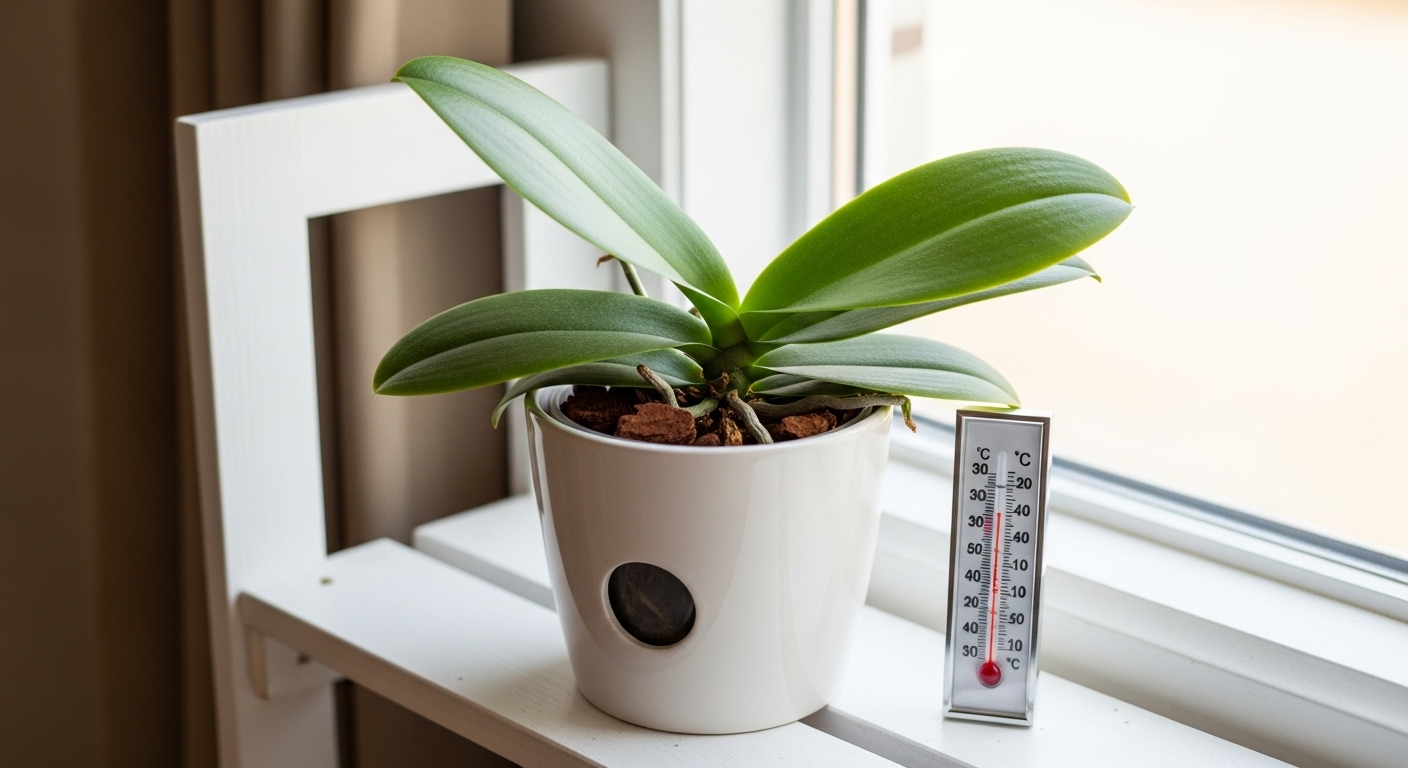
Phalaenopsis orchids need bright, indirect light for around ten to twelve hours a day. A north- or east-facing windowsill generally works well. South or west windows can work too, but direct afternoon sun will scorch the leaves — you will notice bleached, papery patches appearing on the upper leaf surface within a few days of overexposure.
The leaves themselves are a useful diagnostic tool. Healthy Phalaenopsis leaves are a medium green. Deep, dark green leaves often indicate the plant is not getting enough light and is producing extra chlorophyll to compensate. Yellowish-green leaves in a plant that is otherwise healthy can suggest too much direct light. Neither extreme encourages blooming.
Temperature plays a surprisingly important role in triggering a new bloom spike. Phalaenopsis generally initiates flowering in response to a drop in nighttime temperature — typically when nights fall to around 13–16°C (55–61°F) for a period of four to six weeks. Many growers find that placing the plant near a slightly drafty window in autumn naturally provides this temperature differential. Avoid cold drafts below 10°C (50°F) and keep the plant away from heating vents, which dry the air and stress the roots.
A consistent 5–8°C difference between day and night temperatures in autumn is one of the most reliable ways to encourage a Phalaenopsis to initiate a new flower spike.
Watering & Humidity Guide
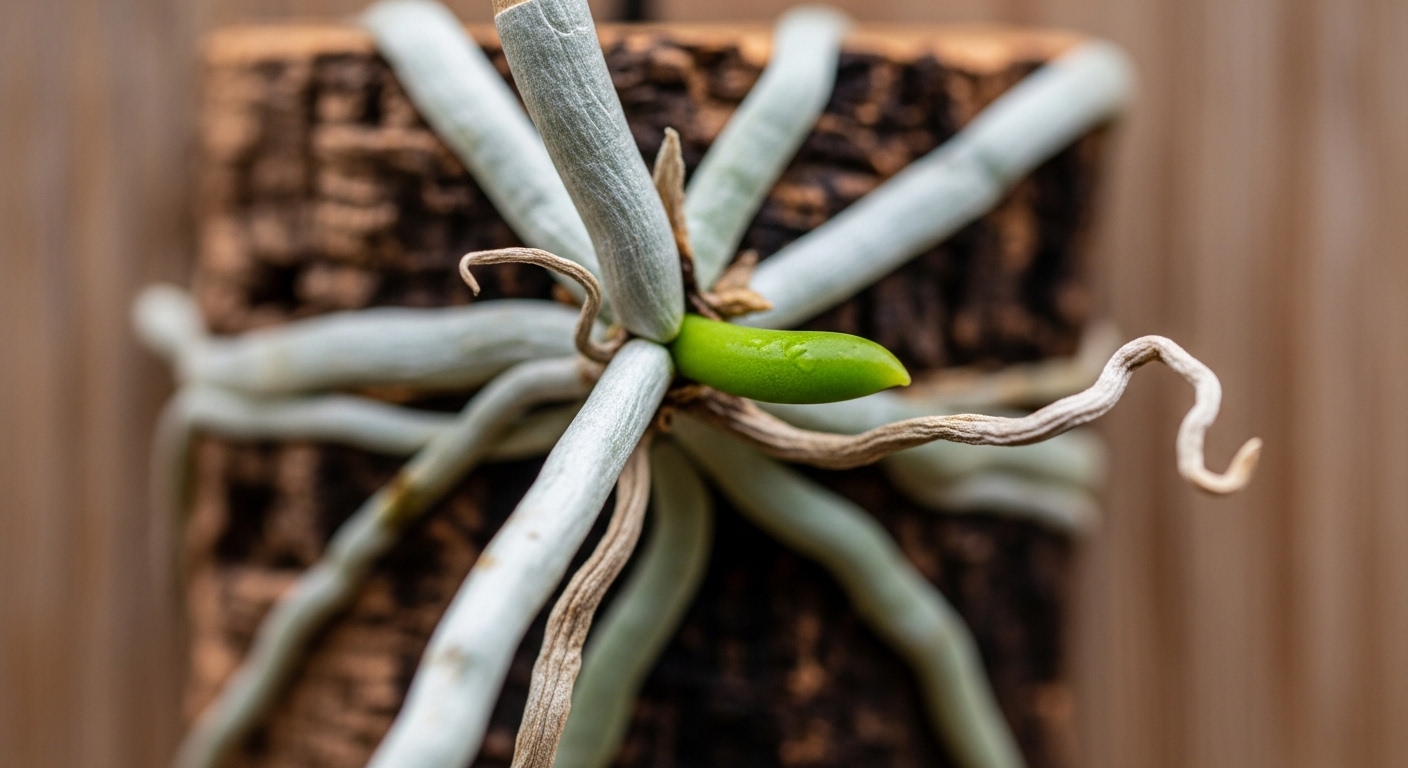
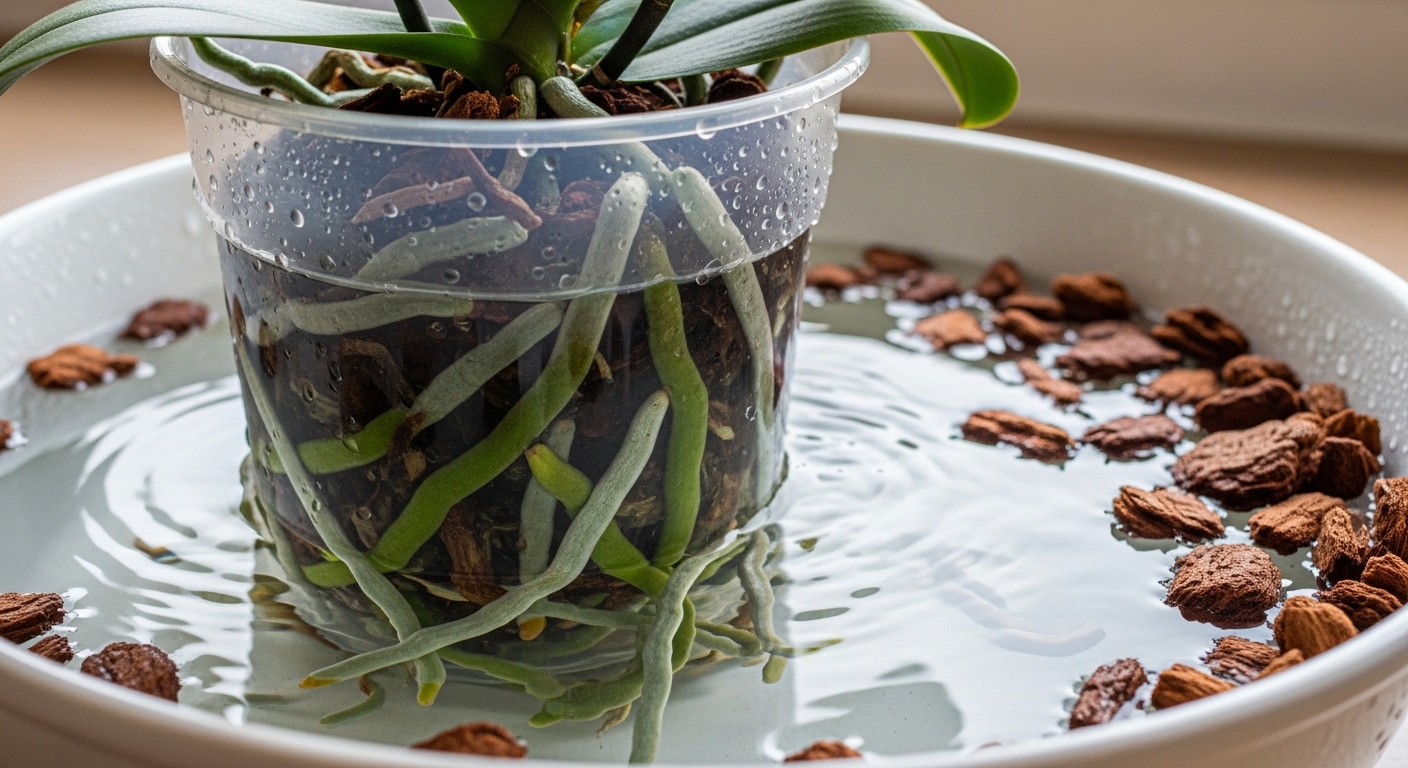
The single most effective watering method for Phalaenopsis is the soak-and-dry approach. Place the pot in a basin of room-temperature water for ten to fifteen minutes, allowing the roots and bark medium to absorb moisture fully. Then lift the pot out, let it drain completely, and return it to its spot. Water again only when the top layer of bark feels dry and the roots visible through a clear pot have turned silvery-white rather than green.
In most indoor environments, this works out to watering roughly every seven to ten days in summer and every ten to fourteen days in winter. But the calendar is less useful than the roots themselves — check them before you water, not on a fixed schedule.
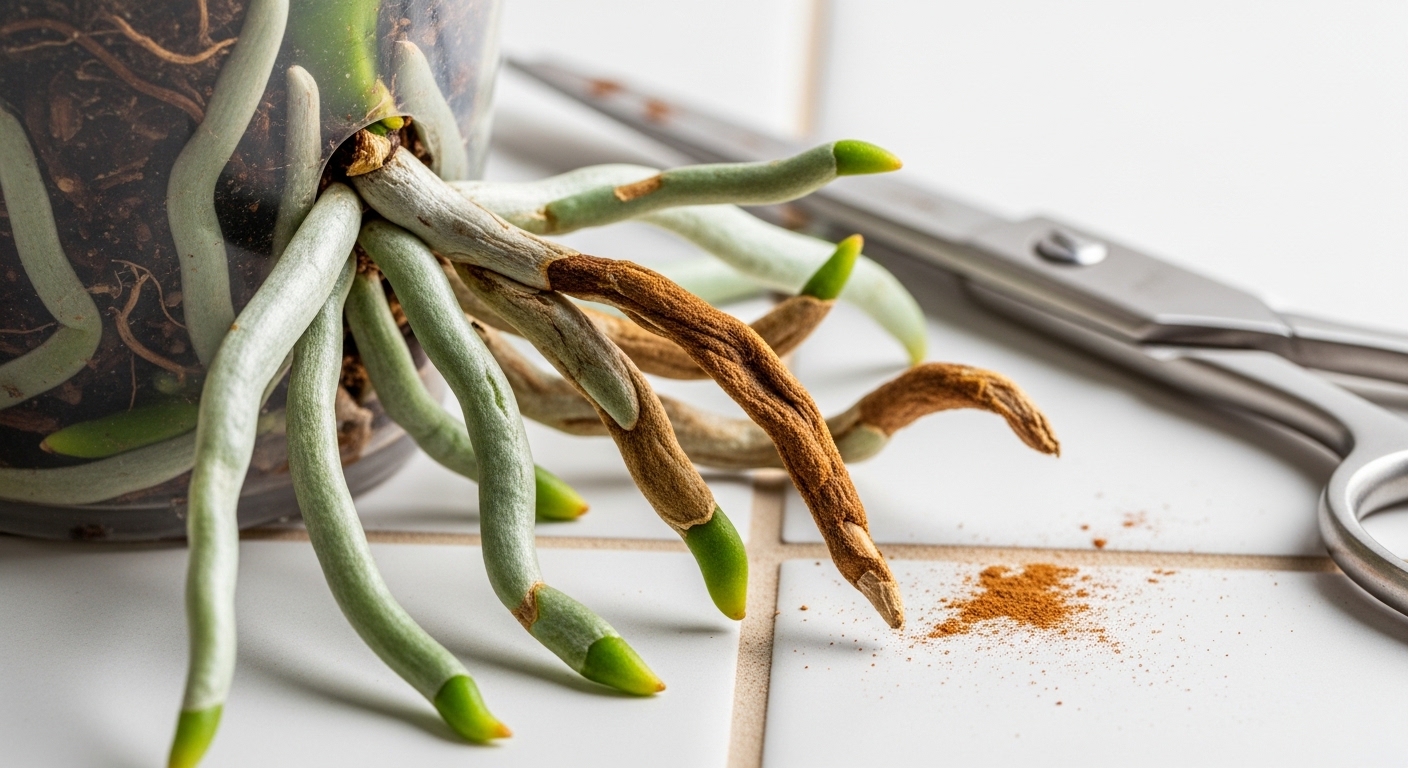
One frustrating part of Phalaenopsis care is that overwatering damage often looks identical to underwatering damage at first: wilting, soft leaves, a plant that seems to be struggling. The difference shows up at the roots. Overwatered roots turn brown, mushy, and hollow. Underwatered roots are shriveled but still firm. Getting in the habit of lifting the pot and checking root color through the pot walls saves a lot of guesswork.
Humidity between 50–70% is generally ideal. Most homes run drier than this, especially in winter with central heating. A pebble tray filled with water placed beneath the pot can help raise local humidity slightly, as can grouping plants together. Avoid misting the leaves directly — water sitting in the crown of the plant overnight is a common cause of crown rot.
Soil, Potting & Fertilizing
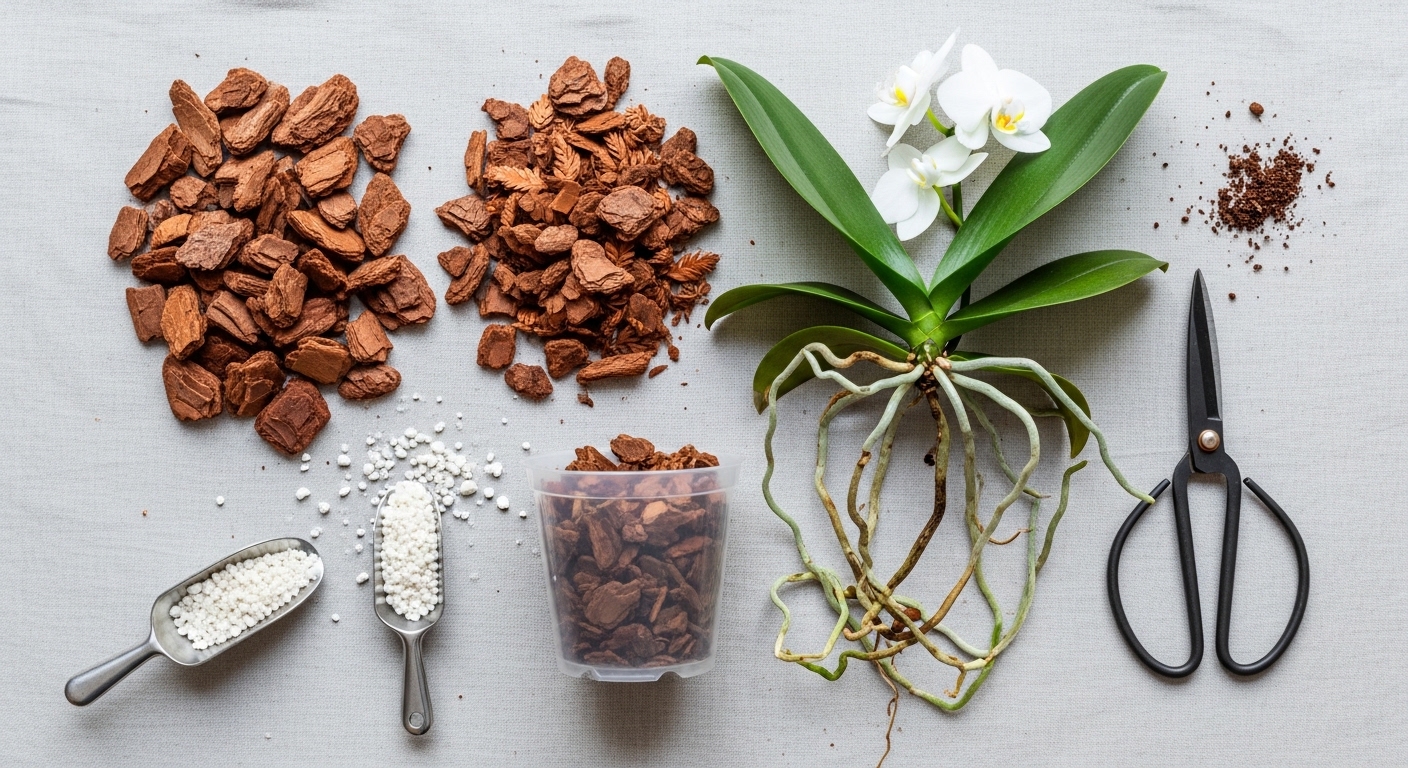
Standard potting soil is not suitable for Phalaenopsis. Because the roots need to breathe and dry out between waterings, the medium must be chunky, open, and fast-draining. The most widely used options are:
- Coarse fir bark — the classic orchid medium, provides excellent aeration and breaks down slowly over one to two years.
- Sphagnum moss — retains more moisture, useful in very dry environments, but requires more careful watering to avoid rot.
- Bark and perlite mix — a popular combination that improves drainage further; many growers add around 20–30% perlite to bark by volume.
- LECA (clay pebbles) — used in semi-hydroponic setups; requires a different watering and fertilizing approach.
Repot your Phalaenopsis every one to two years, or sooner if the bark has broken down into fine, soggy particles. The best time to repot is just after blooming ends, when the plant is entering its rest phase. Choose a pot only slightly larger than the root mass — orchids tend to bloom more reliably when slightly root-bound.
For fertilizing, a balanced orchid fertilizer applied at half the recommended strength works well during the active growing season (roughly spring through early autumn). Many growers follow a "weakly, weekly" approach — a dilute feed with every watering rather than a full-strength dose once a month. In autumn and winter, reduce feeding to once a month or stop entirely to allow the plant to rest and prepare for blooming.
Common Problems & Fixes
Most Phalaenopsis problems trace back to water, light, or air circulation. Here are the issues growers encounter most often, and what to look for:
Yellow leaves (lower): A small amount of lower leaf yellowing is normal as the plant sheds older leaves. If multiple leaves are yellowing at once, check for overwatering or root rot first.
Wrinkled, accordion-like leaves: Usually a sign of underwatering or root damage that prevents water uptake. Check root health before increasing watering frequency.
Brown, mushy roots: Root rot from overwatering or poor drainage. Trim affected roots with sterile scissors, dust cut ends with cinnamon (a mild antifungal), and repot in fresh bark.
No new bloom spike after rest period: The plant may not have experienced enough temperature differential. Try moving it to a cooler spot for four to six weeks in autumn.
Bud blast (buds dropping before opening): Often caused by sudden temperature changes, ethylene gas from ripening fruit nearby, or very low humidity. Keep the plant away from fruit bowls and heating vents during budding.
- Check roots first — they reveal more than leaves do.
- Adjust watering before changing anything else.
- Improve air circulation around the pot if roots look consistently soggy.
- Address light levels only after ruling out water issues.
- Repot as a last resort during the growing season — it adds stress during an already difficult time.
Frequently Asked Questions
How do I get my Phalaenopsis to rebloom?
After the current flower spike finishes, cut it back to just above the second or third node from the base — sometimes a secondary spike will emerge from that node. Then give the plant a period of cooler nighttime temperatures (around 13–16°C) for four to six weeks in autumn. Continue regular watering and reduce fertilizing. Most healthy plants will initiate a new spike within eight to twelve weeks of this treatment.
Should I cut the flower spike after blooming?
You have two options. Cutting the spike back to the base encourages the plant to put energy into root and leaf growth, which generally produces a stronger bloom the following season. Cutting to a node lower on the spike may produce a secondary bloom sooner, but often with fewer flowers. Many growers prefer the full cut for long-term plant health.
Why are my orchid roots growing out of the pot?
Aerial roots growing above the potting medium are completely normal for Phalaenopsis — this is how the plant grows in nature. Do not push them back into the pot or cut them off unless they are brown and dead. They absorb moisture from the air and are a sign of an actively growing plant.
Can I use tap water for my orchid?
In most cases, tap water is fine. If your water is heavily chlorinated, leaving it in an open container for an hour before watering allows some chlorine to dissipate. Very hard water with high mineral content can cause white salt deposits on roots and bark over time — if this is a concern, collected rainwater or filtered water is a good alternative.
Is Phalaenopsis toxic to cats or dogs?
Phalaenopsis orchids are generally considered non-toxic to cats and dogs. For comprehensive and up-to-date information on plant toxicity, the ASPCA Animal Poison Control Center is a reliable reference.
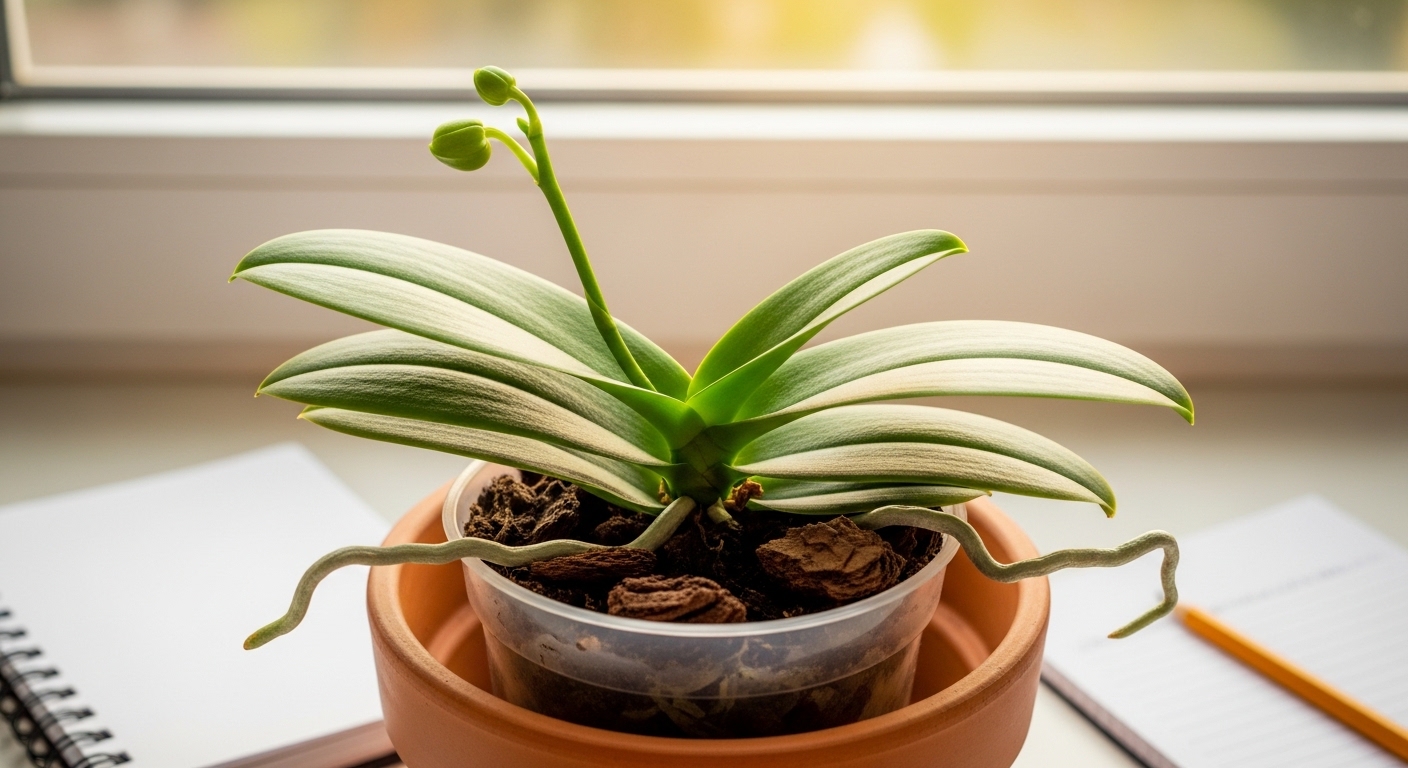
Phalaenopsis orchids reward patience and observation more than any complicated routine. Once you learn to read the roots and respect the plant's natural rhythm — active growth, rest, and bloom — the care becomes intuitive. Your next step: check your plant's roots today and note whether they look silver-white or green. That single observation will tell you more than any watering schedule. If you are also curious about other epiphytic plants that thrive in similar conditions, exploring care for bromeliads or mounted ferns is a natural next step.


Comments
Post a Comment