How to Revive a Dying Houseplant: Step-by-Step
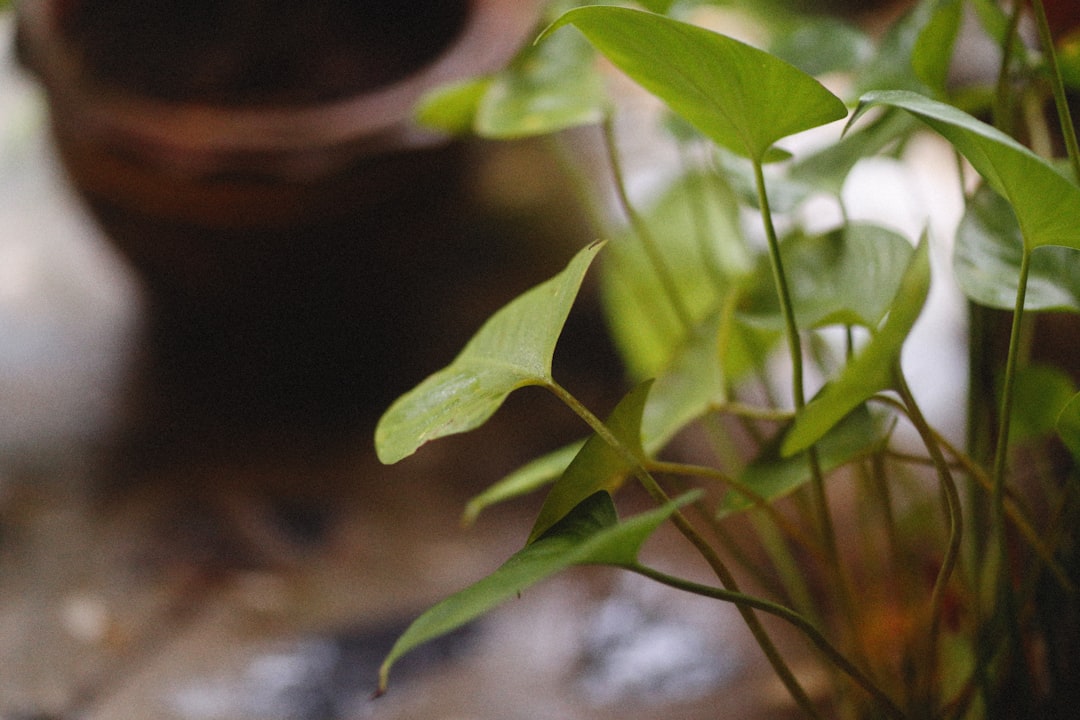
You notice the leaves drooping, the soil pulling away from the pot edges, or stems turning soft and brown. Before you give up on your struggling plant, take a breath — most houseplants are far more resilient than they look. Learning how to revive a dying houseplant is one of the most rewarding skills a plant parent can develop. With a calm, methodical approach, you can diagnose what went wrong, address the root cause (literally), and guide your plant back toward healthy growth. This guide walks you through every step, from first assessment to long-term recovery.
Identifying the Problem: What Is Your Plant Telling You?
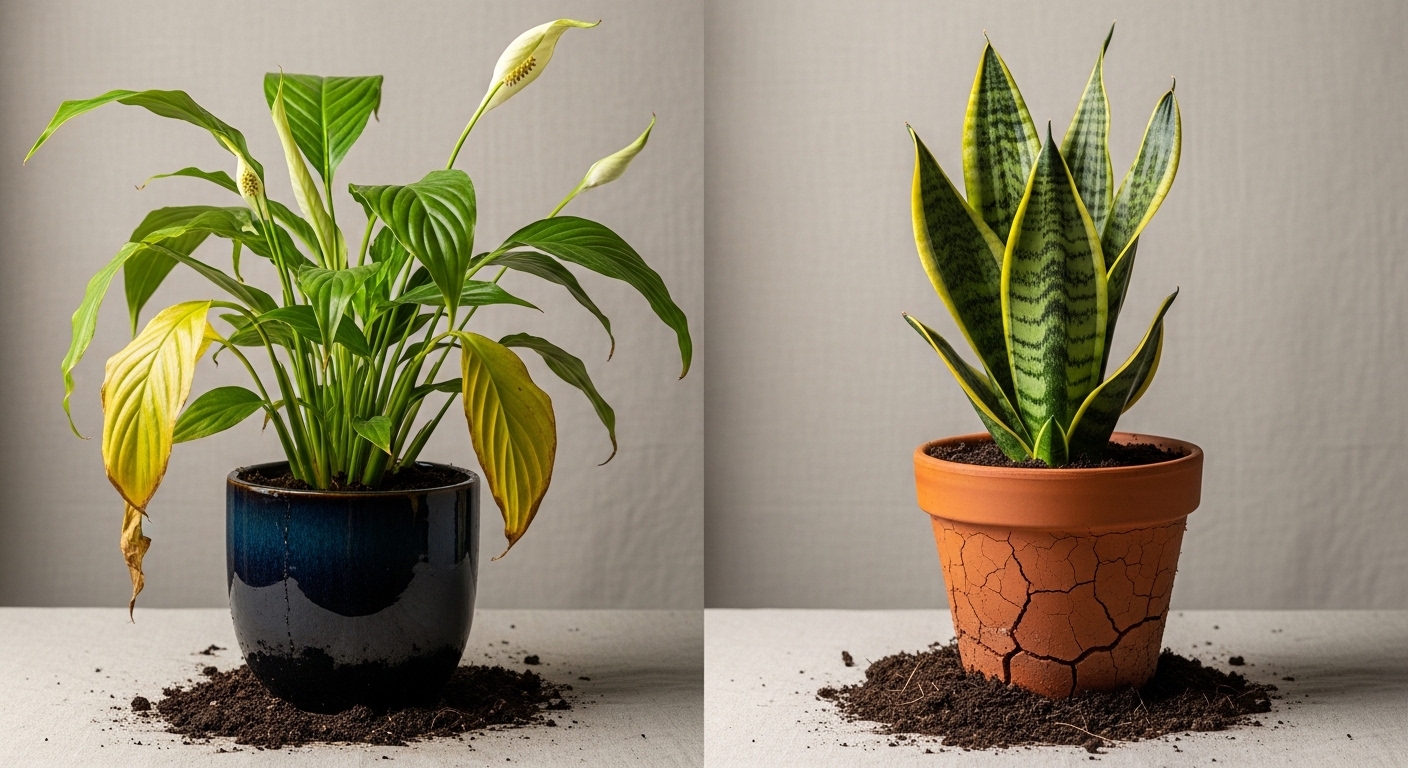
Before reaching for the watering can or scissors, spend a few minutes observing your plant carefully. Plants communicate stress through very specific visual cues, and misreading those signals is one of the most common reasons rescue attempts fail. A plant dropping yellow leaves from overwatering needs the exact opposite treatment from one with crispy brown edges from drought.
Work through these key observations systematically:
- Yellowing leaves: Often signals overwatering, poor drainage, or nutrient deficiency.
- Brown, crispy leaf tips or edges: Typically indicates underwatering, low humidity, or salt buildup in the soil.
- Soft, mushy stems: A strong indicator of root rot caused by prolonged overwatering or waterlogged soil.
- Wilting despite moist soil: May point to root rot — the roots can no longer transport water even when it is present.
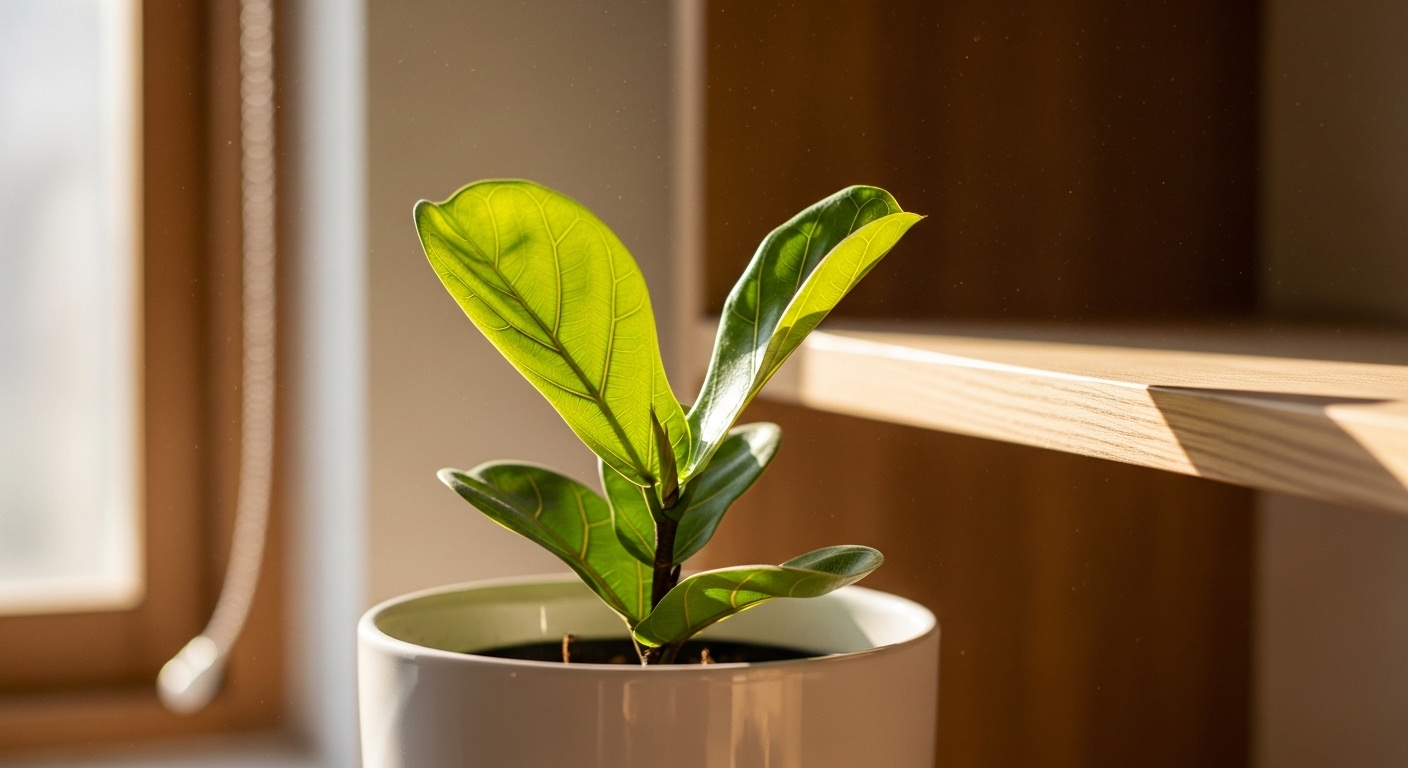
- Leggy, pale growth: Usually a sign of insufficient light.
- Sticky residue or fine webbing on leaves: Points to pest activity such as aphids, scale, or spider mites.
Lift the pot and check its weight. A very light pot suggests the soil is bone dry; an unexpectedly heavy pot that has been sitting in low light for weeks may indicate waterlogged roots. These physical checks take only seconds and can completely change your diagnosis.
The Most Common Causes Behind a Struggling Plant
Understanding the underlying cause is what separates a temporary fix from a lasting recovery. In most cases, a dying houseplant can be traced back to one of a handful of very common care issues.
- Overwatering — The single most frequent cause of houseplant decline. Consistently wet soil deprives roots of oxygen, creating the perfect environment for root rot fungi to take hold.
- Underwatering — Prolonged drought stress causes roots to shrink and die back, making it harder for the plant to recover even after watering resumes.
- Incorrect light placement — A shade-loving plant baking in direct afternoon sun, or a sun-lover pushed into a dark corner, will slowly decline no matter how well you water it.
- Poor drainage — Pots without drainage holes, or heavy soil mixes that retain too much moisture, can cause root problems even with careful watering habits.
- Pest infestation — Sap-sucking insects like fungus gnat larvae, spider mites, or mealybugs can silently weaken a plant over weeks before visible symptoms appear.
- Compacted or exhausted soil — Old potting mix breaks down over time, losing its structure and nutrient content, leaving roots starved and suffocated.
Many struggling plants are dealing with more than one of these issues simultaneously, which is why a thorough check — roots included — gives you the clearest picture before you begin treatment.
Step-by-Step Treatment: Rescuing Your Plant
Once you have a working diagnosis, it is time to act. Move through these steps in order — skipping ahead without addressing root health first often leads to repeated failure.
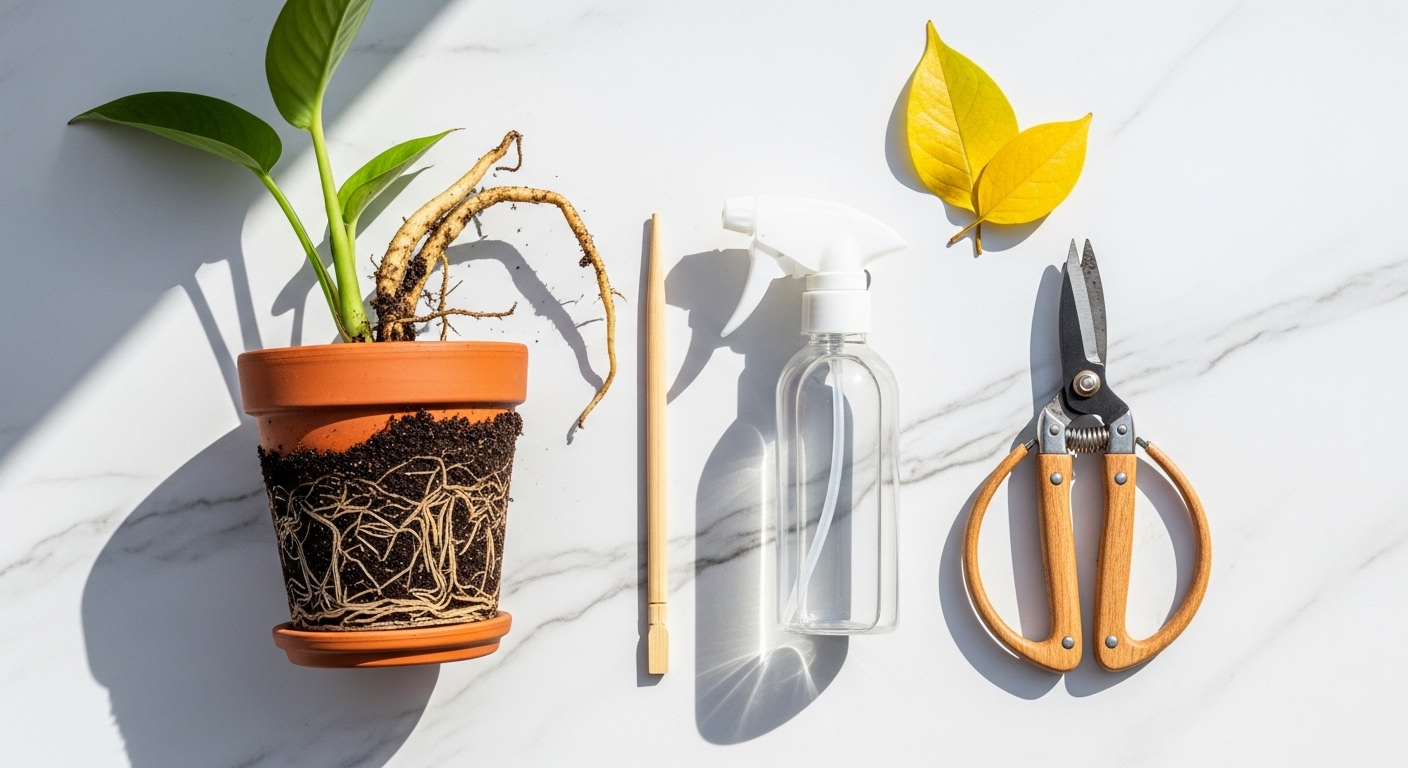
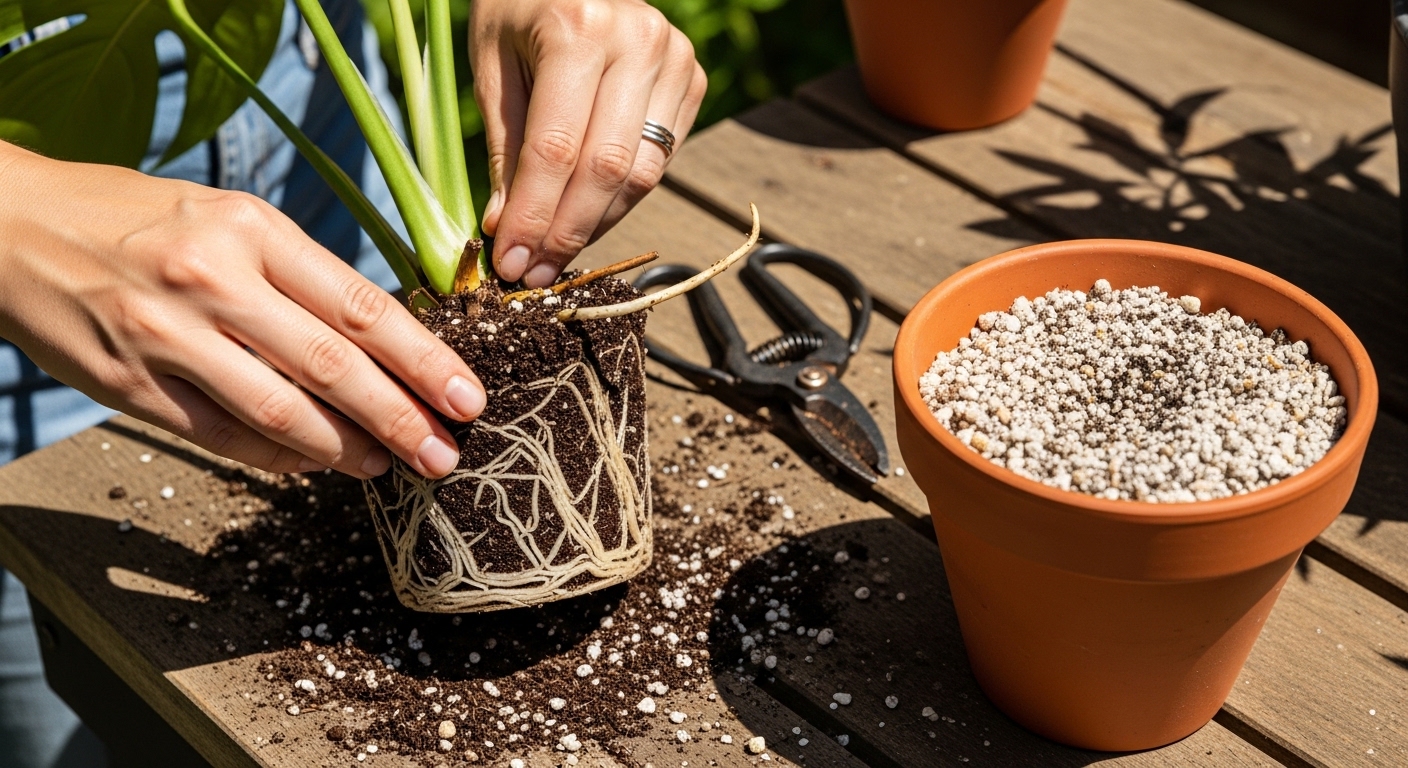
Step 1 — Remove the plant from its pot. Gently tip the plant out and examine the root ball. Healthy roots are firm and white or light tan. Rotted roots are brown or black, mushy, and may smell unpleasant. Trim all dead, mushy roots cleanly with sterilized scissors or pruning shears, cutting back to firm, healthy tissue.
Step 2 — Trim dead foliage. Remove any fully dead leaves, brown stems, or heavily damaged growth. This is not just cosmetic — dead plant material can harbour fungal spores and redirects no energy toward recovery. Leave any leaf that still has green tissue, even if partially damaged.
Step 3 — Repot into fresh, appropriate mix. Never return a recovering plant to old, compacted, or waterlogged soil. Choose a well-draining potting mix suited to the species — a chunky mix with perlite works well for most tropical houseplants. Select a pot with drainage holes, and size down if significant root mass was lost.
Step 4 — Adjust watering immediately. If overwatering caused the problem, allow the top 3–4 cm of soil to dry out before watering again. If underwatering was the issue, water thoroughly until it drains freely from the bottom, then allow the top 2 cm to dry before the next watering. Consistency matters far more than frequency.
Step 5 — Reassess the light situation. Move the plant to a location that better matches its natural preferences. Most tropical houseplants recover well in bright, indirect light — enough to read comfortably by, but without harsh direct sun hitting the leaves during recovery.
A plant in recovery mode has fewer functional roots and leaves, meaning it can absorb and process less than a healthy plant. Think of this phase as rest, not growth — your job is to reduce stress, not push new development.
Natural vs. Targeted Solutions for Common Issues
Depending on what caused your plant's decline, you may need to go beyond basic care adjustments. Here is how to approach the most common recovery scenarios with targeted, practical solutions.
For root rot: After trimming affected roots, many growers find that allowing the trimmed roots to air-dry for 30–60 minutes before repotting can help. Some also dust cut surfaces lightly with powdered cinnamon, which has naturally antifungal properties in many horticultural applications. Avoid fertilizing for at least 4–6 weeks after a root rot rescue — damaged roots cannot process nutrients effectively and fertilizer salts can cause further stress.
For pest-related decline: Isolate the affected plant immediately to prevent spread. Wipe leaves with a damp cloth to physically remove insects, then treat with a diluted neem oil solution or insecticidal soap applied to all leaf surfaces, including undersides. Repeat applications every 5–7 days for at least three cycles. For fungus gnat larvae in the soil, allowing the soil to dry more thoroughly between waterings is generally the most effective long-term control.
Symptom: Wilting despite moist soil → Likely cause: Root rot or compacted, airless soil → Fix: Unpot, trim affected roots, repot in fresh well-draining mix, reduce watering frequency.
Symptom: Pale, stretching growth → Likely cause: Insufficient light → Fix: Move to a brighter location with indirect light, or supplement with a full-spectrum grow light. Follow manufacturer instructions and consult a licensed electrician if permanent installation is needed.
Symptom: Brown leaf tips with green center → Likely cause: Low humidity or salt buildup → Fix: Flush the soil thoroughly with water to leach accumulated salts, increase ambient humidity with a pebble tray or humidifier.
Prevention: Building Long-Term Plant Resilience
The best rescue is the one you never need. Once your plant begins to stabilize, shifting your focus toward prevention will protect your efforts and keep the plant thriving long-term.
Establish a consistent observation habit. A quick weekly check — feeling the soil, scanning leaves for discolouration or pests, checking for new growth — catches problems when they are still minor and easy to address. Many experienced plant parents find that watering on a fixed day is less effective than watering based on soil feel, since seasonal changes and temperature fluctuations affect drying rates significantly.
Soil health matters more than most beginners realise. Repotting into fresh mix every 1–2 years (depending on the species and pot size) prevents the compaction and nutrient depletion that silently weaken plants over time. When repotting, choose a pot only 2–5 cm larger in diameter than the current one — oversized pots hold excess moisture that roots cannot yet access, increasing rot risk.
Seasonal adjustments are equally important. Most houseplants slow their growth significantly in autumn and winter, meaning they need less water and no fertilizer during dormancy. Continuing a summer watering schedule through winter is one of the most common causes of overwatering damage.
When to Repot, Propagate, or Start Fresh
Sometimes, despite your best efforts, a plant may be too far gone to fully recover — and recognising that point is part of being a thoughtful plant parent, not a failure. If more than 80% of the root system is lost to rot, the plant has very little foundation to rebuild from. In these cases, propagation may offer a better path forward than continued rescue attempts.
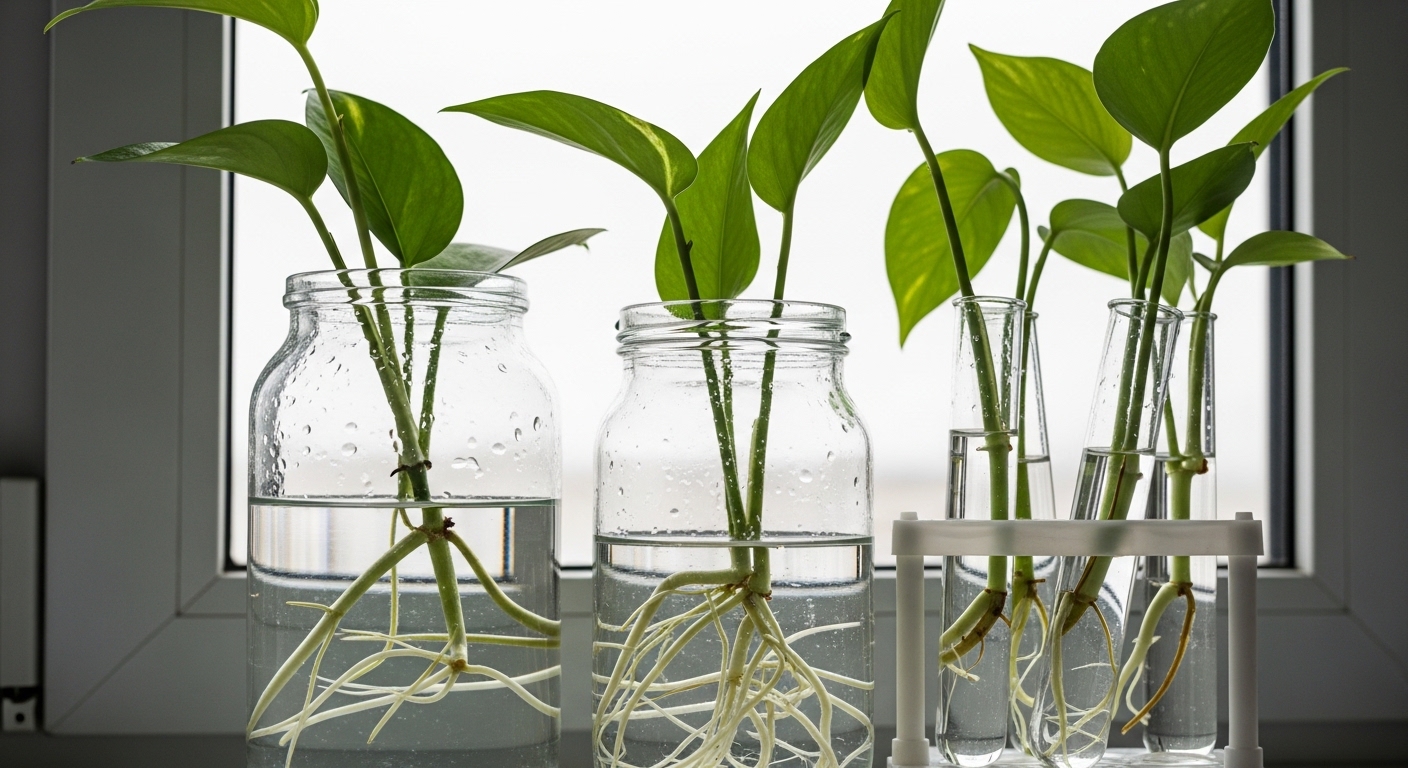
Check whether any stems or leaves are still firm and healthy enough to take a cutting. Many houseplants — pothos, philodendrons, tradescantia, begonias — can be propagated from a single healthy node even when the parent plant is severely compromised. Place cuttings in clean water or moist propagation mix and keep them in warm, bright indirect light.
If the plant shows no new growth, no firm roots, and no healthy stems after 6–8 weeks of consistent, corrected care, it may be time to let go. Compost the plant material, sterilize the pot thoroughly, and use what you learned to give the next plant a better start.
Every plant you rescue — or even lose — teaches you something that makes you a better grower. The skills you build diagnosing root rot, adjusting watering habits, and learning to read your plant's signals will serve every plant in your home for years to come. Recovery is rarely instant, but with patience and the right adjustments, most houseplants have a remarkable ability to bounce back.

Comments
Post a Comment