Raised Bed Gardening for Small Yards: Full Guide
Small yards have a way of making you feel like productive gardening is out of reach. Not enough ground space, poor native soil, awkward sun angles — the obstacles stack up fast. But raised bed gardening sidesteps most of those problems in one move. You control the soil, the drainage, the layout, and the depth. Even a single 1.2 x 2.4 metre bed can produce a surprising amount of food through a season. This guide walks you through everything: building or buying a raised bed, filling it with the right soil mix, planning your crop layout, and keeping plants watered and fed all season long.
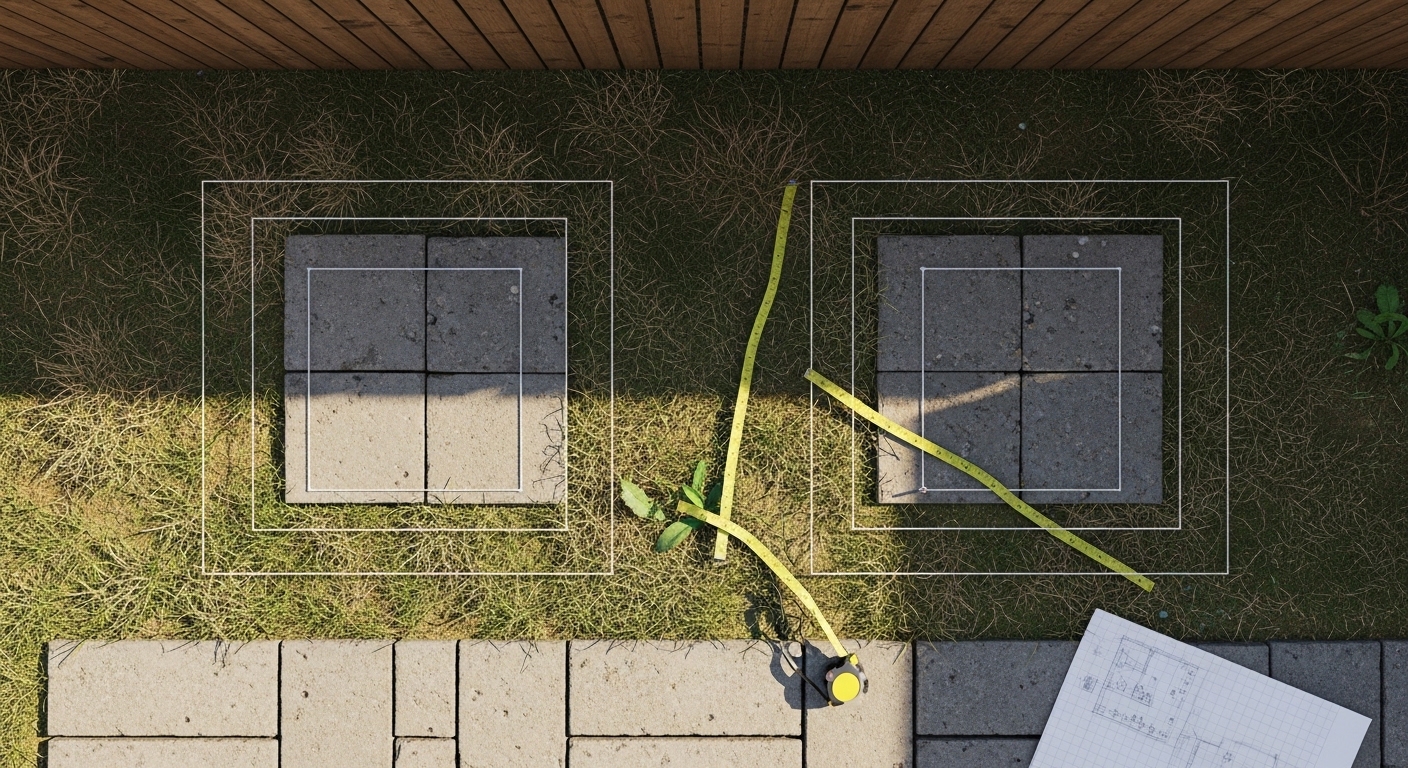
Planning Your Space
Before you order lumber or click 'buy' on a galvanized kit, spend a few minutes observing your yard through the day. Sunlight is the non-negotiable variable. Most vegetables need at least six hours of direct sun, so track where that falls — and where it doesn't.
Width matters more than most beginners expect. A bed wider than 1.2 metres means you'll be leaning in to reach the centre, which compacts the soil and strains your back. Keep beds narrow enough to reach the middle comfortably from either side. Length is flexible — 2.4 metres is a common standard because it works with typical lumber dimensions and leaves room for crop rotation across seasons.
Think about access paths too. Leaving at least 60 cm between beds lets you kneel, crouch, and move a watering can without knocking anything over. On a small patio or lawn edge, that spacing also makes the whole setup feel intentional rather than crowded.
- Mark out your intended bed footprint with string or chalk before committing.
- Note which direction is south (or north, in the Southern Hemisphere) to anticipate shade from fences and walls.
- Consider placing taller crops — tomatoes, beans, trellised cucumbers — on the north side of the bed so they don't shade shorter plants.
- Check for underground utilities before any digging or anchoring.
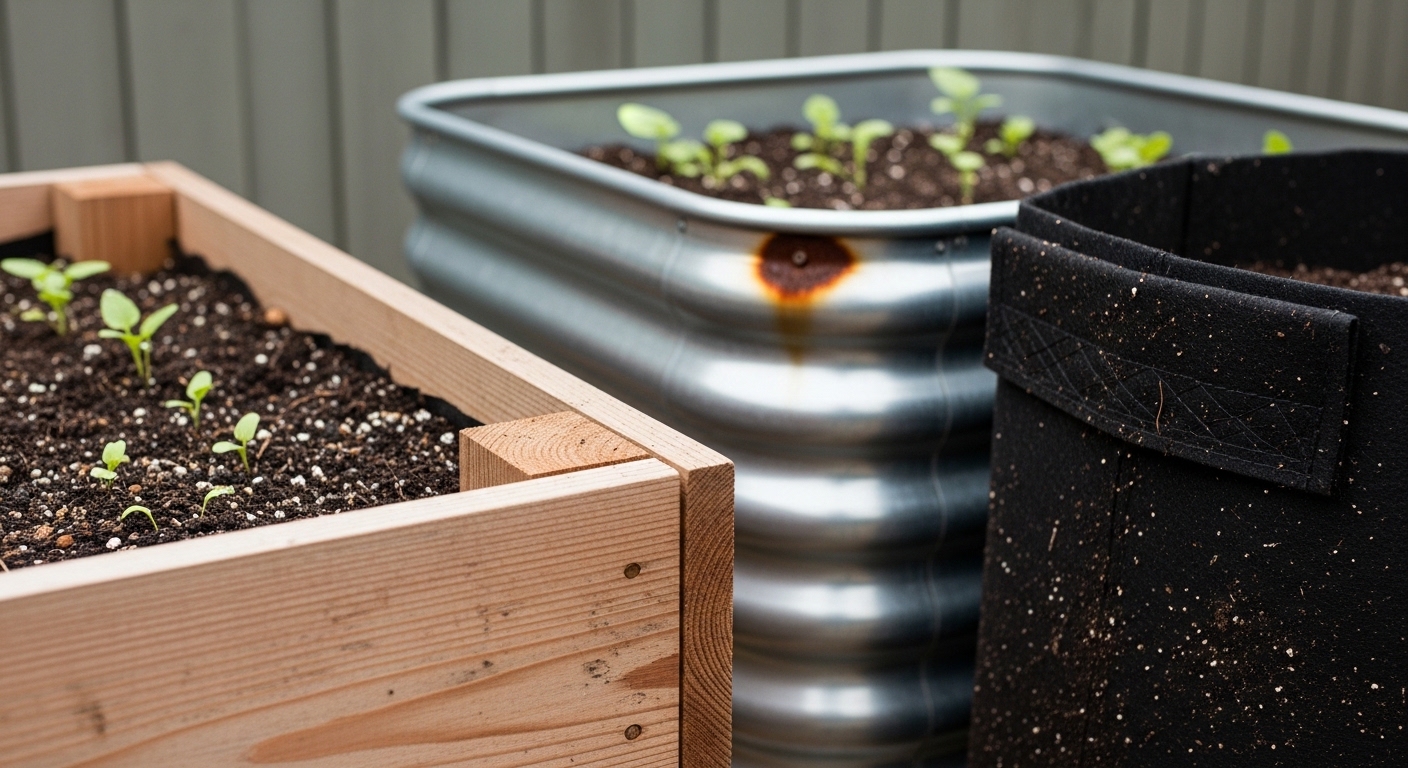
Best Containers and Setup Ideas
Raised beds come in more forms than most people realise, and the right choice depends on your budget, aesthetic, and how permanent you want the setup to be.
Cedar and redwood are the classic choices for DIY builds. Both resist rot naturally without chemical treatment, and cedar in particular tends to last eight to fifteen years depending on your climate. Standard construction lumber (pine, spruce) is cheaper but will degrade faster — many growers find it starts breaking down within three to five years in wet climates. If you go the DIY route, 38 x 184 mm boards (roughly 2x8 in imperial) give you a good 18 cm of growing depth, which suits most vegetables.
Galvanized steel kits have become genuinely popular over the last few years. They're durable, look sharp against a fence or patio, and assemble in under an hour. The main concern people raise is heat — metal beds can warm up faster in summer, which can stress roots near the edges. In practice, many growers find this is only an issue in very hot climates, and it can actually extend the season in cooler regions.
Fabric grow bags are the most flexible option for renters or anyone who might move. They're inexpensive, drain well, and can be folded away in winter. The trade-off is that they dry out faster, so you'll be watering more frequently.
Whatever material you choose, aim for a minimum depth of 15–20 cm for most vegetables. Root crops like carrots and parsnips do better with 30 cm or more.
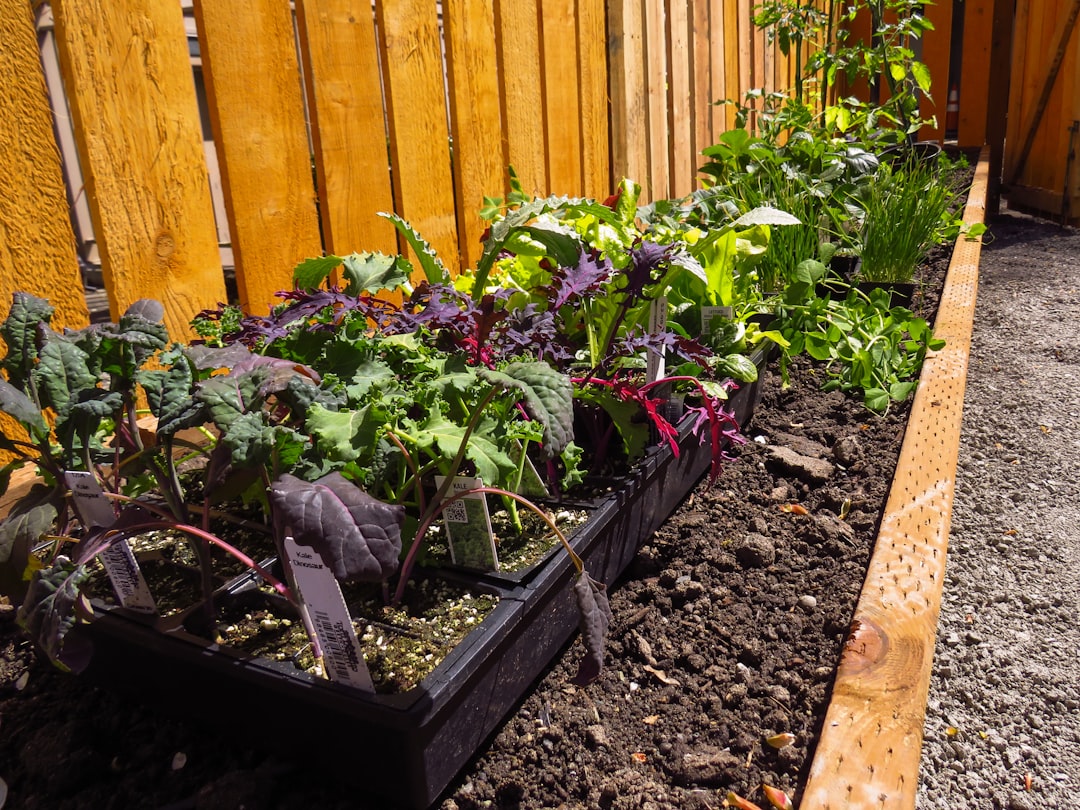
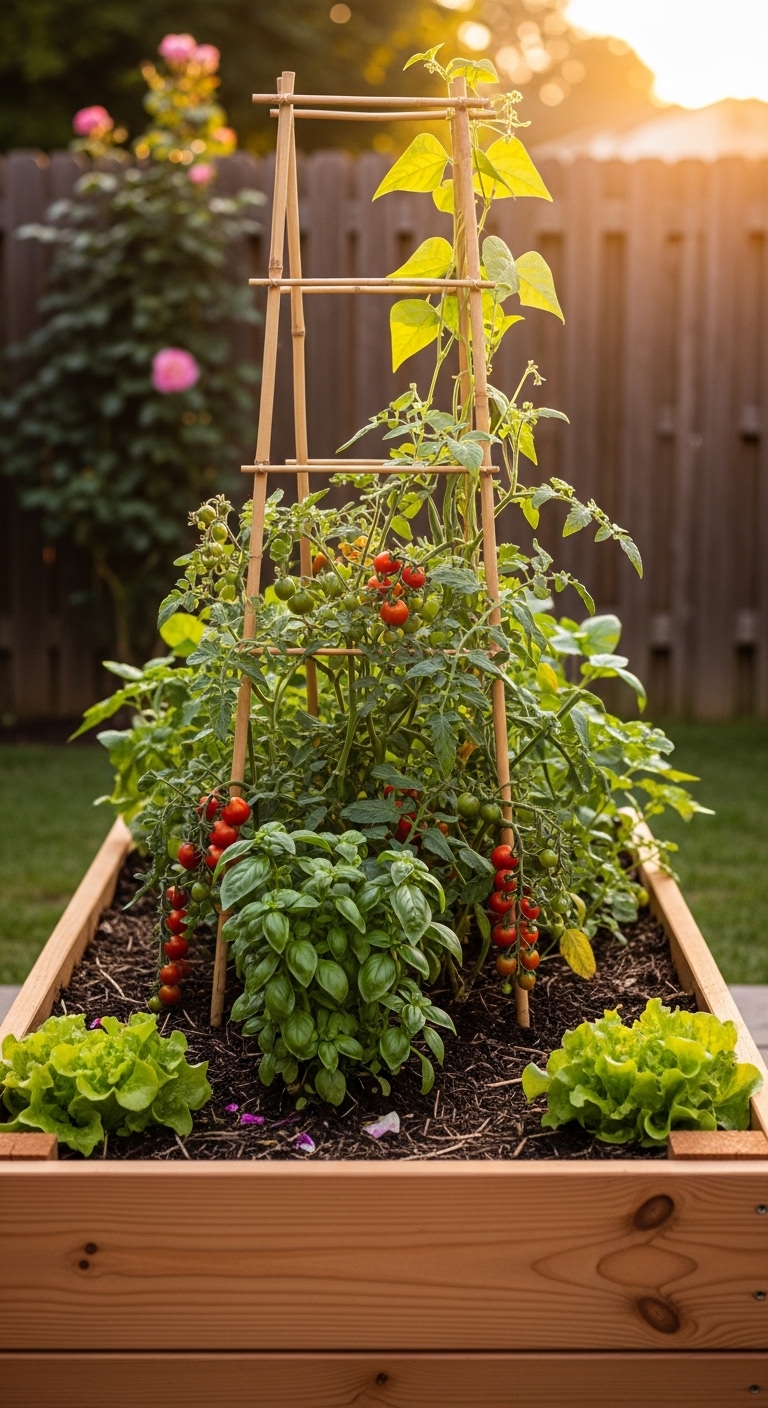
Plant Selection for Small Spaces
The best plants for a small raised bed are ones that produce a lot relative to the space they occupy. That's the core principle behind intensive planting — and it's what makes raised beds so productive compared to traditional row gardening.
Vertical growers are your best friends in a small yard. Pole beans, cucumbers, and indeterminate tomatoes all climb, which means they use height rather than ground area. A simple trellis or bamboo frame at the back of the bed can double your effective growing surface.
- Lettuce and salad greens: Fast-maturing, can be cut-and-come-again, and tolerate partial shade — useful for the shadier edges of a bed.
- Bush beans: Compact, high-yielding, and they fix nitrogen in the soil, which benefits whatever you plant next.
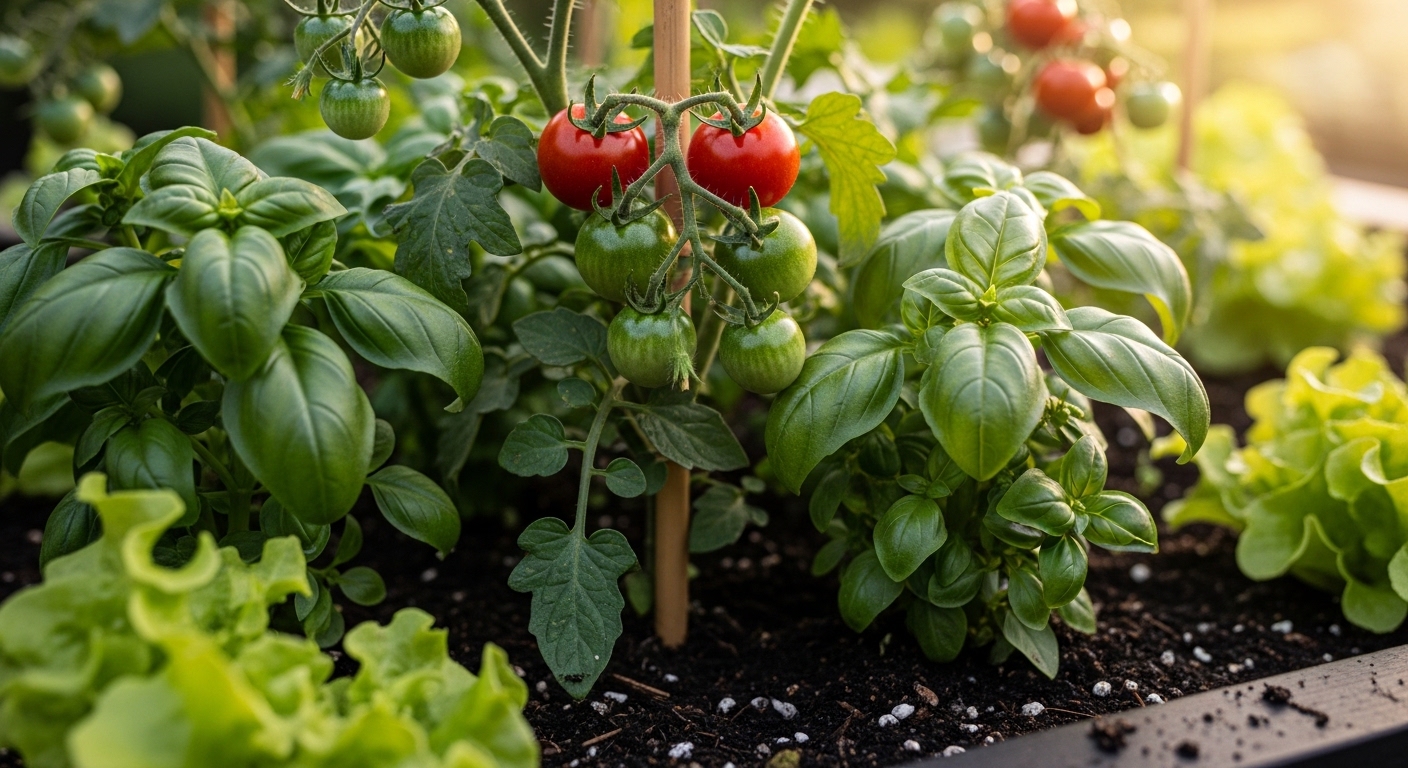
- Cherry tomatoes: More productive per plant than beefsteak types in a small space; a single plant can yield fruit over several months.
- Radishes and spring onions: Quick-maturing gap-fillers that can be tucked between slower crops.
- Herbs (basil, parsley, chives): High value per square centimetre, and many also attract beneficial insects.
- Courgette / zucchini: Productive but space-hungry — one plant per bed is usually enough.
Avoid plants that spread aggressively underground (mint, some varieties of artichoke) or that need very wide spacing without offering much yield in return. Corn, for instance, needs to be planted in blocks for pollination and generally isn't worth the space in a small bed.
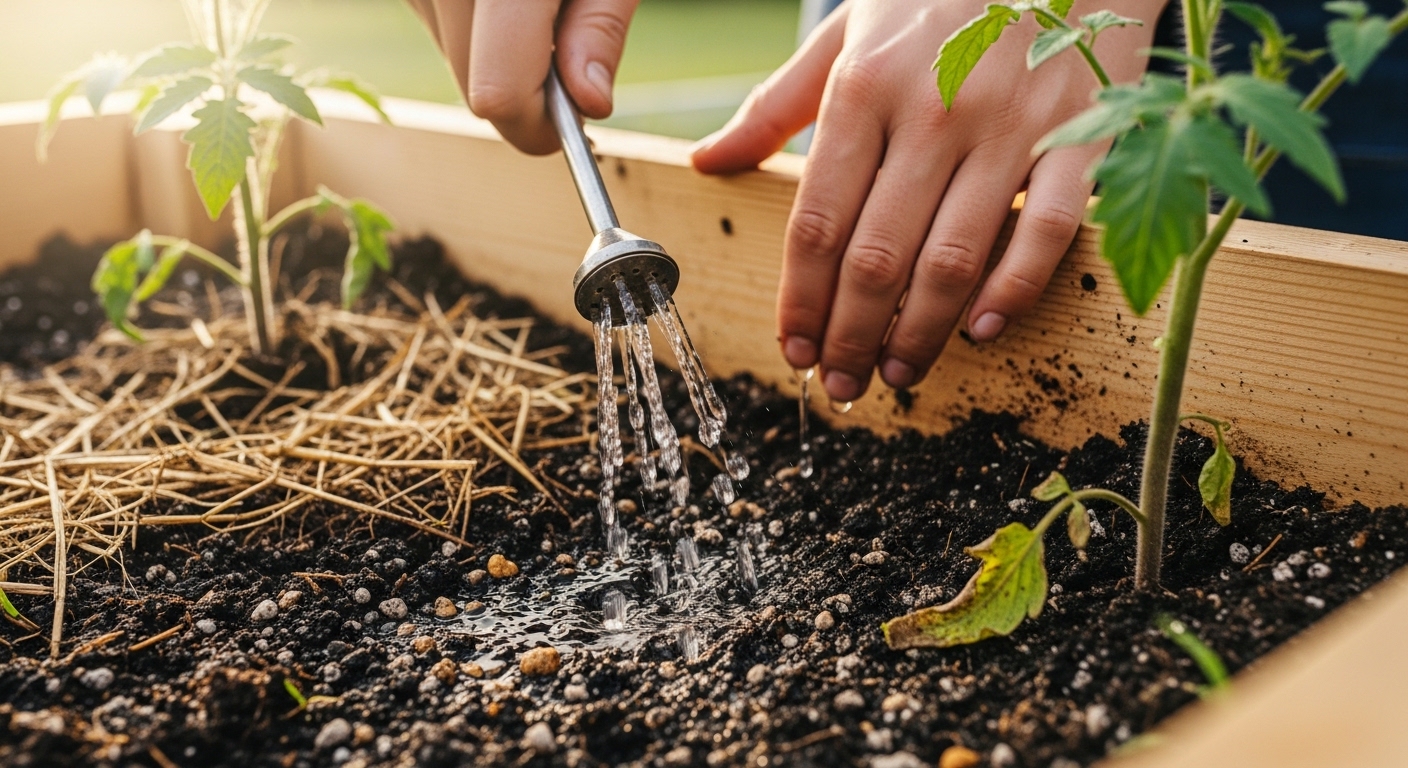
Watering and Nutrition in Containers
Raised beds drain faster than in-ground soil, which is part of what makes them so good for root health — but it also means they dry out more quickly. In warm weather, a bed may need watering every one to two days. The simplest check: push your finger 3–4 cm into the soil. If it feels dry at that depth, it's time to water.
Drip irrigation is worth considering even for a single bed. A basic timer-and-drip-line setup can be installed in an afternoon and takes the guesswork out of summer watering. It also keeps foliage dry, which reduces the risk of fungal issues like powdery mildew. Many growers find that once they set up drip irrigation, their yields improve noticeably — not because they were underwatering before, but because the consistency matters.
For nutrients, raised beds need more feeding than in-ground gardens because watering leaches minerals out of the soil over time. A few practical approaches:
- Top-dress with a 2–3 cm layer of compost at the start of each season and again mid-season.
- Use a balanced slow-release granular fertiliser at planting time, following the manufacturer's rate guidance.
- For heavy feeders like tomatoes and courgette, a liquid feed every two weeks during the growing season can help maintain steady production.
- Watch leaf colour — pale or yellowing new growth often signals nitrogen deficiency; purple-tinged leaves may indicate phosphorus issues.
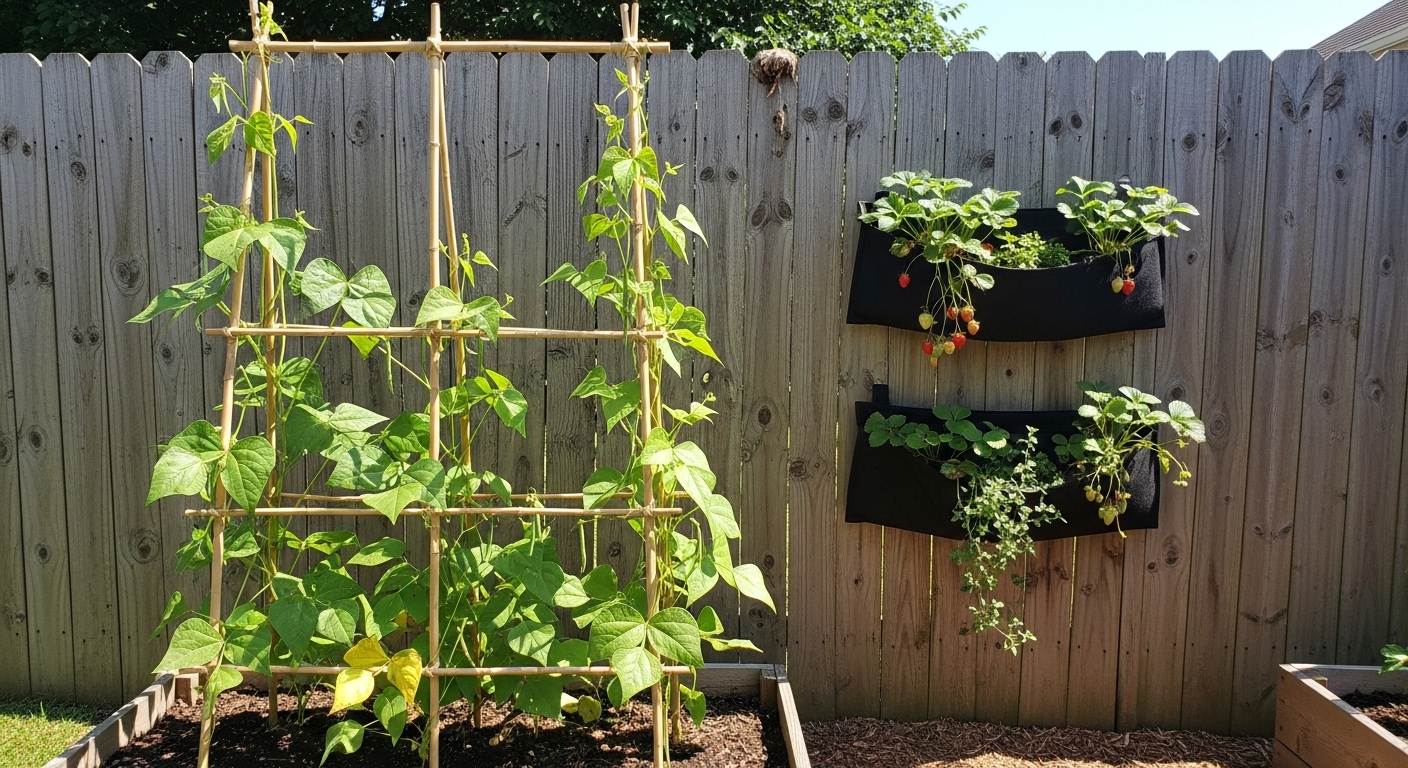
Maximizing Vertical Space
Going vertical is the single most effective way to expand your growing capacity without expanding your footprint. A 1.2 x 2.4 metre bed with a 1.8 metre trellis at the back can support climbing beans, cucumbers, or even small squash varieties — effectively tripling the productive surface area.
The simplest vertical structure is a row of bamboo canes tied at the top in a tent shape. It costs almost nothing and can be rebuilt each season. For something more permanent, a freestanding A-frame trellis made from timber or metal conduit can be positioned across the centre of the bed and moved between seasons.
Wall-mounted planters and rail-hung pots are another angle worth exploring if your raised bed sits near a fence. Strawberries, trailing herbs, and small lettuces all do well in wall pockets. This keeps the main bed focused on larger crops while the vertical surfaces handle the quick-harvest plants.
- Train climbing plants early — once stems become woody, they're harder to redirect without snapping.
- Use soft plant ties or strips of old fabric rather than wire, which can cut into stems.
- Shade from vertical structures can be used strategically: position shade-tolerant greens on the north side of a trellis.
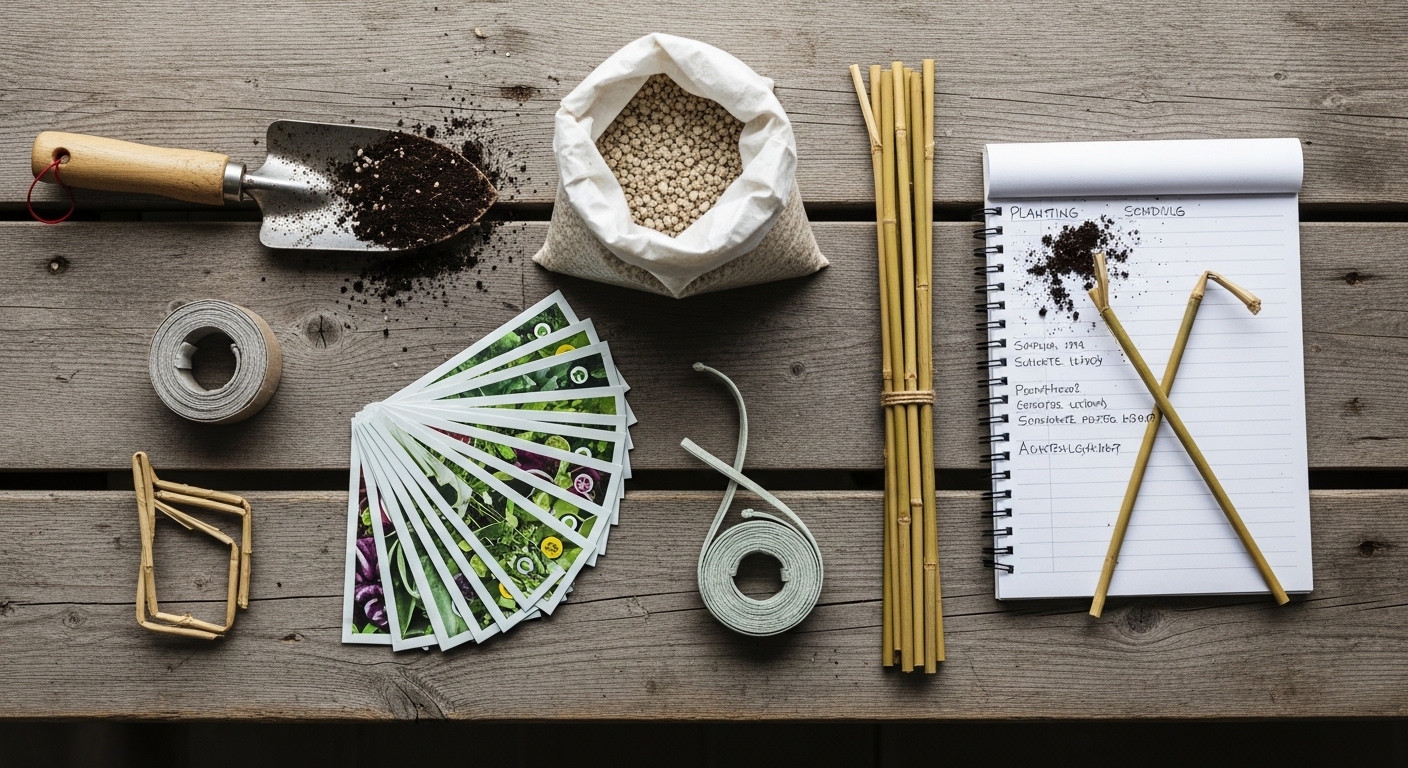
Beginner-Friendly Setup Checklist
Getting started with a raised bed doesn't need to be complicated. Work through this list in sequence and you'll have a productive bed ready to plant within a weekend.
- Choose your location: Confirm at least six hours of direct sun. Mark the footprint with string.
- Select your bed type: Cedar DIY build, galvanized kit, or fabric grow bag depending on budget and permanence.
- Prepare the base: If placing on grass or soil, lay cardboard underneath to suppress weeds. No need to dig — the cardboard will break down over time.
- Mix your soil: A commonly recommended starting mix is roughly one-third compost, one-third topsoil or loam, and one-third drainage material (perlite, coarse sand, or aged wood chips). Avoid using straight garden soil, which tends to compact in a raised bed.
- Plan your crop layout: Tall plants to the back (north), medium in the middle, low and quick-harvest crops at the front edges.
- Install any supports: Put trellises and stakes in before planting to avoid disturbing roots later.
- Plant or sow: Follow spacing guidance on seed packets — intensive planting works, but crowding too tightly reduces airflow and invites disease.
- Water in well: Give the bed a thorough soak after planting. Check moisture daily for the first week until plants establish.
- Mulch the surface: A 3–5 cm layer of straw or wood chip mulch slows moisture loss and suppresses weeds.
- Set a feeding schedule: Mark your calendar for mid-season compost top-dressing and any liquid feeding routine.
One thing many first-time raised bed growers notice: the first season is partly about learning your specific microclimate. Which corner dries out fastest? Where does water pool after heavy rain? Where does afternoon shade creep in earlier than expected? That knowledge compounds — by the second season, you'll plant with much more confidence.
Closing
A raised bed is one of the most practical investments a small-yard gardener can make. Start with a single bed, get comfortable with the rhythm of watering and feeding, and expand from there. The satisfaction of harvesting something you grew in a space that used to be empty paving or patchy grass is genuinely hard to beat. If you're also thinking about what to do with a shaded corner or a narrow balcony, container gardening for tight spaces is worth exploring next — many of the same soil and watering principles apply.


Comments
Post a Comment