Rooftop Garden Setup Guide for Urban Dwellers
Rooftop gardening is one of the most rewarding — and genuinely challenging — things you can do with unused urban space. The appeal is obvious: open sky, unobstructed light, and a quiet escape above the city. But a rooftop is not a backyard. Wind, weight, drainage, and structural limits all shape what's possible before you even choose a single plant. This guide walks you through every major consideration, from the first structural check to the best container crops for rooftop conditions, so you can build something that actually works — season after season.

Planning Your Space: Weight Limits and Structural Checks
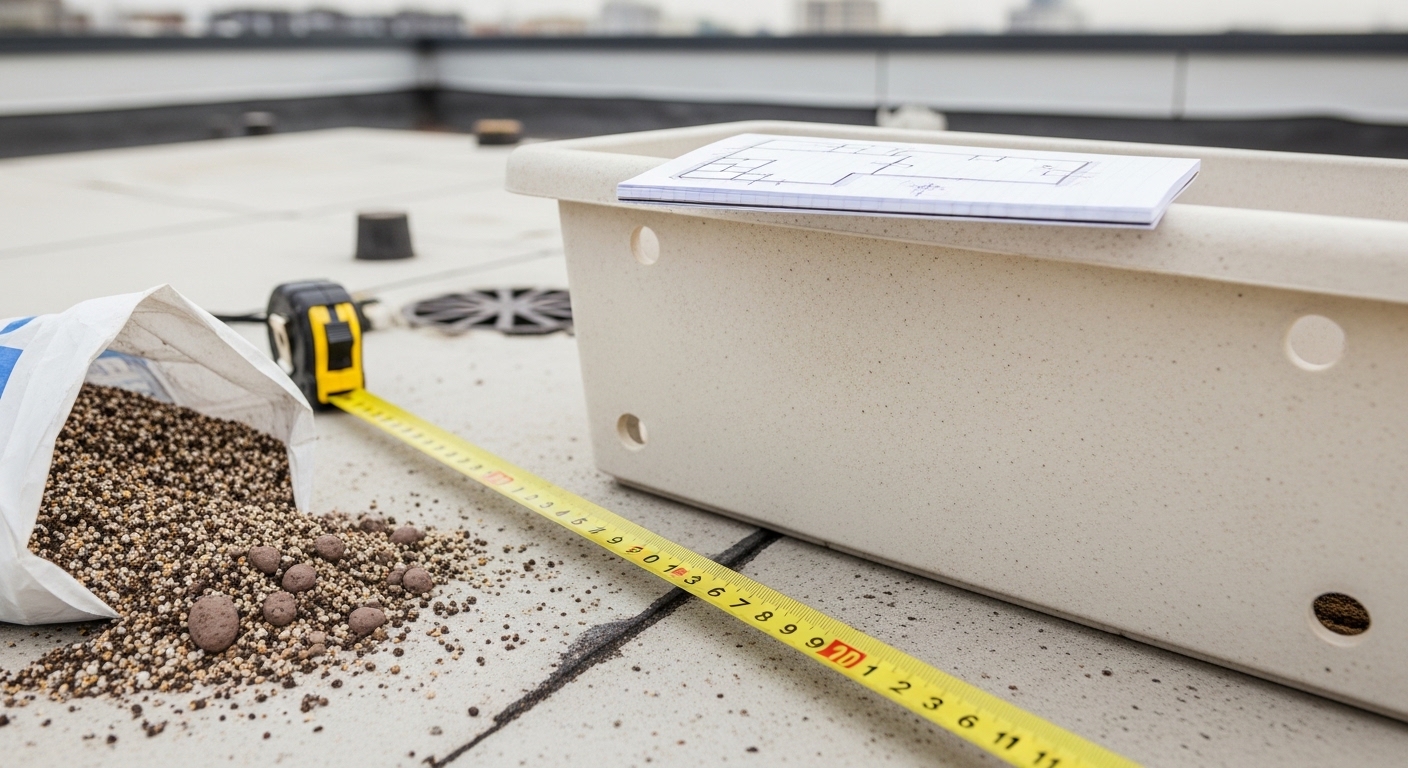
Before anything else — before you buy a single pot or bag of soil — you need to understand what your roof can actually hold. This is not optional. Saturated soil, containers, water, and plants add up fast, and most residential rooftops were not designed with gardens in mind.
A structural engineer or a qualified building surveyor can assess your roof's load-bearing capacity. In many cases, flat rooftops on modern buildings can support somewhere in the range of 150–250 kg per square metre, but this varies enormously depending on construction type, age, and local building codes. Always get a professional assessment specific to your building — never rely on general estimates alone.
A few practical steps to take before you plan your layout:
- Contact your building manager or landlord to confirm permission and any weight restrictions already documented.
- Identify load-bearing zones — weight should ideally sit over structural beams or walls, not in the middle of unsupported spans.
- Factor in dynamic load: wind pressure, rain accumulation, and the weight of people moving through the space all count.
- Check local planning regulations — some cities require permits for rooftop structures above a certain height or weight.
Lightweight growing media is your best friend here. Standard potting soil can weigh 800–900 g per litre when wet. Mixes incorporating expanded clay, perlite, or coir can cut that figure significantly while still supporting healthy root systems.
Wind Protection: The Factor Most Beginners Underestimate
Wind is the single most underestimated challenge in rooftop gardening. At height, even a moderate breeze becomes a persistent, desiccating force — snapping stems, shredding leaves, and drying out containers far faster than you'd expect at ground level.
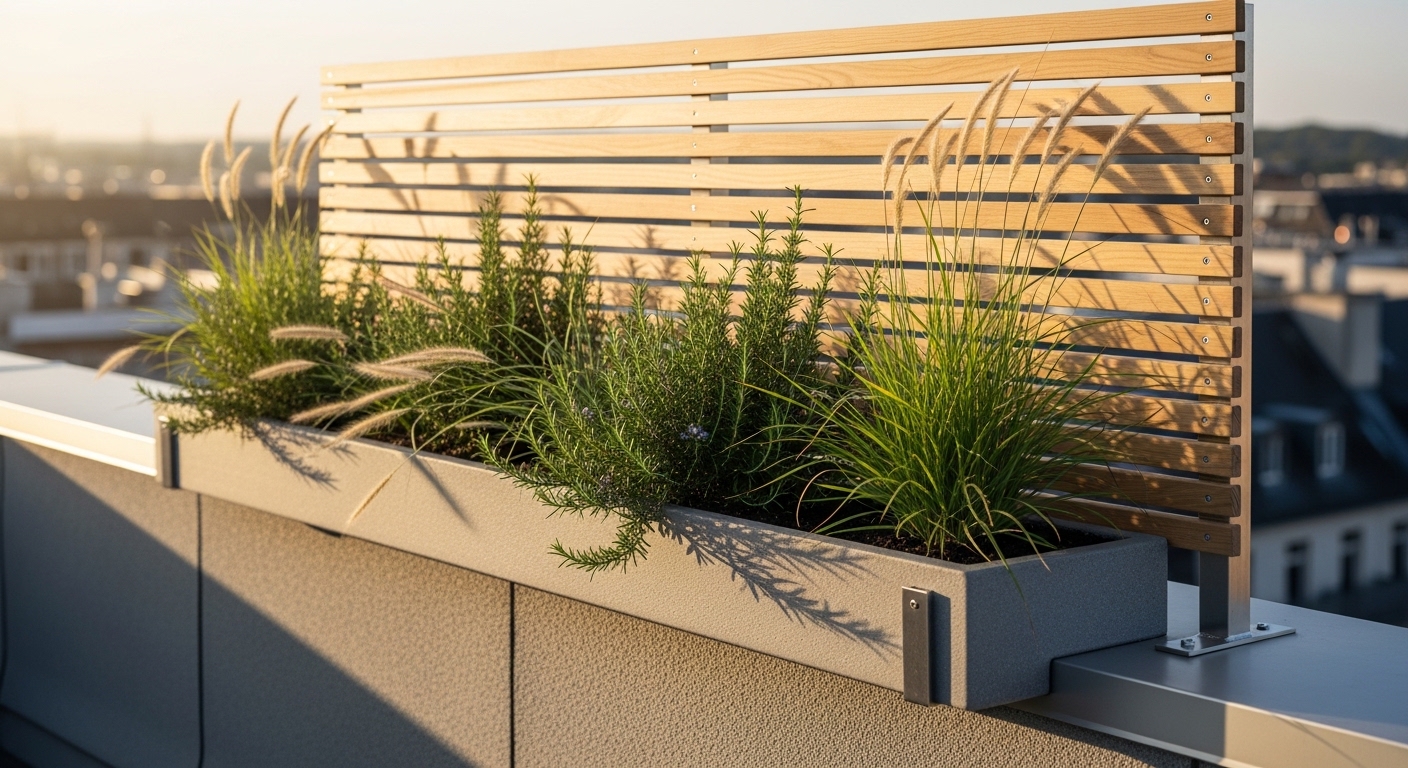
The goal is not to eliminate wind entirely, but to filter and slow it. Solid barriers like walls or dense fencing can actually create turbulence on the leeward side, which may be worse than the wind itself. Permeable windbreaks — slatted timber screens, bamboo panels, or dense plantings of wind-tolerant species — reduce wind speed more effectively by letting some air pass through.
Many rooftop growers find that positioning taller planters and trellises along the windward edge, rather than solid barriers, creates a more stable microclimate across the whole space.
Practical wind protection options worth considering:
- Slatted timber or composite screens fixed to parapet walls — lightweight and effective.
- Bamboo or willow hurdle panels — affordable, permeable, and relatively light.
- Ornamental grasses and tall herbs like rosemary or lavender planted densely along exposed edges.
- Tensioned shade cloth stretched between posts — doubles as sun protection in peak summer.
Whatever you install, make sure it's properly anchored. Wind loads on vertical structures at rooftop height can be substantial, and anything that becomes a sail in a storm is a serious hazard.
Best Containers and Raised Bed Options for Rooftops
Container choice on a rooftop is a balance between weight, durability, and root volume. The good news is that the market for lightweight, weather-resistant planters has expanded considerably in recent years.
Here's how the main options compare:
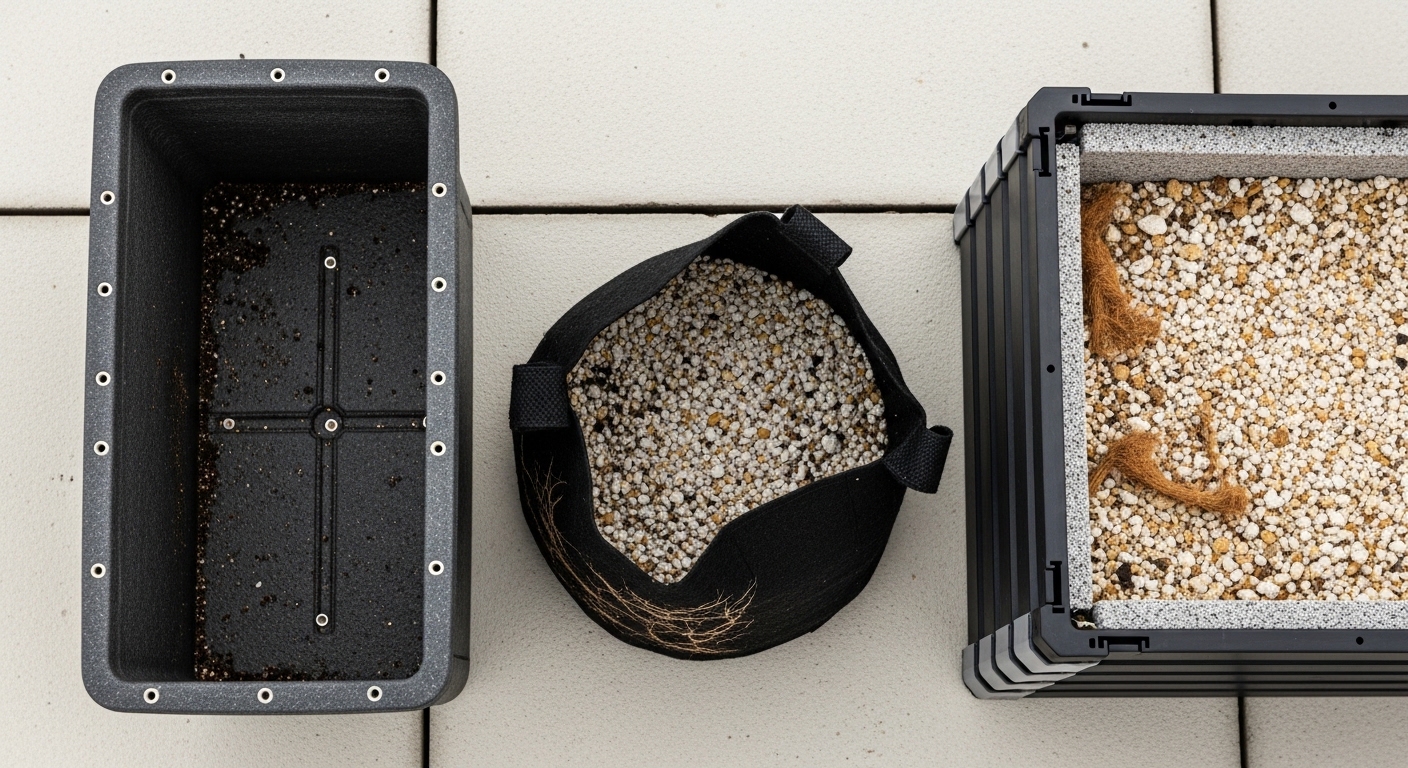
- Fiberglass planters — lightweight, UV-resistant, available in large sizes. A strong all-round choice for rooftop use.
- Fabric grow bags — extremely light, promote air pruning of roots, and fold flat for storage. Ideal for seasonal crops.
- Recycled plastic raised beds — modular, lightweight, and increasingly made from food-safe recycled materials.
- Terracotta — beautiful but heavy, and prone to cracking in freeze-thaw cycles. Generally better suited to smaller accent pots than primary growing containers on a rooftop.
- Foam (EPS) planters — very light and insulating, though less durable long-term and not always aesthetically versatile.
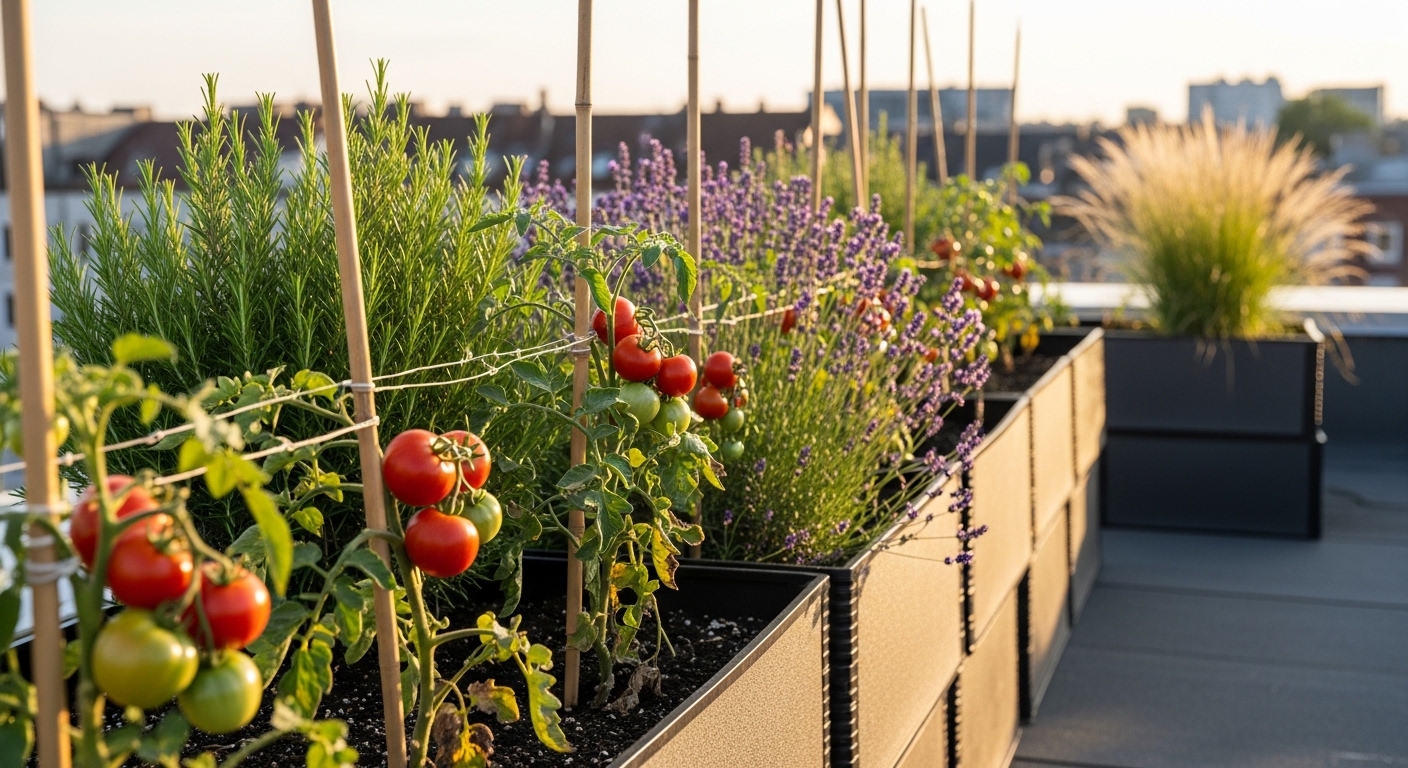
For raised beds, prefabricated modular systems designed specifically for rooftop or balcony use are worth the investment. They typically include integrated drainage layers and are engineered to distribute weight evenly. Aim for a minimum depth of 30 cm for most vegetables and 45–60 cm for root crops or fruiting plants like tomatoes and courgettes.
One practical detail many growers overlook: drainage. Every container needs adequate drainage holes, and those holes need somewhere for water to go. A rooftop drainage plan — including saucers, drainage channels, or a connected outlet — should be part of your setup from day one, not an afterthought.
Watering and Irrigation Solutions
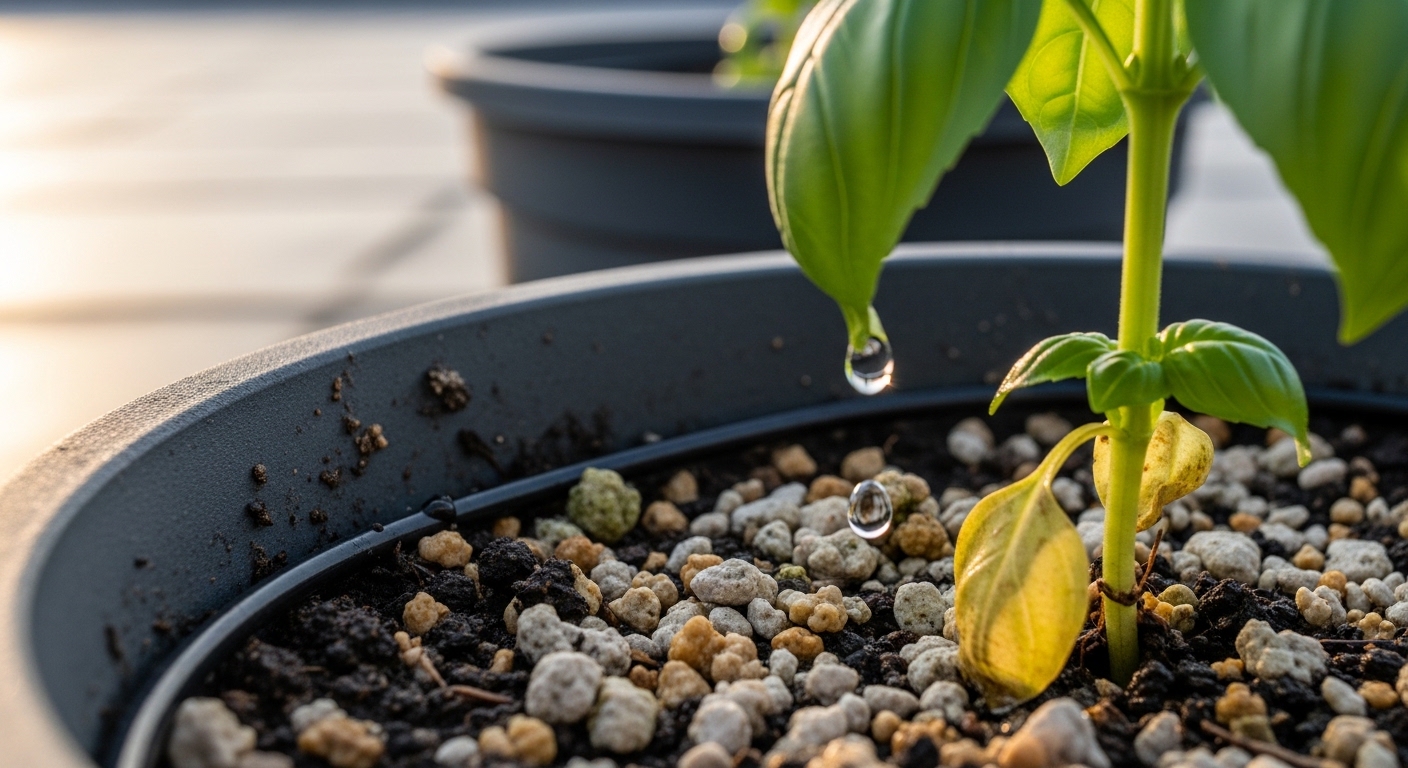
Containers on a rooftop dry out faster than almost any other growing situation. Wind accelerates evaporation, direct sun heats the pot walls, and there's no surrounding soil to buffer moisture loss. Consistent, efficient irrigation is not a luxury — it's what keeps a rooftop garden alive through summer.
For small setups, hand watering with a quality watering can or hose reel is workable, but it demands daily attention in warm weather. A general rule: check the top 2–3 cm of soil each morning. If it feels dry, water thoroughly until it drains from the bottom of the container.
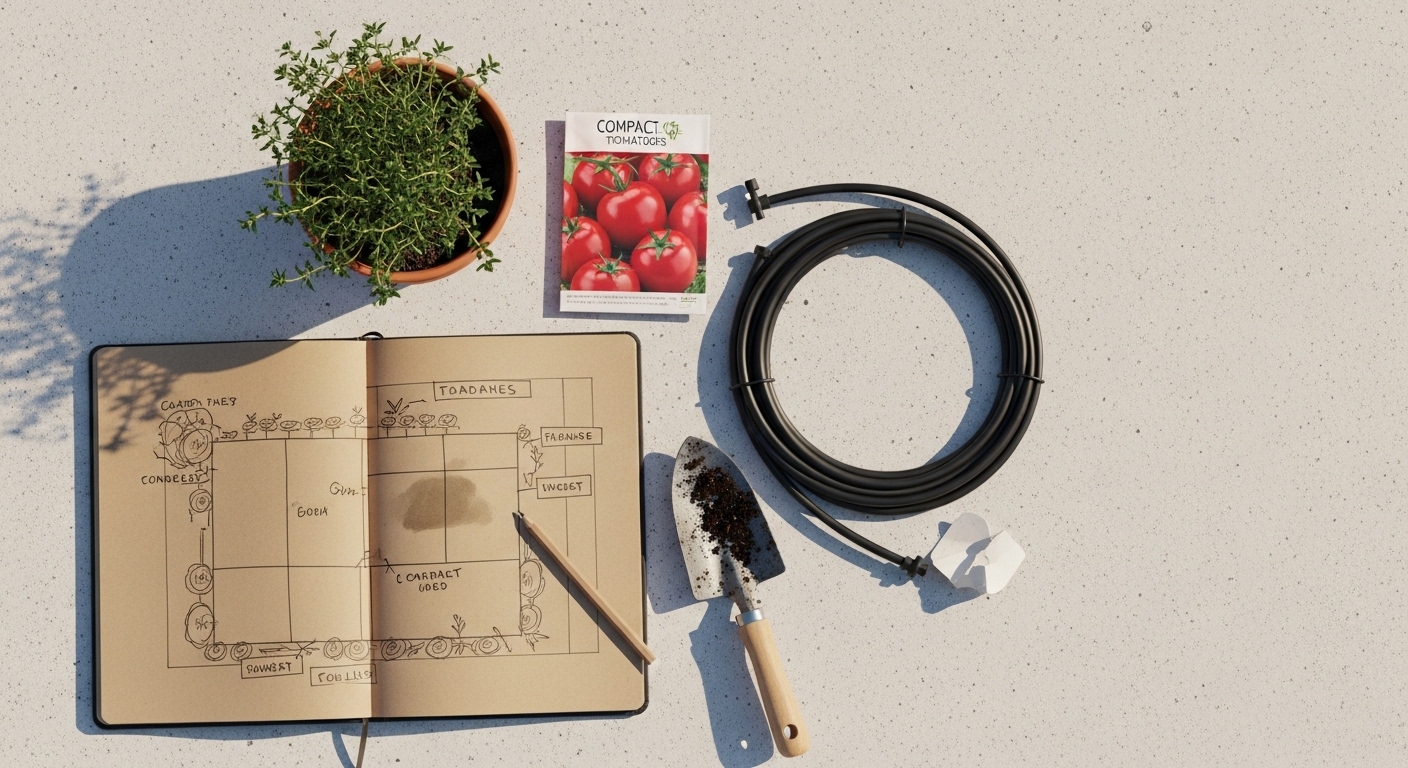
For larger rooftop gardens, a drip irrigation system connected to a timer is worth every bit of the setup effort. Key components to consider:
- Drip emitters or soaker lines run directly to each container — efficient and low-pressure.
- A programmable timer set to water in the early morning, reducing evaporation loss.
- A pressure regulator if your building water pressure is high — drip systems are designed for low pressure.
- A simple filter at the tap connection to prevent emitter blockages.
Self-watering containers with built-in reservoirs are another practical option, particularly for herbs and salad crops. They draw water up by capillary action, reducing watering frequency significantly. Follow manufacturer instructions for setup and consult a licensed plumber if you're connecting to a permanent water supply on the roof.
Best Plants for Rooftop Conditions
Not every plant is suited to life at height. The ideal rooftop plant handles strong light, intermittent wind, faster soil drying, and the temperature swings that come with an exposed position. The good news: a surprising range of edibles and ornamentals genuinely do well up here.
Edibles that tend to perform well on rooftops:
- Tomatoes (compact and determinate varieties) — love the full sun, but need staking and wind protection.
- Courgettes and summer squash — fast-growing and productive in large containers.
- Herbs: rosemary, thyme, oregano, chives — naturally adapted to exposed, dry conditions.
- Salad greens and cut-and-come-again lettuces — fast-maturing, can be grown in shallow troughs.
- Dwarf or patio bean varieties — productive and relatively wind-tolerant.
- Strawberries — ideal for hanging planters or rail-mounted boxes.
Ornamentals and structural plants worth considering:
- Ornamental grasses (Festuca, Stipa) — movement in the wind is a feature, not a problem.
- Lavender — drought-tolerant, pollinator-friendly, and fragrant.
- Sedums and other succulents — exceptionally resilient in hot, dry, exposed positions.
- Climbing plants on trellises (clematis, nasturtium) — add vertical interest and some wind buffering.
It's common to see plants that look perfectly healthy at ground level struggle in their first rooftop season — not because of poor care, but because the microclimate is genuinely different. Give new additions a few weeks to acclimatise before drawing conclusions.
Rooftop Garden Setup Checklist
Use this as a working reference before and during your setup. Sequence matters — structural and safety steps come first.
- Get a structural assessment — confirm load-bearing capacity with a qualified professional before purchasing anything.
- Check permissions and regulations — building management approval, local planning rules, and any height or weight restrictions.
- Map your space — measure the rooftop, identify load-bearing zones, note sun exposure and prevailing wind direction.
- Plan your windbreaks — decide on permeable screens, trellis structures, or dense plantings along exposed edges.
- Choose lightweight containers — fiberglass, fabric grow bags, or modular raised beds with integrated drainage.
- Source lightweight growing media — look for mixes incorporating perlite, expanded clay, or coir to reduce wet weight.
- Plan your irrigation — drip system with timer for larger setups; self-watering containers for smaller ones.
- Select wind- and sun-tolerant plants — start with herbs, compact tomatoes, salad greens, and sedums.
- Set up drainage — confirm water has a clear exit route from every container and raised bed.
- Monitor and adjust in the first season — rooftop microclimates are specific; observe how your plants respond and adapt accordingly.
A rooftop garden takes more upfront planning than a ground-level plot, but the payoff — fresh herbs at arm's reach, tomatoes ripening in open sky, a genuinely usable outdoor space above the city — is hard to match. Start with the structural check, keep your first season modest, and let the space teach you what it needs.
If you're also working with a balcony or small terrace alongside your rooftop, exploring container gardening techniques for compact spaces is a natural next step — many of the same principles apply, with a few key differences worth knowing.


Comments
Post a Comment