Microgreens at Home: Grow Fresh in 10 Days
Microgreens at home are one of the most rewarding things you can grow on a kitchen counter — no garden, no special equipment, no green thumb required. Within 7 to 10 days, a simple tray of seeds becomes a dense, flavorful harvest packed with nutrients. The challenge most beginners face is not the growing itself, but knowing which seeds to start with, how much water is actually enough, and exactly when to cut. This guide walks through every step, from tray setup to harvest, so your first batch comes out well — and your second batch comes out even better.
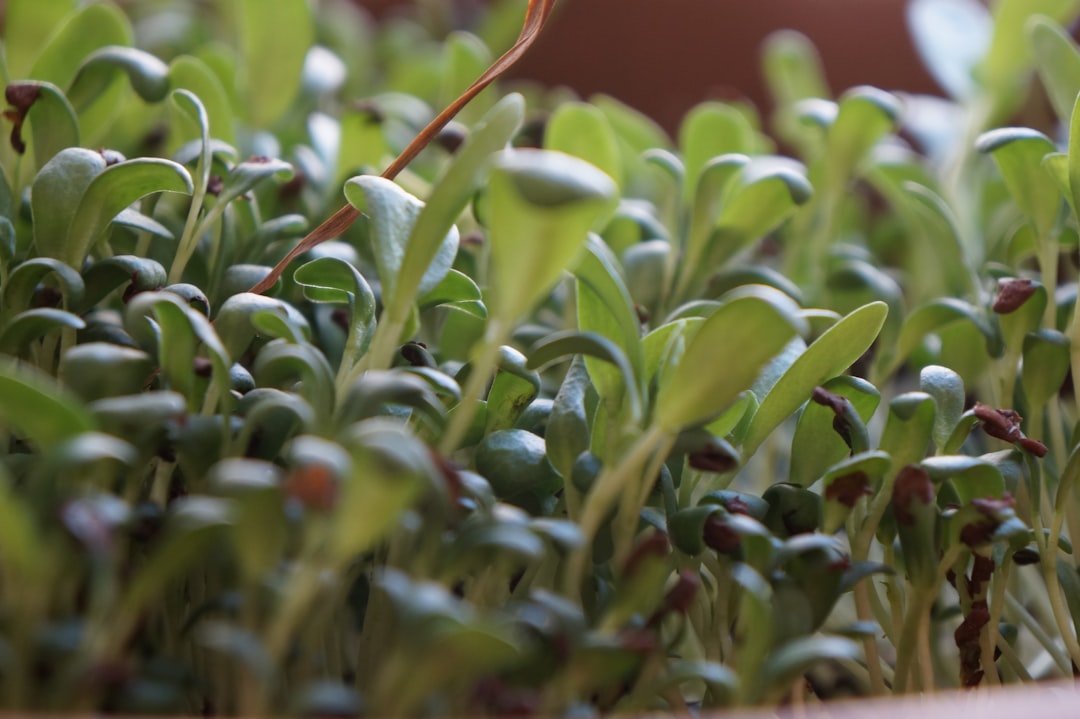
Planning Your Space
Microgreens need surprisingly little room. A standard 10×20-inch (25×50 cm) flat tray fits comfortably on a windowsill, a corner of the kitchen counter, or even a small shelf. What matters more than size is consistency — a spot that stays between 18°C and 24°C and gets a few hours of natural light each day, or sits within reach of a basic grow light.
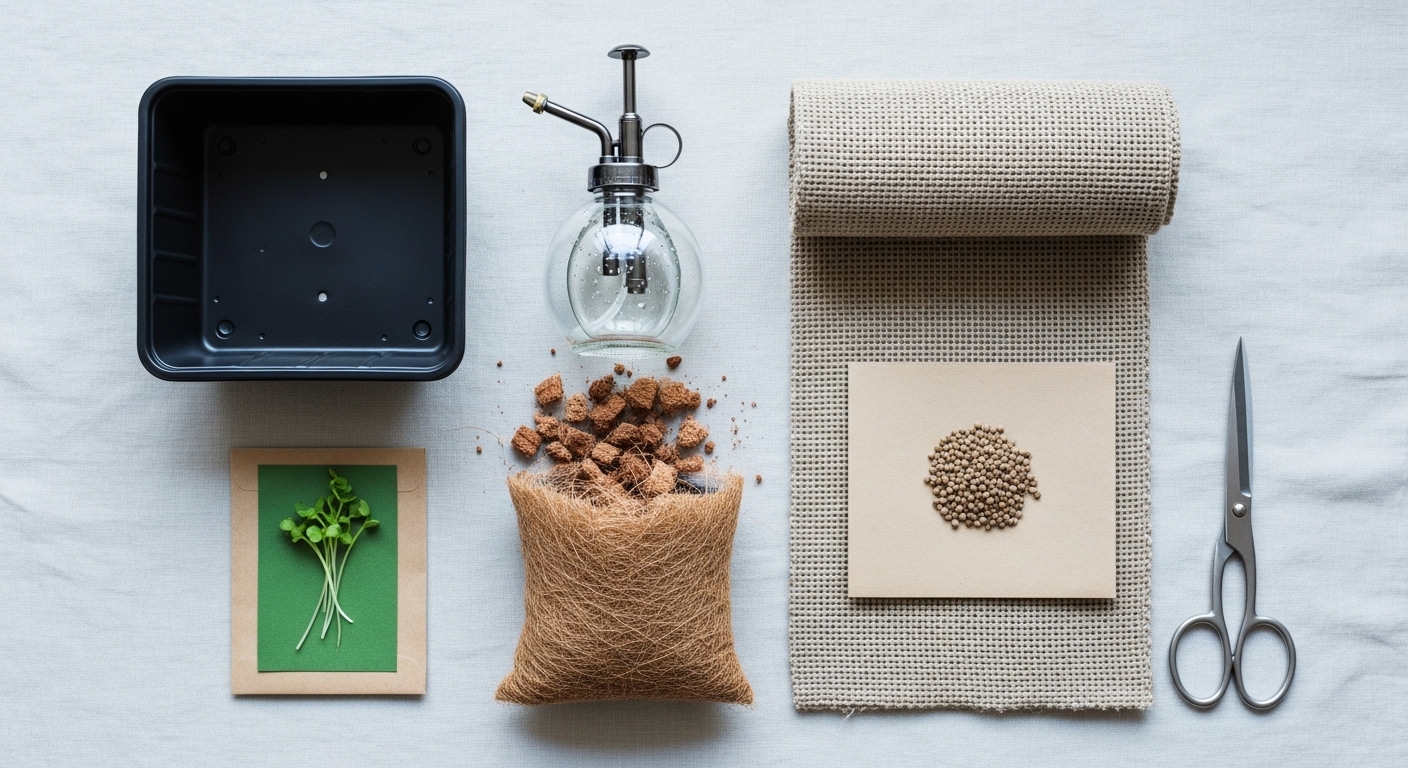
Before you order seeds, take stock of what you have. You need:
- A shallow growing tray (with and without drainage holes — you will use both)
- A growing medium: fine coco coir, a peat-free seed compost, or a reusable hemp grow mat
- A spray bottle or gentle watering can with a rose head
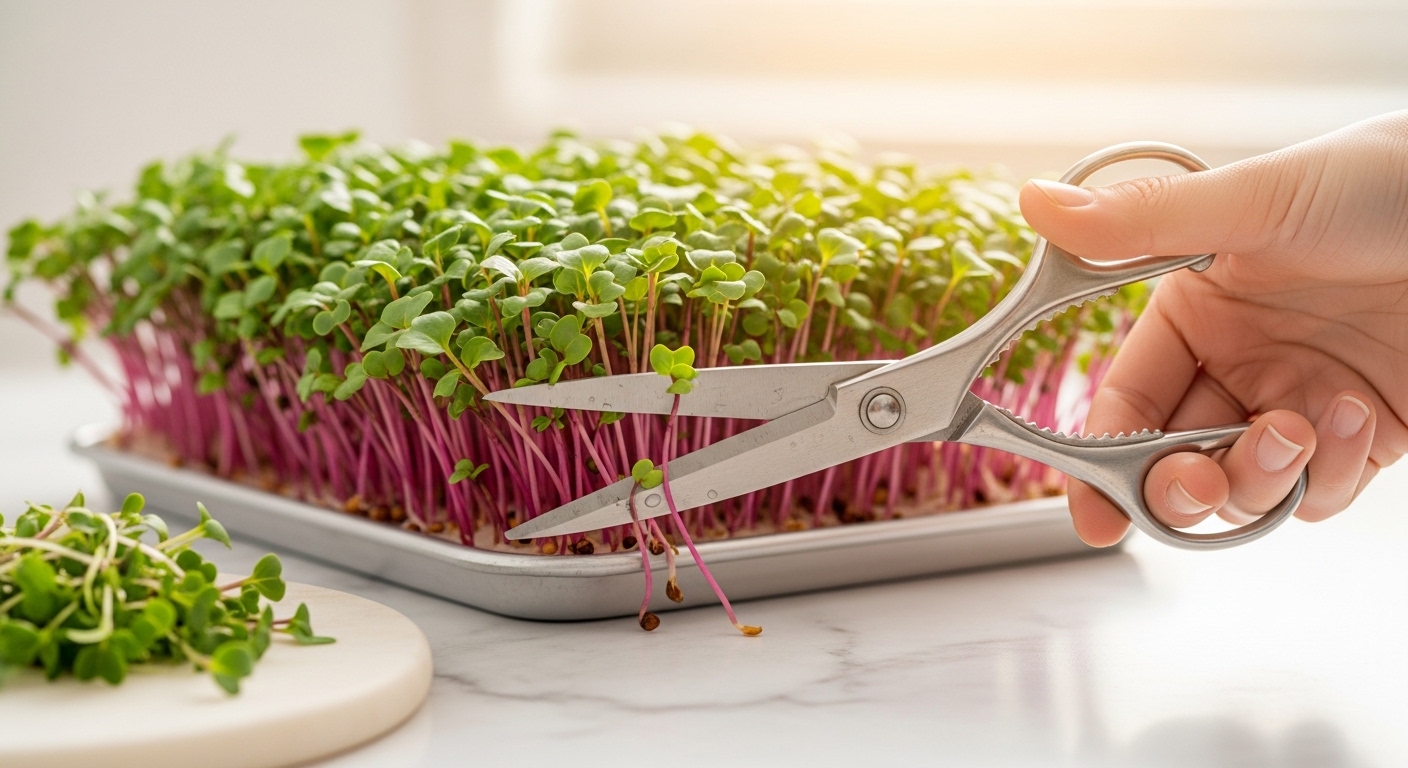
- A sharp pair of scissors or a clean harvest knife
- Seeds suited to indoor microgreen production
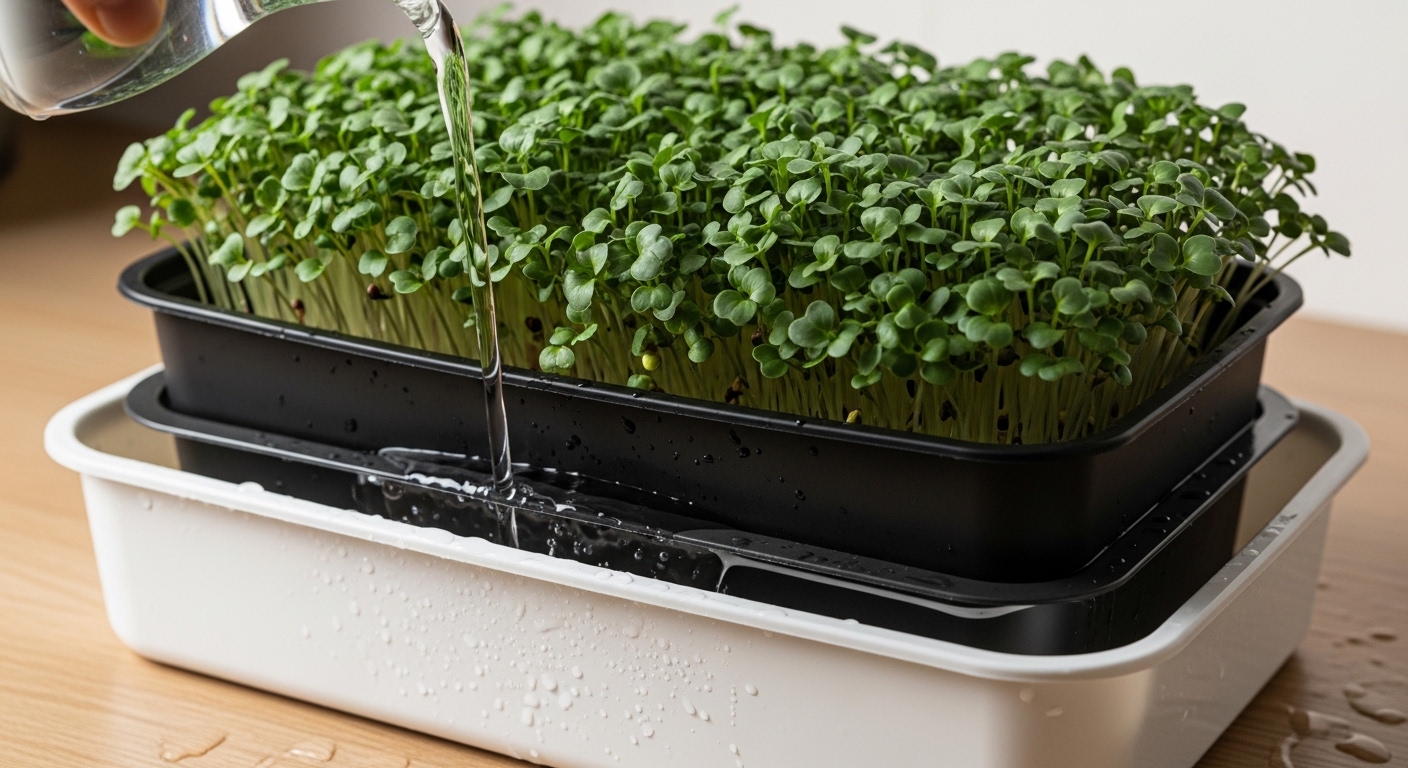
The tray-within-a-tray method is widely used by home growers: a tray with drainage holes sits inside a solid tray that catches runoff. This setup makes bottom-watering simple and keeps your counter dry.
A consistent temperature matters more than a perfect south-facing window. Microgreens grown in a warm, stable spot tend to germinate evenly and develop stronger stems than those exposed to cold drafts or fluctuating heat near a radiator.
Best Containers and Setup Ideas
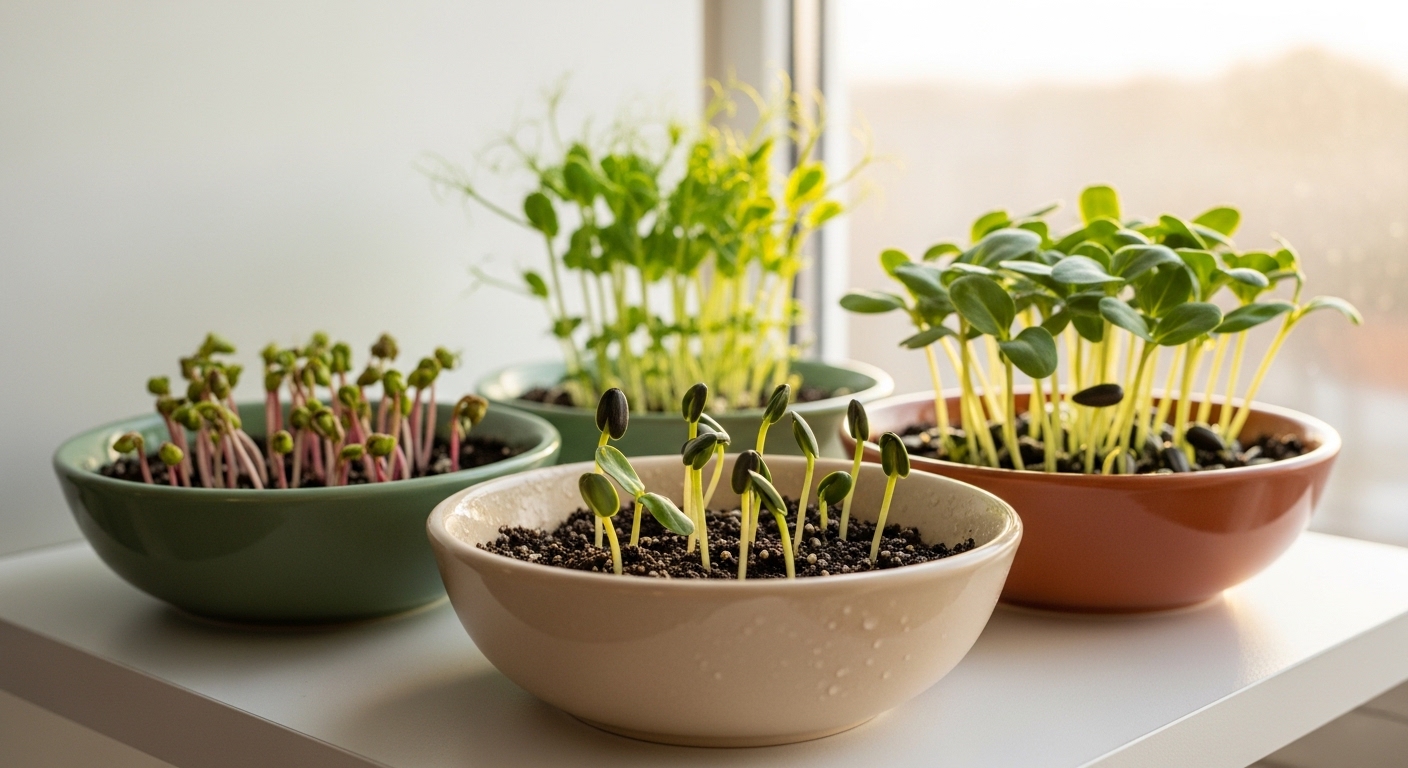
The container you choose shapes how easy the whole process feels. Standard black plastic propagation trays are inexpensive and reusable, but they are not your only option. Many growers find that shallow ceramic dishes, repurposed takeaway containers with drainage holes punched in, or even wide terracotta saucers work well for small experimental batches.
Fill your tray with about 2.5 cm of growing medium — just enough to anchor the roots without creating a waterlogged base. Press it down lightly so the surface is even. Uneven surfaces lead to patchy germination, with seeds in the low spots getting too wet and seeds on the raised areas drying out too fast.
If you want to grow multiple varieties at once, consider dividing a single large tray with a strip of cardboard, or running two or three smaller containers side by side. Radish, pea shoots, and sunflower all germinate at slightly different rates, so keeping them separate makes harvesting cleaner.
Plant Selection for Small Spaces
Not every seed performs equally well on a kitchen counter. The best microgreen seeds for beginners are fast-germinating, forgiving of minor watering inconsistencies, and reliably flavorful at harvest. Here are strong starting choices:
- Radish (Raphanus sativus): Germinates in 2–3 days, ready to harvest in 6–8 days, with a peppery bite and vivid magenta or green stems.
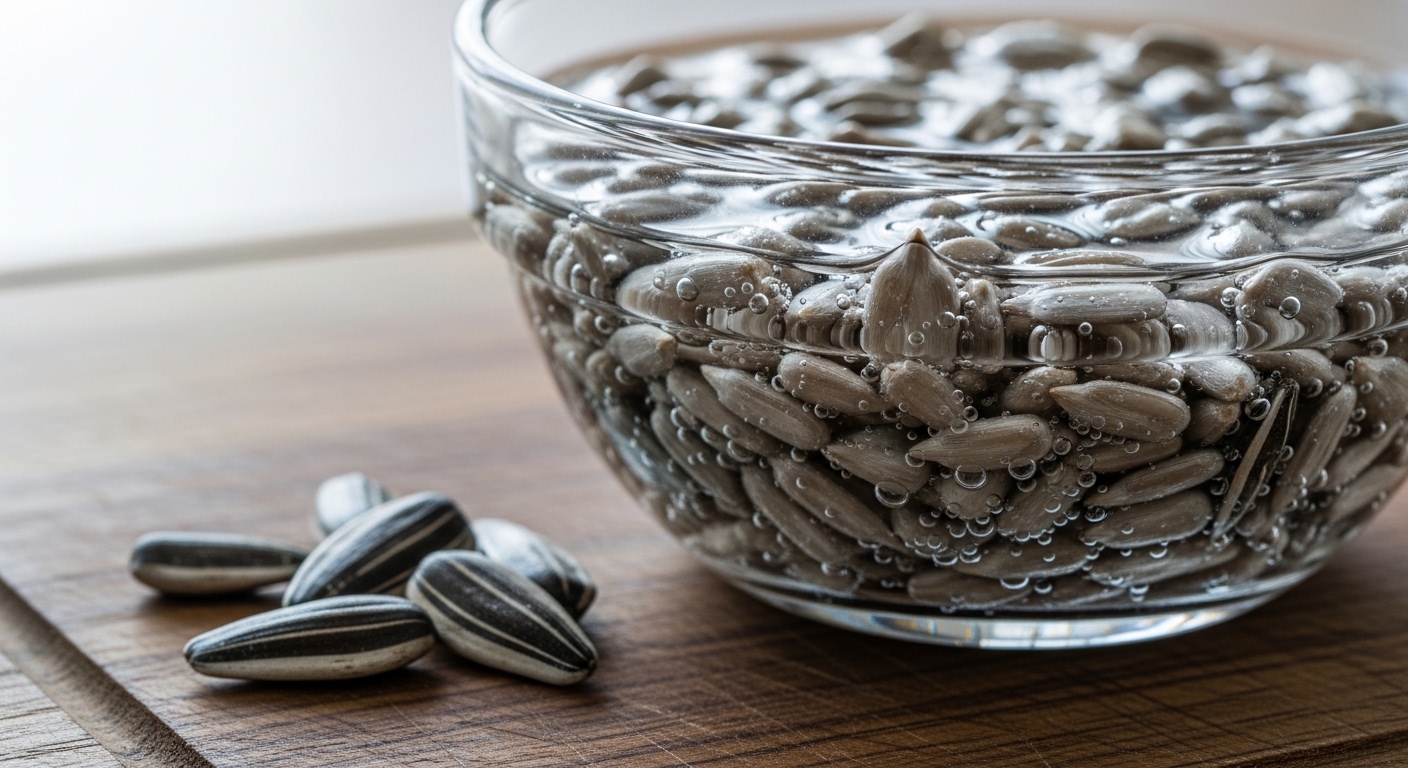
- Sunflower (Helianthus annuus): Thick, satisfying stems with a mild nutty flavor; benefits from a 12-hour soak before seeding.
- Pea shoots (Pisum sativum): Sweet, tender, and fast-growing; soak seeds for 8–12 hours before planting for more even germination.
- Broccoli (Brassica oleracea): Tiny seeds, dense canopy, mild flavor, and widely cited for its nutritional profile.
- Cress (Lepidium sativum): No soaking needed, germinates almost overnight, and grows well on a damp paper towel or hemp mat alone.
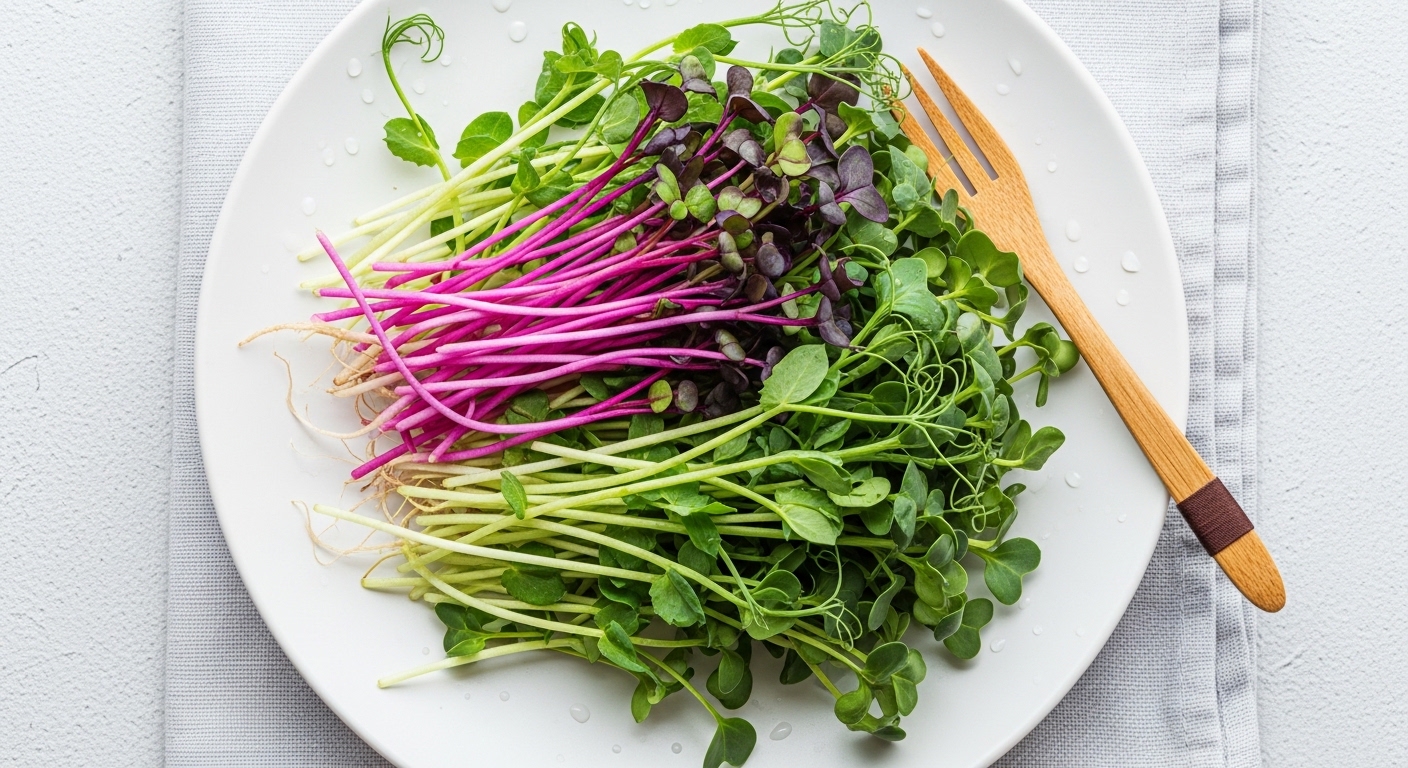
- Amaranth (Amaranthus spp.): Striking magenta color, delicate texture, and a mild earthy flavor — visually impressive on a plate.
Avoid seeds treated with fungicides or pesticides, which are sometimes sold for outdoor garden use. Look specifically for seeds labeled as suitable for sprouting or microgreen production.
Watering and Nutrition in Containers
Watering microgreens correctly is the single most important skill to develop. Too much moisture at the soil surface encourages mold and damping off. Too little and germination stalls or seedlings collapse before they reach harvest height.
The general approach that works well for most varieties:
- Days 1–3 (germination phase): Mist the seeded surface lightly with a spray bottle, then cover the tray with a second tray or a piece of cardboard to create darkness and humidity. Check once daily and mist again only if the surface looks dry.
- Days 4–7 (green-up phase): Remove the cover once seedlings are 2–3 cm tall and beginning to push upward. Switch to bottom-watering: pour a small amount of water into the outer tray and allow the growing medium to absorb it from below. This keeps the leaf surface dry and dramatically reduces mold risk.
- Days 7–10 (pre-harvest): Continue bottom-watering every 1–2 days. The growing medium should feel consistently moist but never waterlogged. Lift the inner tray — if water pools immediately, hold off for another day.
Microgreens grown in a standard seed compost generally do not need added fertilizer for a single harvest. The seed itself contains enough stored energy to fuel growth through to the cotyledon stage. Liquid feeding is rarely necessary and can sometimes encourage overly soft, floppy stems.
Maximizing Vertical Space
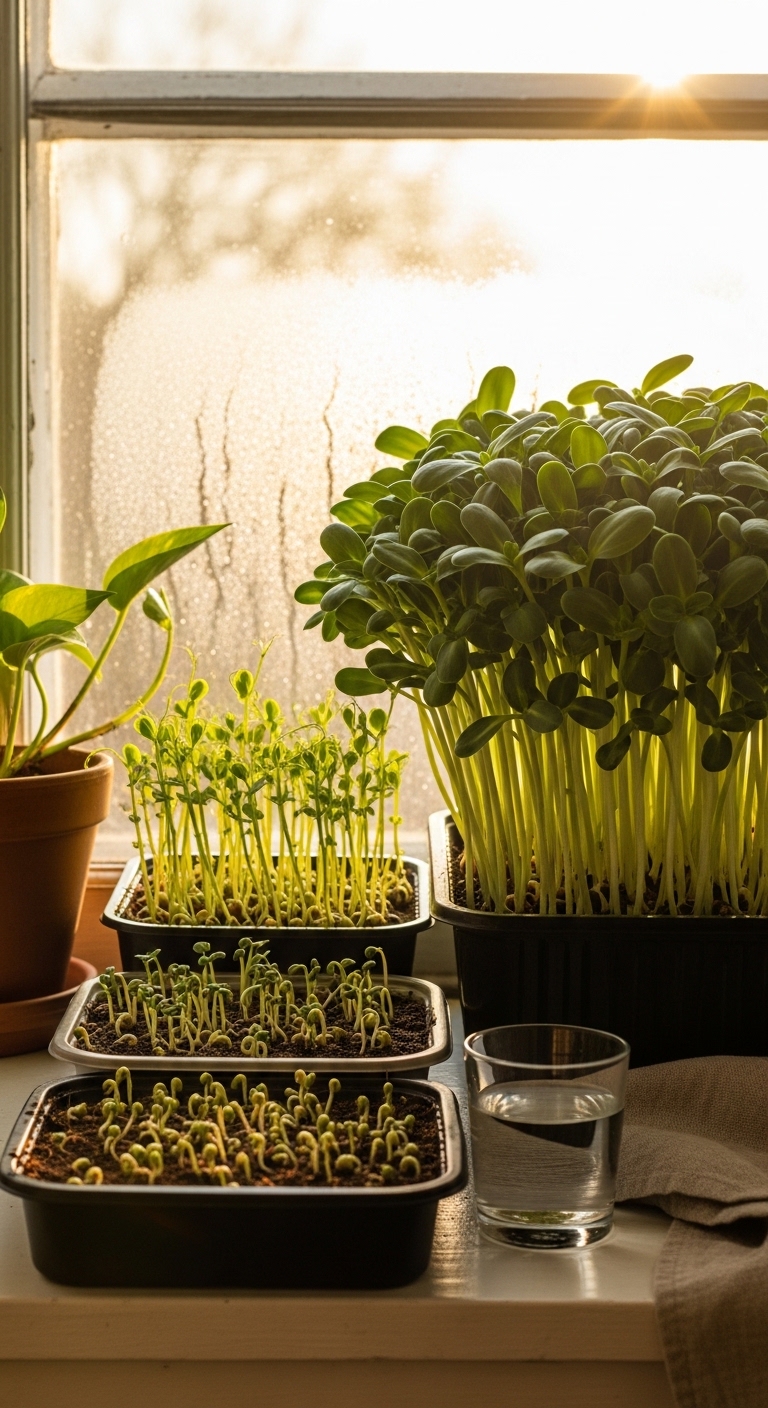
Once you have one tray running smoothly, the natural next step is staggering your harvests. A simple two-shelf setup — even a basic wire rack on the counter — lets you run two or three trays at different stages simultaneously, so you are harvesting something every few days rather than waiting a full week between batches.
Light is the key variable in a vertical setup. Natural windowsill light works well for a single tray positioned close to the glass, but as you add shelves or move trays further from the window, growth tends to become leggy and pale. Many growers find that a basic full-spectrum LED grow light mounted 15–30 cm above the trays makes a noticeable difference in stem strength and color intensity.
Follow manufacturer instructions for any grow light installation, and consult a licensed electrician if you are wiring a dedicated outlet or timer. A simple plug-in timer set to 14–16 hours of light per day is generally sufficient for most microgreen varieties.
Harvesting at the right moment matters more than most beginners expect. The peak nutritional window for most microgreens is just after the cotyledons (seed leaves) have fully opened and before the first true leaves begin to emerge. At this stage, the stems are firm, the flavor is concentrated, and the color is at its most vivid. Cut with clean scissors just above the soil line, rinse gently, and use within a few days — stored loosely in a container in the fridge.
Beginner-Friendly Setup Checklist
Before you sow your first tray, run through this checklist. It takes about five minutes and prevents most of the common first-batch frustrations.
- Choose a seed variety suited to beginners (radish, pea shoots, or cress are reliable starting points).
- Soak large seeds (sunflower, pea, sunflower) for 8–12 hours before seeding; small seeds (radish, broccoli, cress) generally do not need soaking.
- Fill your inner tray with 2–2.5 cm of moist growing medium and level the surface.
- Spread seeds densely but in a single layer — crowding is intentional in microgreen growing, but stacking seeds leads to uneven germination.
- Mist lightly, cover with a dark lid or second tray, and place in a warm spot (18–24°C).
- Check daily during germination; remove the cover once seedlings reach 2–3 cm.
- Switch to bottom-watering as soon as the cover comes off.
- Harvest when cotyledons are fully open, before true leaves appear.
- Rinse harvested greens gently and store in a loose container in the fridge for up to 4–5 days.
- Compost the spent growing medium and root mat, clean the tray, and start the next batch.
On regrowing: most microgreens do not regrow meaningfully after cutting, because the cotyledon stage is a one-time event. The exception is pea shoots, which can sometimes produce a second flush if cut above the lowest leaf node rather than at soil level. It is worth trying, though the second cut is generally thinner and less flavorful than the first.
Growing microgreens at home is genuinely one of the most forgiving and satisfying things a beginner can do. Your first tray will teach you more about seed timing, moisture, and light than any guide can fully convey — and your second tray will be noticeably better. Pick up a packet of radish seeds, set aside one corner of your counter, and start today. If you find yourself wanting to expand beyond the kitchen, exploring container herb gardens or a small balcony setup is a natural next step worth looking into.


Comments
Post a Comment