How to Propagate ZZ Plant From Cuttings
ZZ plant propagation has a reputation for being slow — and honestly, that reputation is earned. But slow does not mean difficult. Zamioculcas zamiifolia is one of the most forgiving plants you can work with, and once you understand what is actually happening underground, the waiting becomes genuinely interesting rather than frustrating. Whether you are working with a full stem cutting or a handful of individual leaflets, this guide walks you through both methods with realistic expectations and practical steps.
Choosing the Right Propagation Method
There are two reliable ways to propagate a ZZ plant: stem cuttings and individual leaf cuttings. Both methods eventually produce the same result — a small rhizome that anchors new growth — but they differ significantly in speed, effort, and success rate.
Stem cuttings are faster and generally more reliable. A single stem carries multiple leaves and a larger surface area for energy storage, which means the cutting can sustain itself while roots and a rhizome develop. Individual leaf cuttings work well when you want to maximize the number of new plants from a single parent, but they require considerably more patience — often 6 to 9 months before any visible progress above soil.
A few things worth considering before you cut:
- Choose a healthy parent stem with at least 3–4 pairs of leaves and no signs of yellowing or soft tissue.
- For leaf cuttings, select firm, fully mature leaves — avoid the very newest growth at the tip, which tends to be too soft.
- Early spring or early summer is generally the best timing, when the plant is in active growth and rooting tends to happen more readily.
- Clean, sharp tools matter. A dull blade crushes stem tissue rather than cutting cleanly, which can slow callus formation.
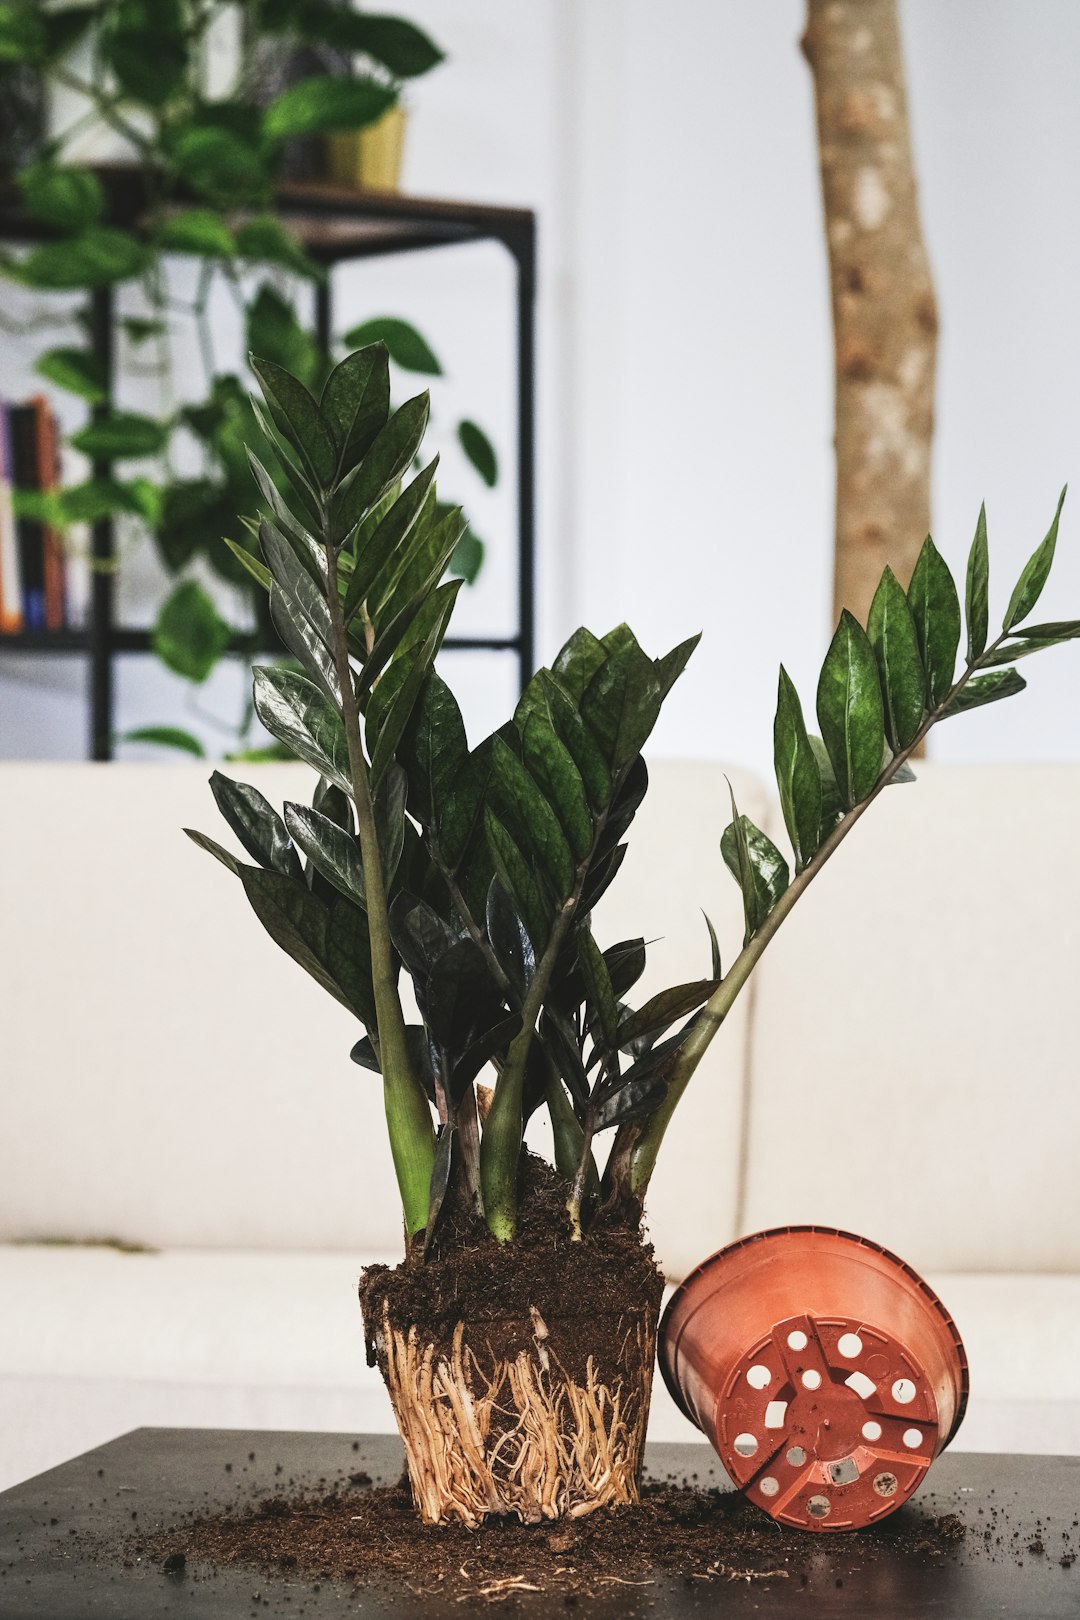
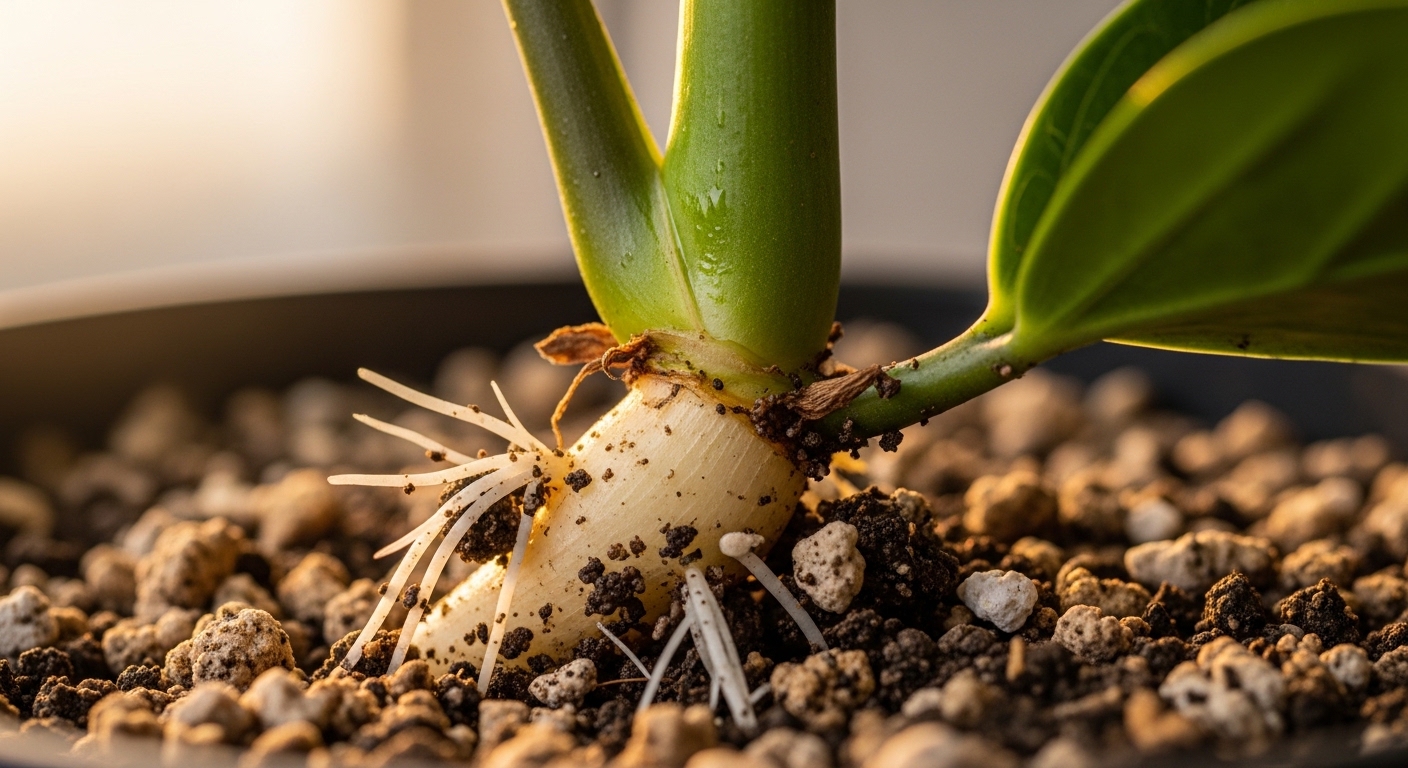
The ZZ plant stores water and energy in its rhizomes — those potato-like structures just below the soil surface. Every propagation method is essentially an attempt to encourage a cutting to form one of its own.
Step-by-Step: Stem Cutting Propagation
Stem cutting is the most straightforward way to propagate Zamioculcas zamiifolia. Take a cutting, let it callus, plant it in a well-draining mix, and wait. The key is in the details of each step.
1. Take the cutting. Use clean scissors or a sharp knife to cut a stem at the base, as close to the main rhizome as practical. Aim for a stem that is at least 10–15 cm long with several healthy leaflets. Wipe the blade with rubbing alcohol before cutting to reduce the risk of introducing pathogens.
2. Let it callus. Set the cut end on a dry surface — a paper towel works well — and leave it in a warm spot out of direct sun for 24 to 48 hours. This allows the wound to dry and form a callus, which generally helps prevent rot once the cutting is planted.
3. Optional: apply rooting hormone. Many growers find that a light dusting of powdered rooting hormone on the cut end can help speed up rhizome and root development, though ZZ cuttings will often root without it. It is not a requirement, but it may shorten the waiting period.
4. Plant in a well-draining mix. A blend of standard potting soil with added perlite (roughly 50/50) works well. Insert the stem about 3–5 cm deep into lightly moistened mix. The cutting should stand upright on its own; if it does not, a small stake or a ring of pebbles around the base can help.
5. Choose the right spot. Place the pot in a warm location with bright indirect light — somewhere that stays consistently between 18–27°C. Avoid cold windowsills or spots near air conditioning vents. Warmth is one of the most important variables for ZZ rooting.
6. Water sparingly. This is where many growers go wrong. Water lightly when the top 2–3 cm of soil feels completely dry. The cutting has no roots yet, so excess moisture around the stem base will cause rot before any rhizome has a chance to form. Err on the dry side.
Step-by-Step: Leaf Cutting Propagation
Individual leaf cuttings are a slower but rewarding method — especially useful when you want to multiply your collection from a single stem without sacrificing the whole thing. Each leaflet can, in theory, produce its own small rhizome and eventually a new plant.
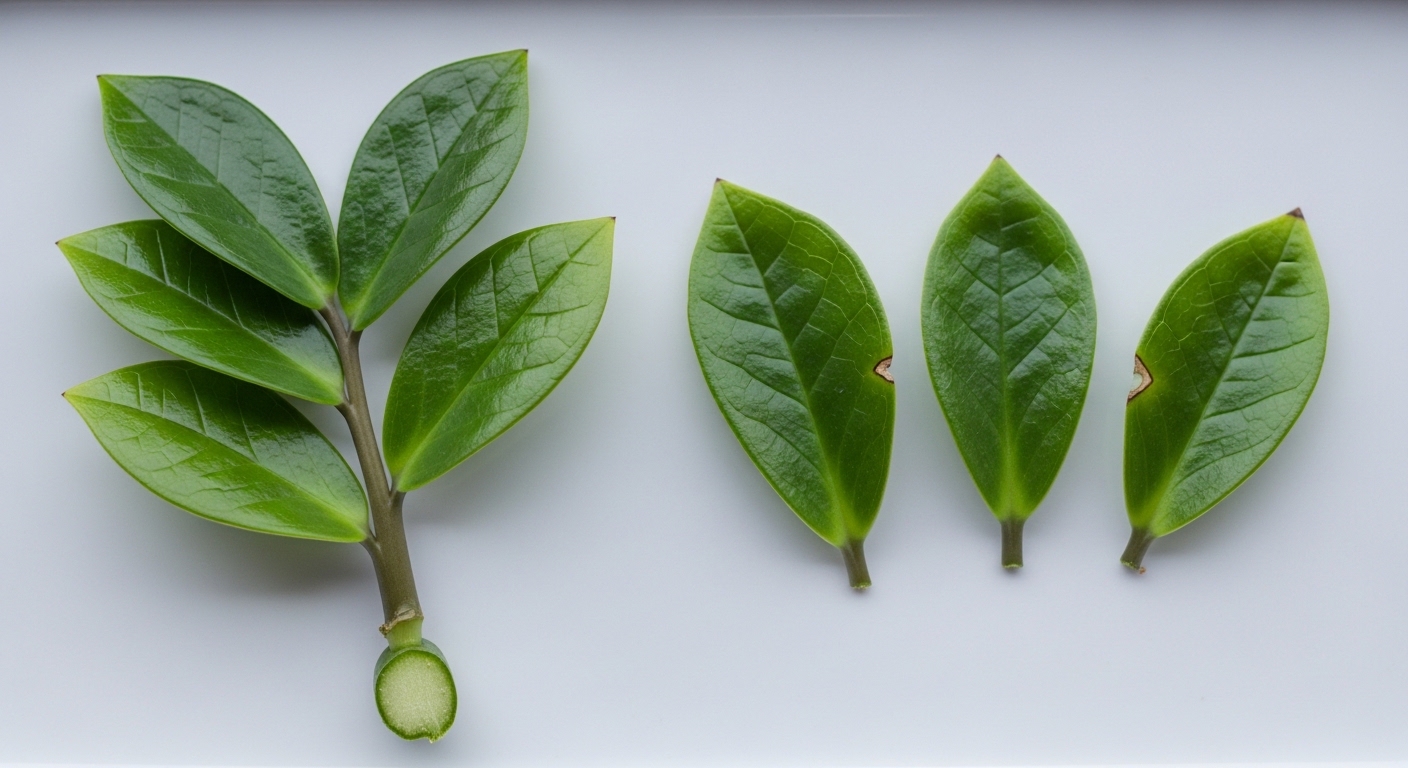
1. Remove the leaflets. Gently pull or cut individual leaves from the stem, making sure each one retains its short petiole (the small stalk connecting the leaf to the stem). Leaves without a petiole are much less likely to root successfully.
2. Callus and dry. As with stem cuttings, allow the cut end to air-dry for 24 hours before planting. Lay them flat on a dry surface in a warm room.
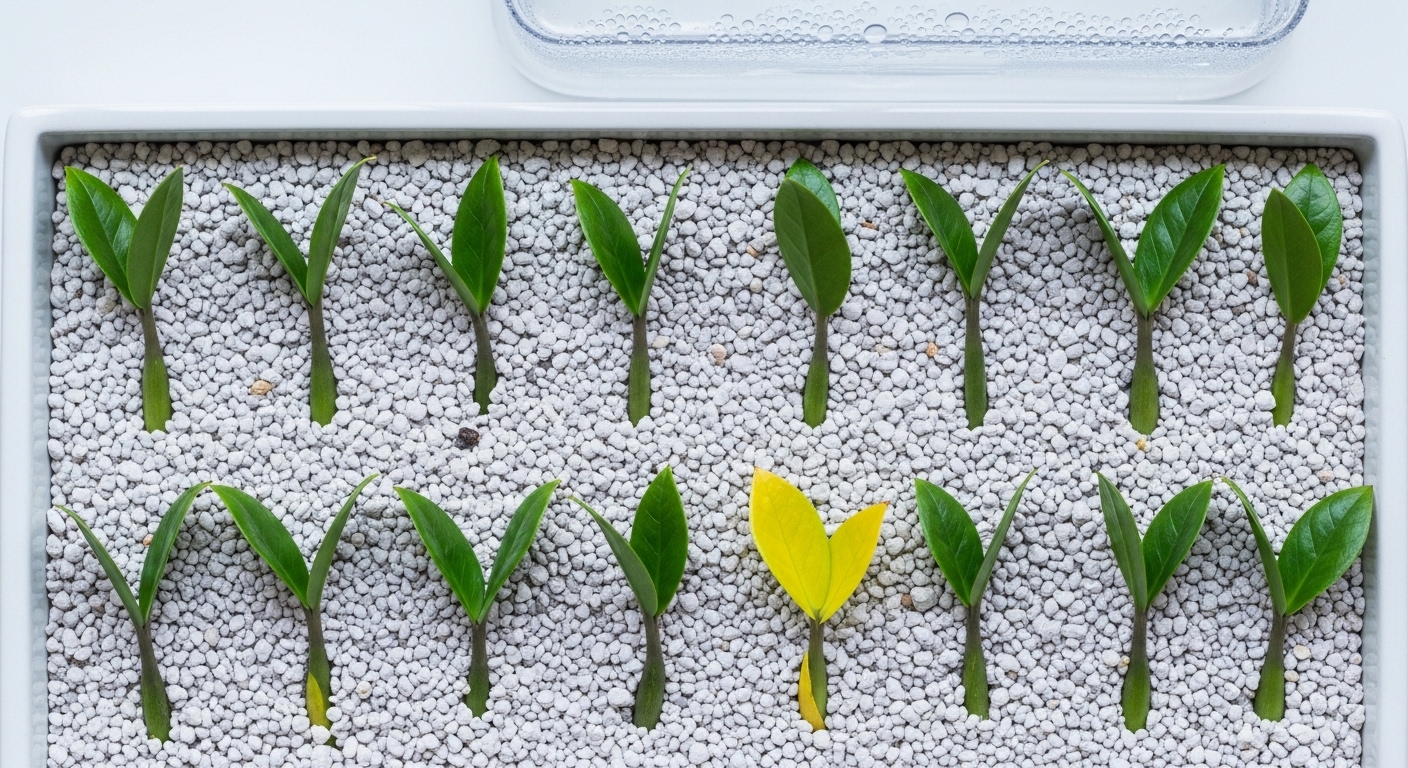
3. Plant at a shallow angle. Insert each leaflet into a tray or small pot of lightly moistened perlite or a 50/50 perlite-and-potting-mix blend, angled at roughly 45 degrees with the petiole end buried about 1–2 cm deep. Some growers prefer pure perlite for leaf cuttings because it is nearly impossible to overwater.
4. Create a humid microclimate. Covering the tray loosely with a clear plastic bag or a humidity dome can help maintain moisture around the leaves without waterlogging the medium. Leave a small gap for airflow to prevent fungal issues.
5. Be patient. This is genuinely the hardest part. Leaf cuttings may show no visible change for 3 to 4 months. What is happening underground — the slow formation of a tiny rhizome — is invisible until it is ready to push up a shoot. Resist the urge to dig and check too often.
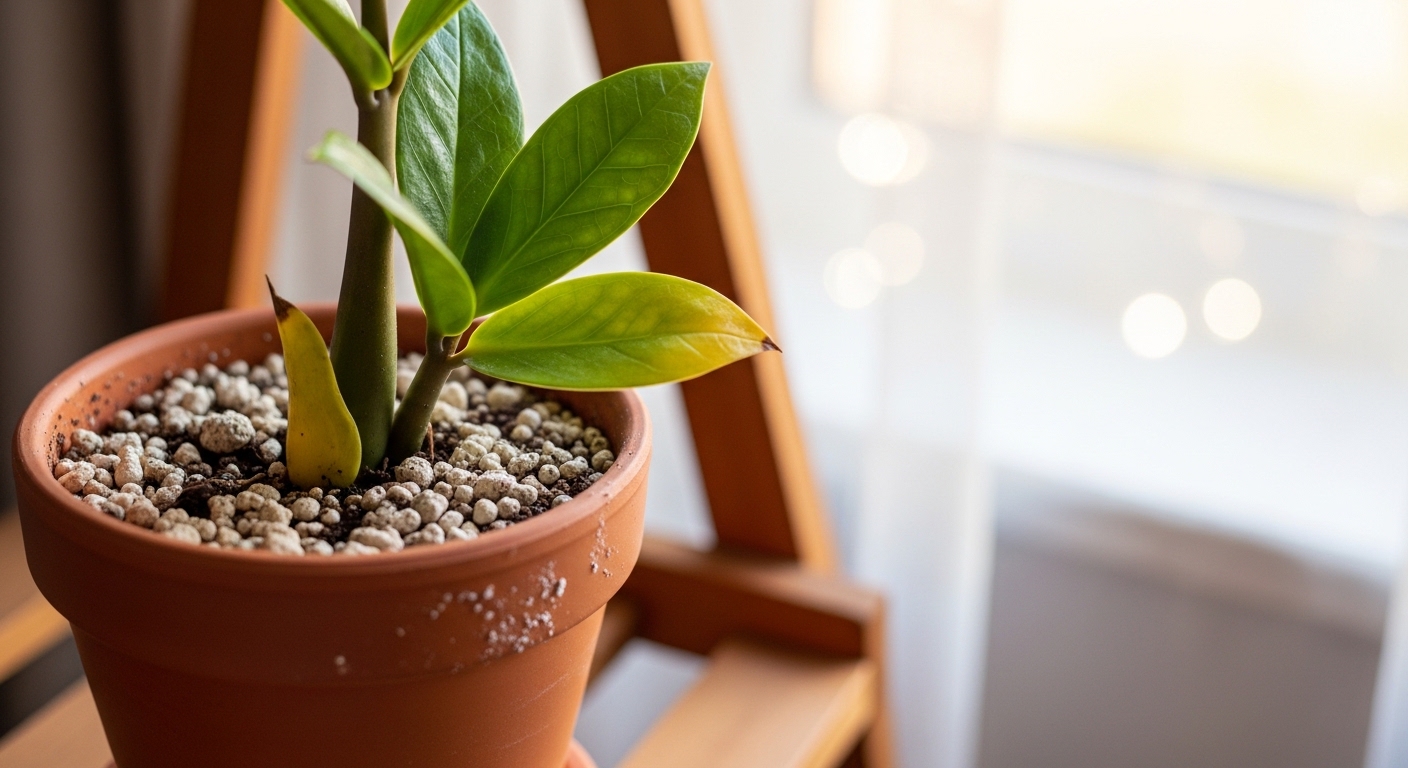
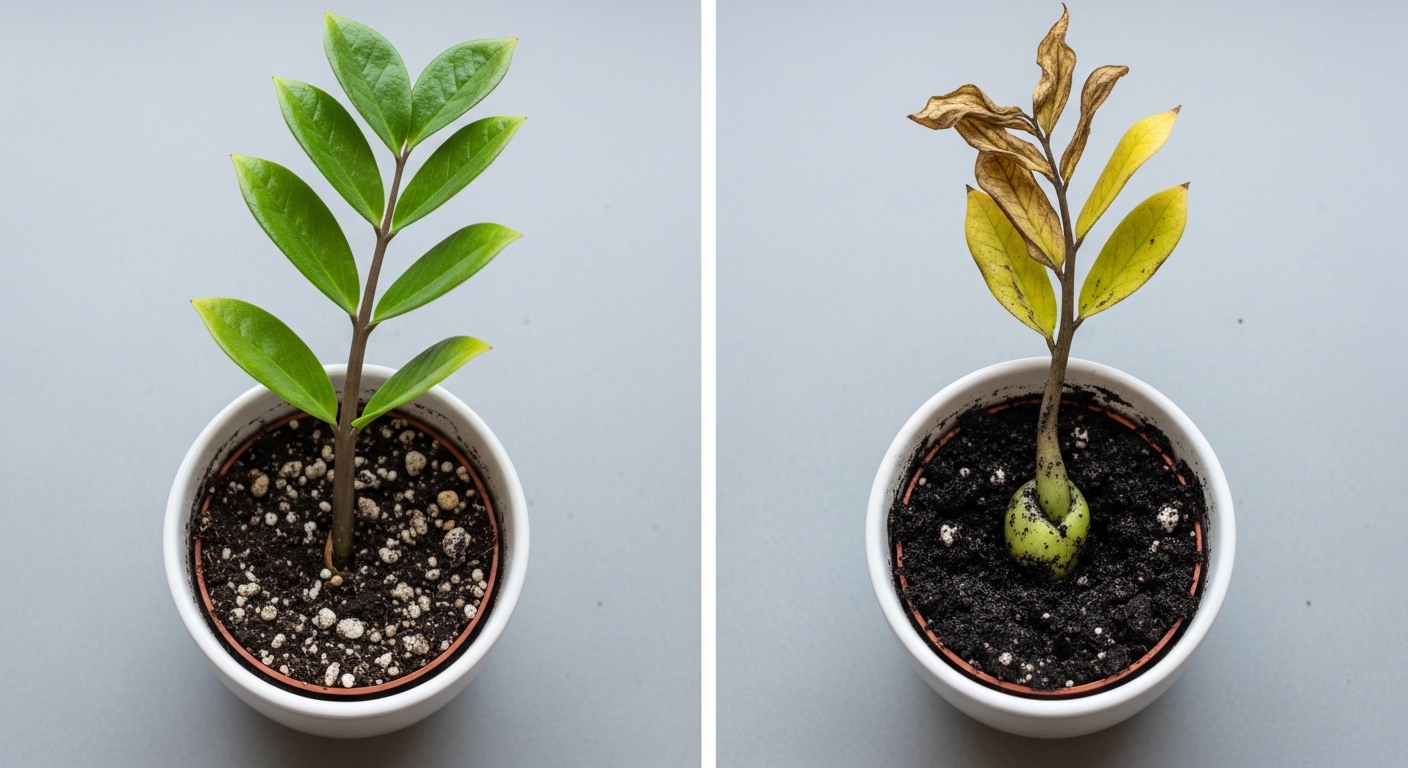
It is common to see the original leaf gradually yellow and shrivel as the new rhizome develops. This is not failure. The leaf is essentially donating its stored energy to the developing structure below. Once a small shoot emerges from the soil, the process has worked.
Rooting Timeline and What to Expect
ZZ plant propagation is measured in months, not weeks. Setting realistic expectations from the start makes the process far less stressful.
For stem cuttings, many growers notice the first signs of a new rhizome forming within 4 to 8 weeks under warm conditions. Actual new leaf shoots may not appear above soil for another 4 to 6 weeks after that. The full timeline from cutting to a visibly established new plant is typically 3 to 5 months.
For individual leaf cuttings, the timeline stretches considerably. Rhizome formation generally begins around 2 to 4 months in, and a new shoot may not emerge until month 5 or 6 — sometimes later. Success rates are also lower than with stem cuttings; not every leaflet will produce a viable rhizome, and that is normal.
A few observable signs that things are progressing:
- Gentle resistance when you lightly tug the cutting — this suggests roots or rhizome tissue has anchored into the medium.
- A small, pale green or yellowish nub pushing up through the soil surface — the first sign of a new shoot.
- The original cutting remaining firm and green rather than collapsing or going mushy — a good sign that rot has not set in.
Temperature is one of the most underrated variables. Cuttings kept in consistently warm conditions (22–26°C) tend to root noticeably faster than those sitting in a cooler room. A heat mat set to a gentle temperature can make a real difference during winter propagation attempts.
Common Propagation Mistakes
Most ZZ propagation failures come down to a handful of predictable errors. Knowing them ahead of time saves a lot of frustration.
- Overwatering the cutting. This is the most common cause of failure. A cutting with no established roots cannot absorb much water, and consistently moist soil around the stem base creates ideal conditions for rot. Water only when the top 2–3 cm of medium is fully dry.
- Skipping the callus step. Planting a freshly cut stem directly into moist soil without allowing the wound to dry first significantly increases rot risk. The 24–48 hour drying period is worth the wait.
- Checking too frequently. Pulling the cutting out of the soil every week to look for roots disturbs any fragile root or rhizome tissue that may be forming. Check by feel — a gentle tug — rather than by digging.
- Choosing a cutting that is too small. Very short stem cuttings with only one or two leaves have limited energy reserves. A cutting with 4–6 healthy leaflets gives the developing rhizome much more to work with.
- Propagating in low light. ZZ plants tolerate low light as established plants, but cuttings benefit from brighter indirect light to support the energy-intensive process of rhizome formation. A darker corner will slow things down considerably.
Potting Up Your New ZZ Plant
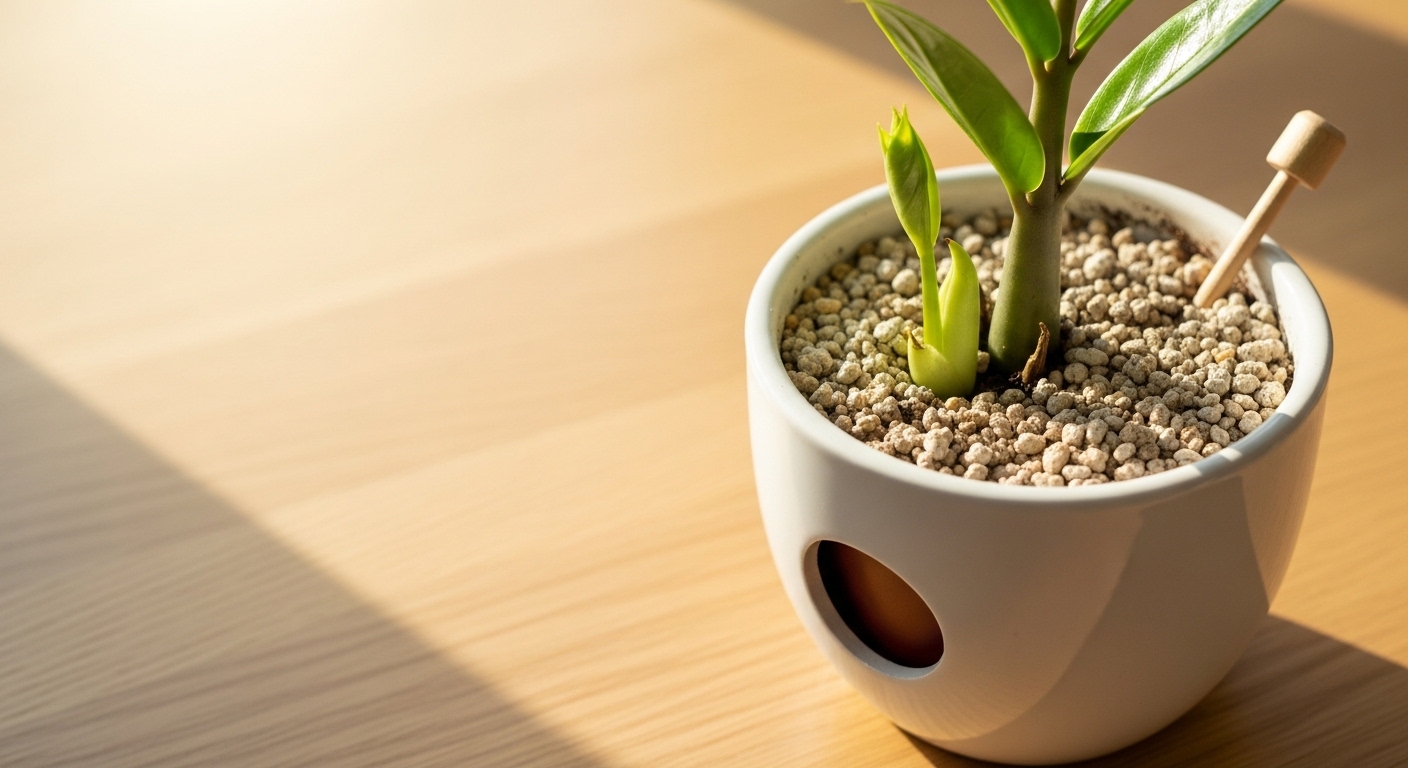
Once your cutting has a visible new shoot and you can feel clear resistance when tugging gently, it is ready to move into a proper pot. This transition is straightforward, but a few details help the young plant settle in without stress.
Choose a pot that is only slightly larger than the developing rhizome — roughly 2–3 cm of clearance on each side. ZZ plants generally do better slightly snug in their pots, and excess soil volume around a small root system tends to stay wet longer than the plant prefers.
A well-draining mix is essential. A blend of standard indoor potting mix with added perlite (around 30–40% perlite by volume) works well for most growers. Some people add a small amount of coarse sand or orchid bark for additional drainage. Avoid heavy, moisture-retentive mixes designed for moisture-loving plants.
When potting up:
- Gently loosen the propagation medium from around the rhizome without pulling on the stem.
- Position the rhizome so its top sits about 1–2 cm below the final soil surface.
- Water lightly after potting, then wait until the top 2 cm of soil is dry before watering again.
- Keep the newly potted plant in bright indirect light for the first few weeks and avoid fertilizing until it has produced at least one full new stem.
One frustrating part of this stage is that the new plant may pause visibly for several weeks after potting up — a kind of transplant adjustment period. This is normal. As long as the existing leaves remain firm and green, the plant is simply settling its roots into the new medium before pushing new growth.
Propagating a ZZ plant asks for patience above almost everything else. But there is something genuinely satisfying about watching a single leaflet — something that looked completely inert for months — finally push a tiny shoot through the surface. Start with a stem cutting if you want faster results, or try a batch of leaf cuttings if you are curious about the slower process. Either way, keep conditions warm, keep the soil on the drier side, and resist the urge to intervene too often.
If your newly propagated ZZ plant eventually outgrows its pot and you are wondering about repotting timing and soil upgrades, that is a natural next step worth exploring. The same principles that make propagation successful — good drainage, appropriate pot sizing, and minimal disturbance — apply directly to long-term ZZ plant care.


Comments
Post a Comment