Rooting Hormone: Does It Really Help Propagation?
Rooting hormone is one of those propagation tools that divides plant people. Some swear by it; others have propagated dozens of plants without ever touching a bottle. The truth, as usual, sits somewhere in the middle. Whether you are taking your first cutting from a fiddle-leaf fig or attempting a tricky woody stem, understanding what rooting hormone actually does — and when it genuinely matters — can make the difference between a cutting that roots in three weeks and one that quietly rots in a jar of water.
Choosing the Right Propagation Method
Before rooting hormone even enters the picture, the propagation method you choose shapes everything else. Stem cuttings, leaf cuttings, division, and air layering all have different success rates depending on the plant species — and rooting hormone interacts differently with each.
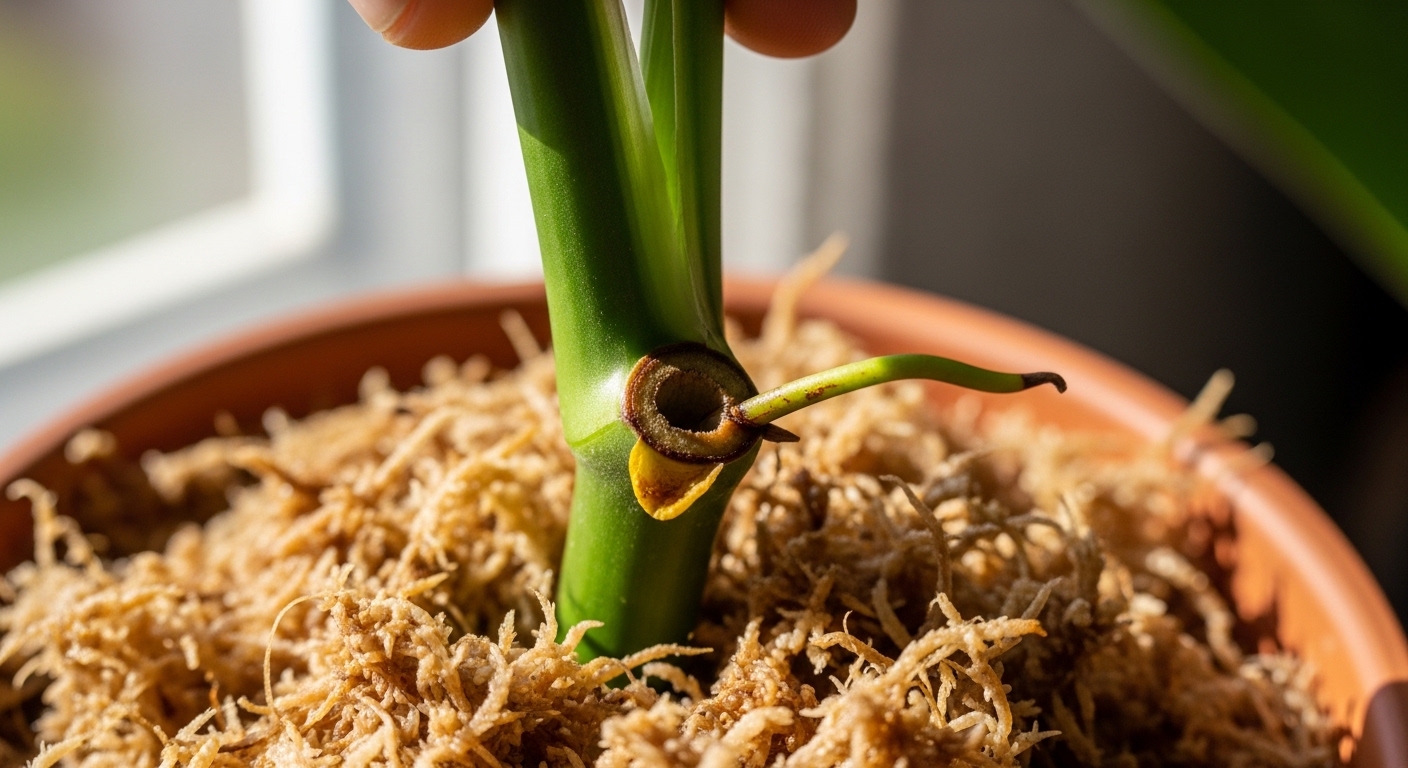
Stem cuttings are by far the most common method for houseplants and garden shrubs. A healthy cutting taken just below a node — the small bump or joint where a leaf attaches — gives the plant its best starting point. The node is where root initials, the cells that eventually become roots, are most concentrated. Rooting hormone works by amplifying the natural auxin signals already present at that node.
Leaf cuttings, used for succulents and plants like Sansevieria or Begonia rex, respond more variably to rooting hormone. Division and air layering generally need it least, since the plant already has an established root system or is still attached to its parent. For most beginners, stem cuttings are the logical starting point — and the place where rooting hormone tends to show the clearest results.
The node is not just a structural feature — it is the biological command center for root development. Taking your cutting just below one is the single most important step before any hormone is applied.
Step-by-Step: Powder and Gel Rooting Hormone
Rooting hormone comes in three main forms — powder, gel, and liquid concentrate — and each has a slightly different application process. Powder is the most widely available and has a long shelf life. Gel is popular for its ease of use and good stem contact. Liquid concentrates are typically diluted before use and are more common in commercial propagation settings.
Using rooting powder:
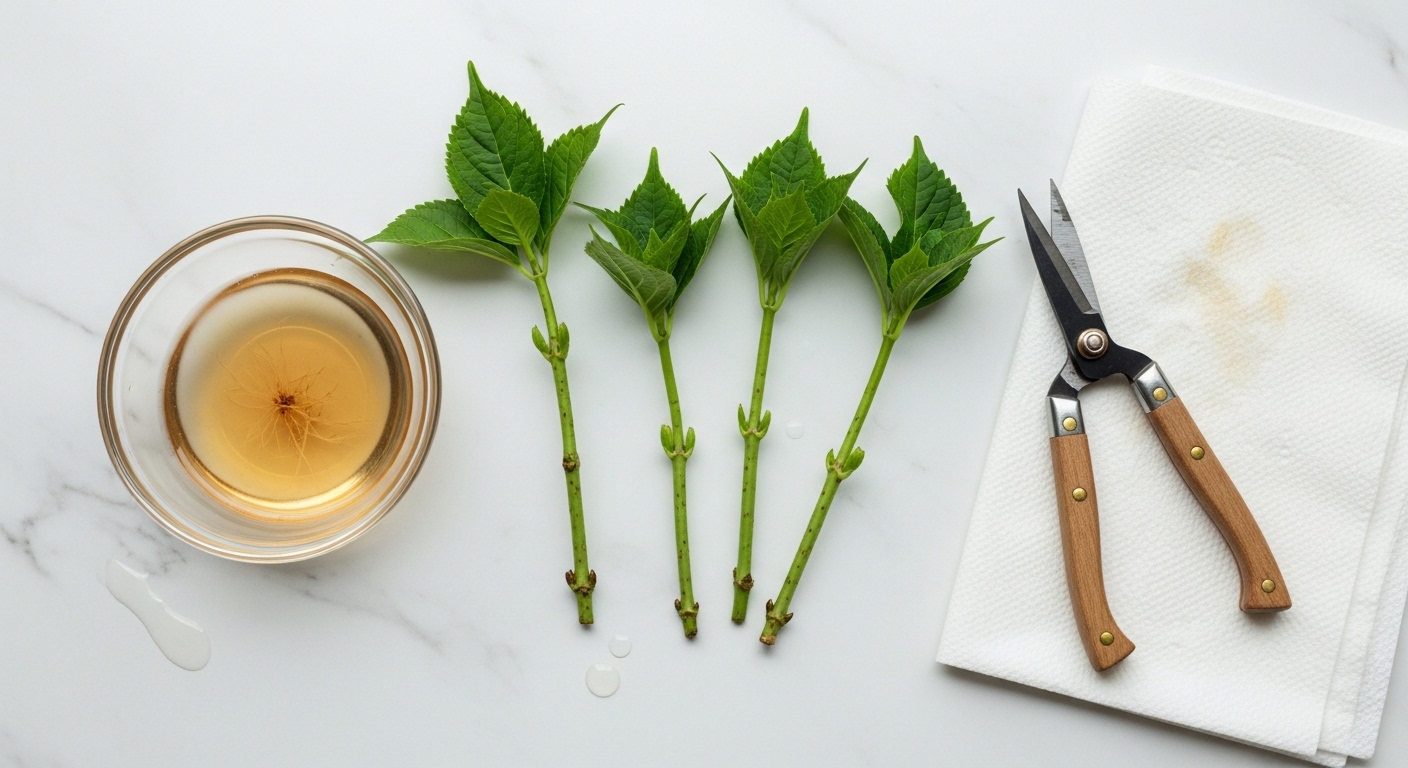
- Take a clean cutting of 10–15 cm, removing lower leaves so at least one node is exposed.
- Allow the cut end to air-dry for 5–10 minutes — this helps the powder adhere rather than clumping on a wet stem.
- Dip the bottom 1–2 cm of the stem into the powder, tapping off any excess. Too much powder can actually inhibit rooting rather than help it.
- Insert the cutting immediately into pre-moistened propagation medium — perlite, coarse sand, or a 50/50 mix of perlite and potting soil all work well.
- Do not pour unused powder back into the original container. Contamination from plant sap can degrade the product over time.
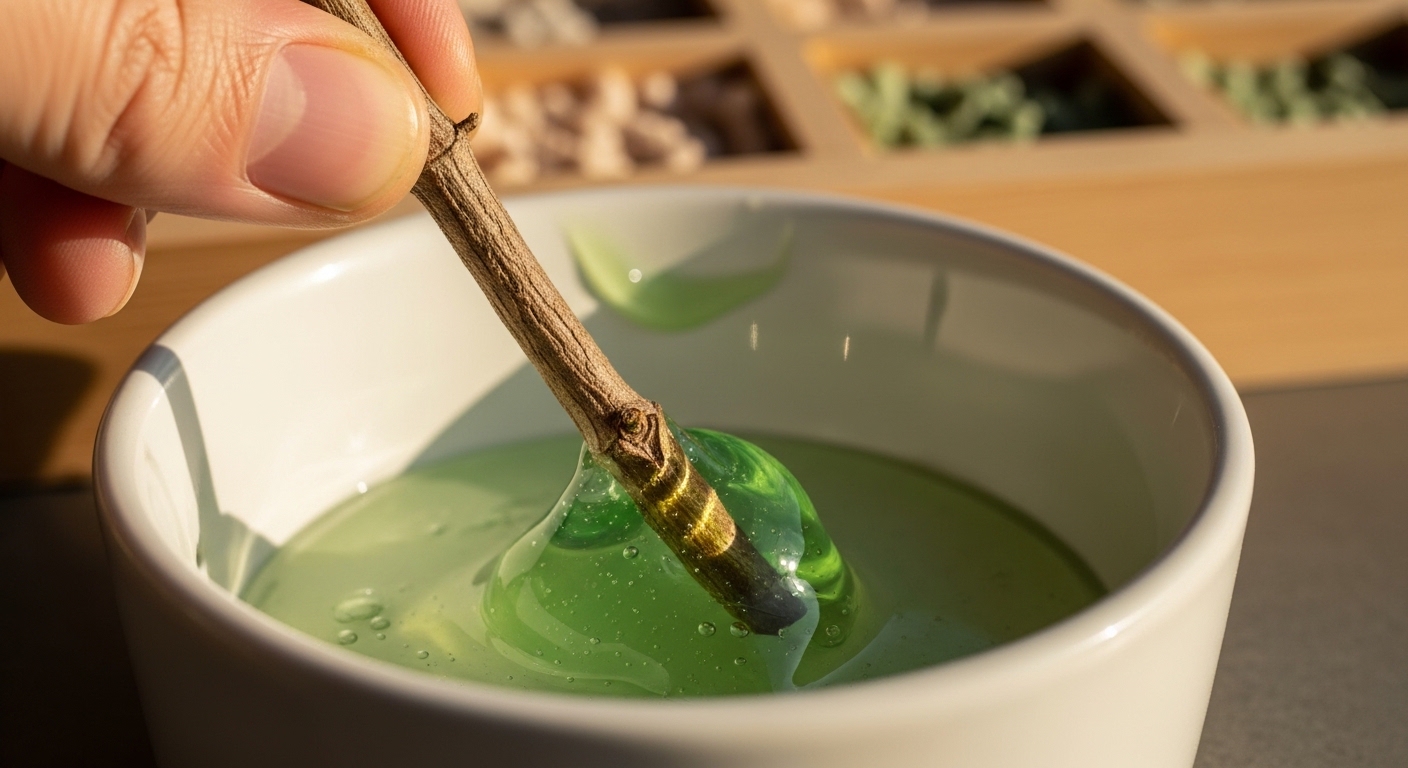
Using rooting gel:
- Prepare the cutting the same way, but the stem can be slightly moist — gel adheres well to damp surfaces.
- Dispense a small amount of gel into a separate dish rather than dipping directly into the bottle.
- Coat the bottom 1–2 cm of the stem thoroughly, ensuring the node area is covered.
- Plant immediately. Gel tends to maintain moisture around the cut end, which can be especially helpful in drier indoor environments.
Step-by-Step: Liquid Rooting Hormone
Liquid rooting hormone is less common in home settings but worth understanding, particularly if you are propagating in larger batches or working with more stubborn woody species. It is typically sold as a concentrated solution that must be diluted with water before use — always follow the manufacturer's dilution instructions, as concentration levels vary significantly between products.
There are two approaches with liquid hormone: a quick dip (a few seconds in a more concentrated solution) or a prolonged soak (several hours in a diluted solution). Many home growers find the quick-dip method more practical and less prone to over-application. After the dip, allow the stem to air for a minute or two before planting into your chosen medium.
One thing worth noting: liquid hormone tends to have a shorter shelf life once diluted. Mix only what you need for a single propagation session and discard the remainder. Storing diluted solution often leads to degraded effectiveness and potential contamination.
- Quick dip: 5 seconds in a moderately concentrated solution, then plant immediately.
- Prolonged soak: 8–24 hours in a very dilute solution, typically used for hardwood cuttings.
- Shelf life tip: Store undiluted liquid concentrate in a cool, dark location and check the expiry date — auxin compounds degrade with heat and light exposure.
Rooting Timeline and What to Expect
Rooting hormone does not guarantee faster roots in every situation — but for many plant types, it can meaningfully shorten the timeline and improve the percentage of cuttings that successfully root. What it cannot do is compensate for poor cutting technique, wrong medium, or inadequate humidity.
In general terms, easy-rooting plants like Pothos, Tradescantia, or Coleus will root reliably with or without hormone, typically within 1–3 weeks in water or moist medium. For these species, rooting hormone is largely optional. The real difference tends to show up with:
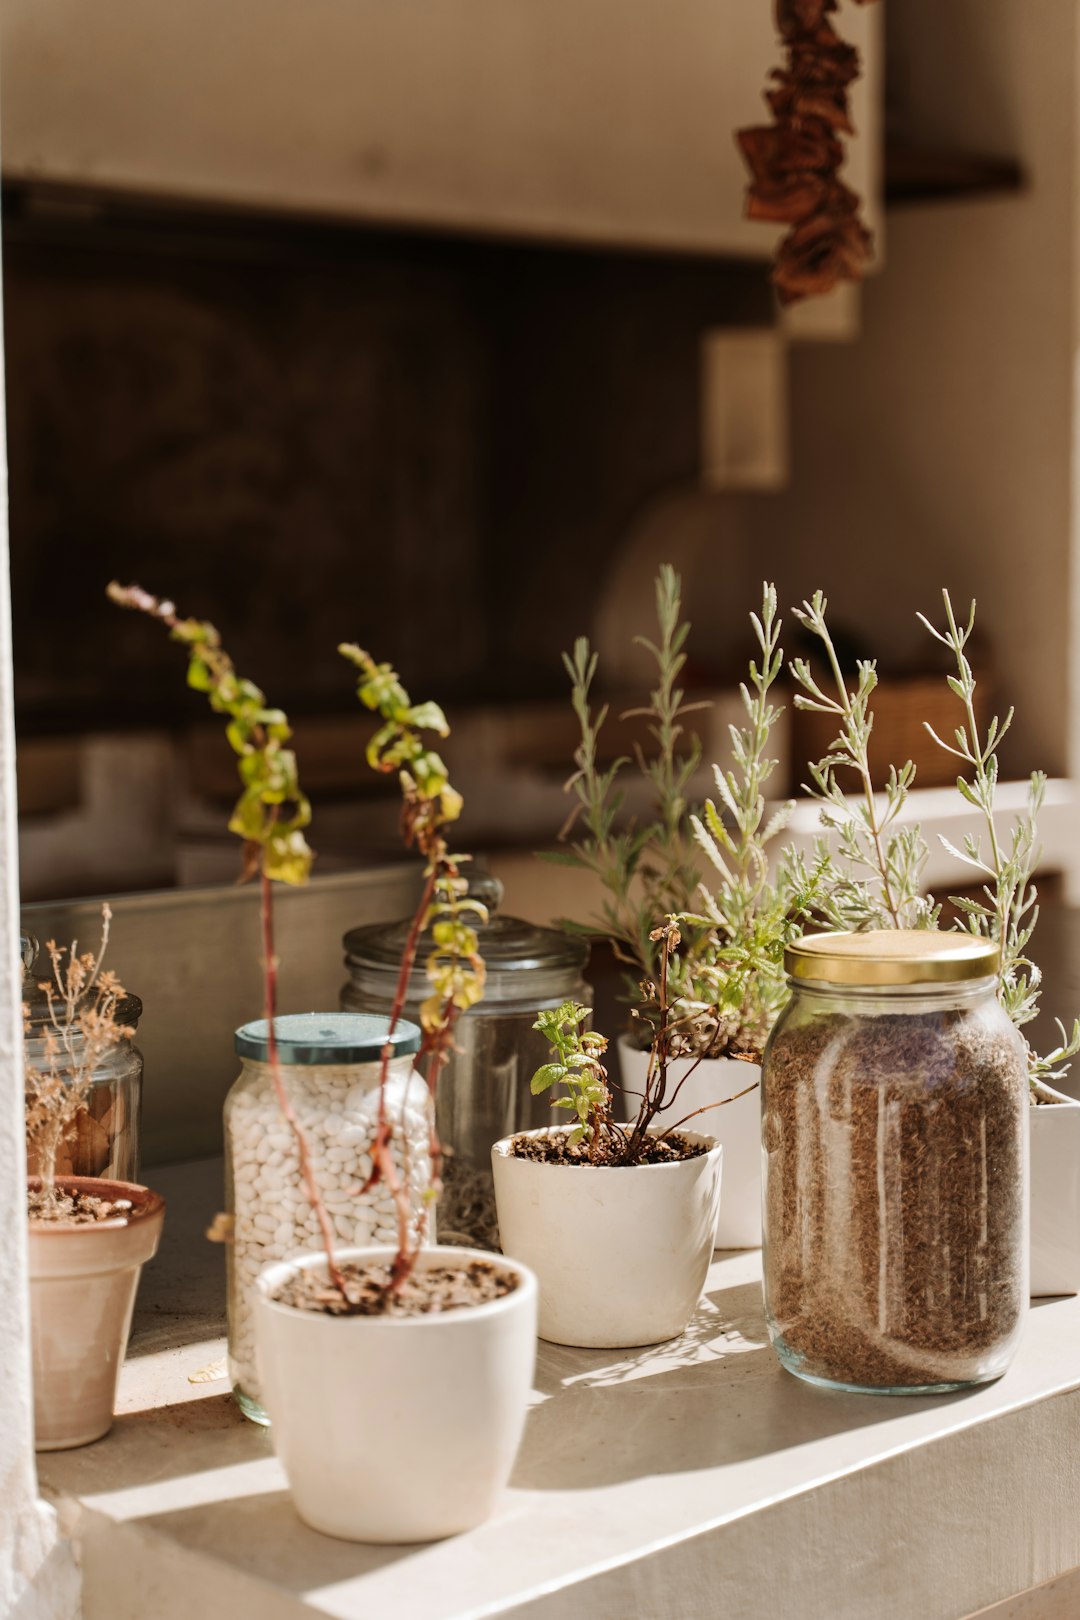
- Woody shrubs (Rosemary, Lavender, Hydrangea) — hormone can reduce rooting time from 8–12 weeks to 4–6 weeks in many cases.
- Semi-tropical species (Ficus, Gardenia, Bougainvillea) — notoriously slow to root, and hormone application generally improves success rates.
- Succulents and cacti — results are mixed; many growers find hormone unnecessary, and some report that gel forms can introduce excess moisture that leads to rot.
- Rare aroids (Philodendron gloriosum, Anthurium varieties) — hormone may help, but high humidity and warmth matter more.
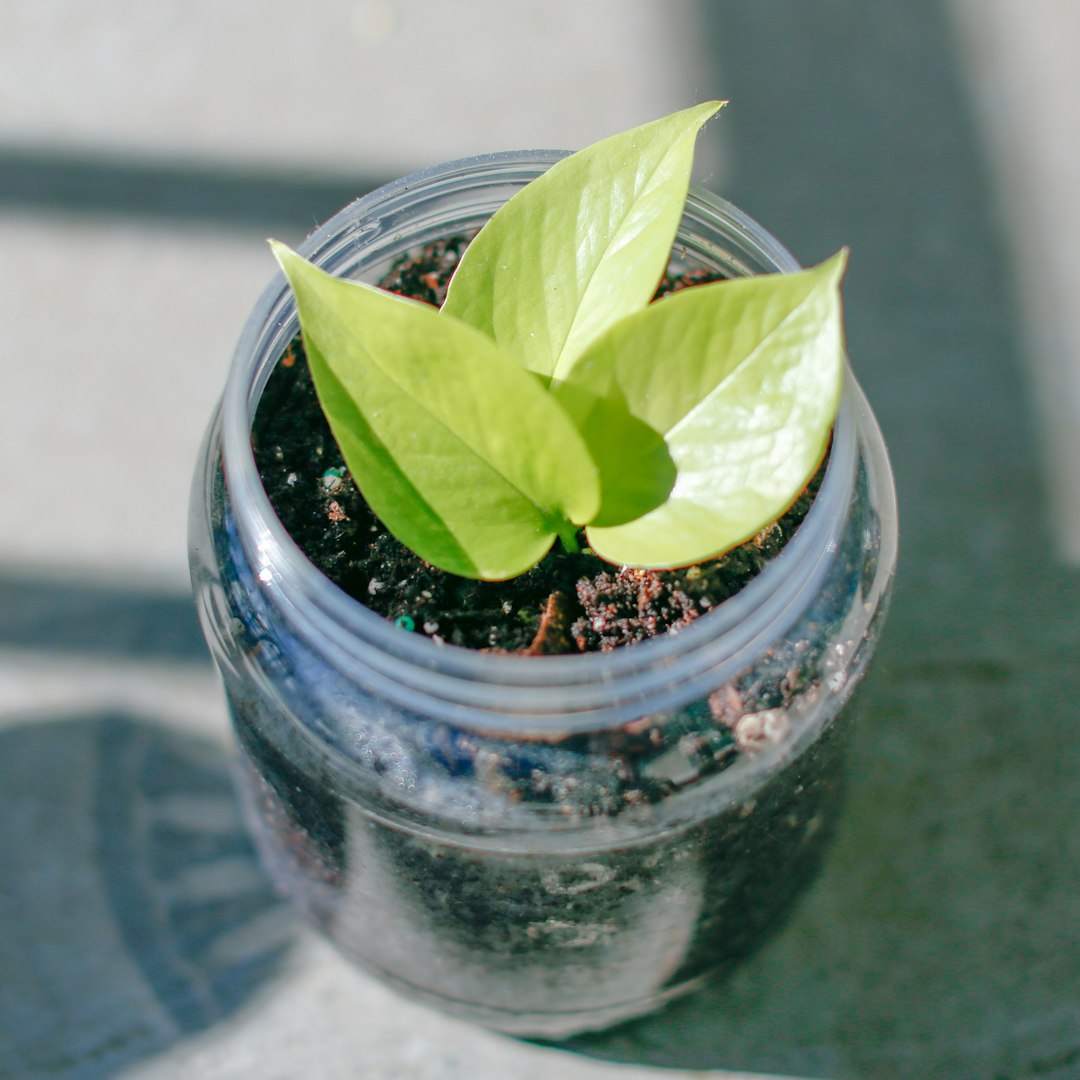
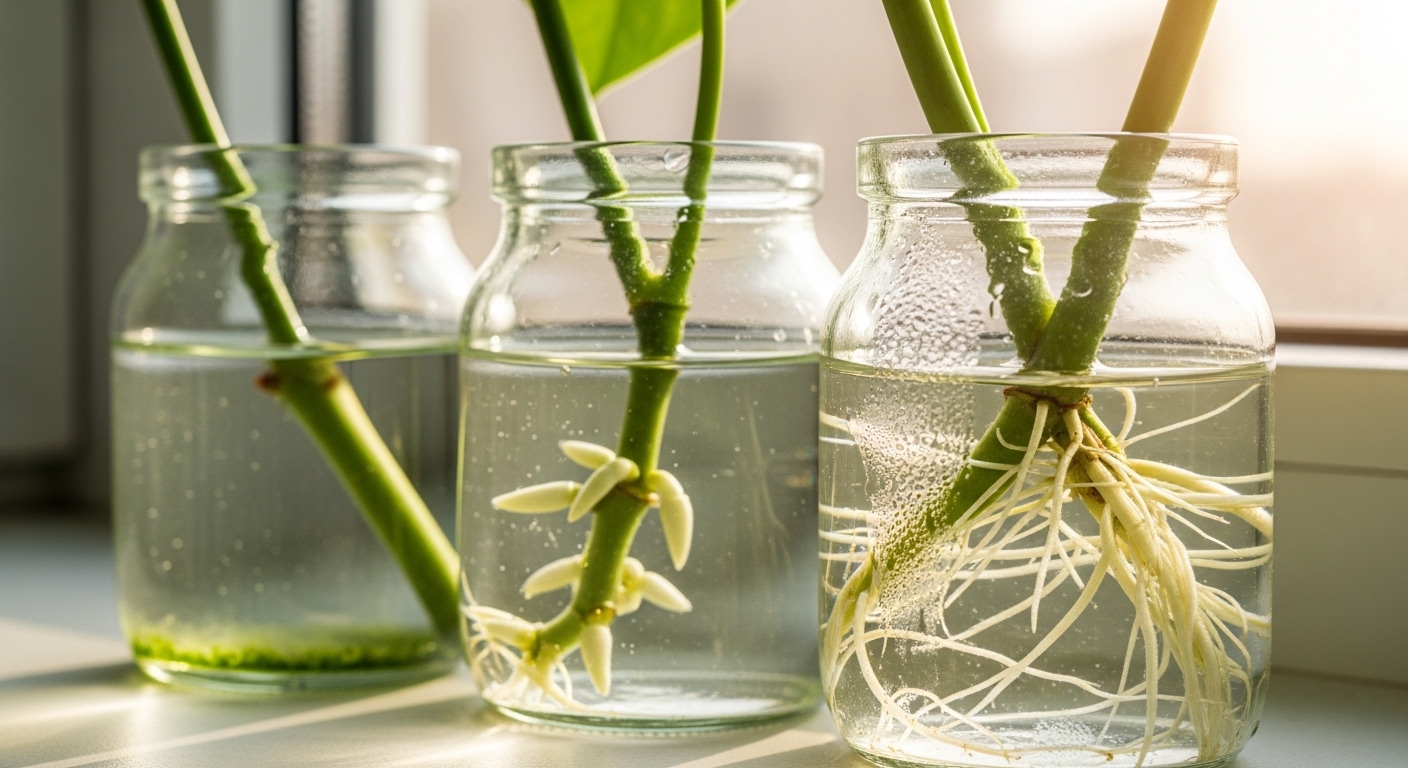
Many growers notice that the first sign of successful rooting is not visible roots at all — it is a cutting that stops wilting and begins to hold itself upright. Roots often develop for a week or more before they are long enough to see through a transparent container.
Common Propagation Mistakes
Even with rooting hormone in hand, there are a handful of consistent mistakes that undermine propagation success. Most of them have nothing to do with the hormone itself.
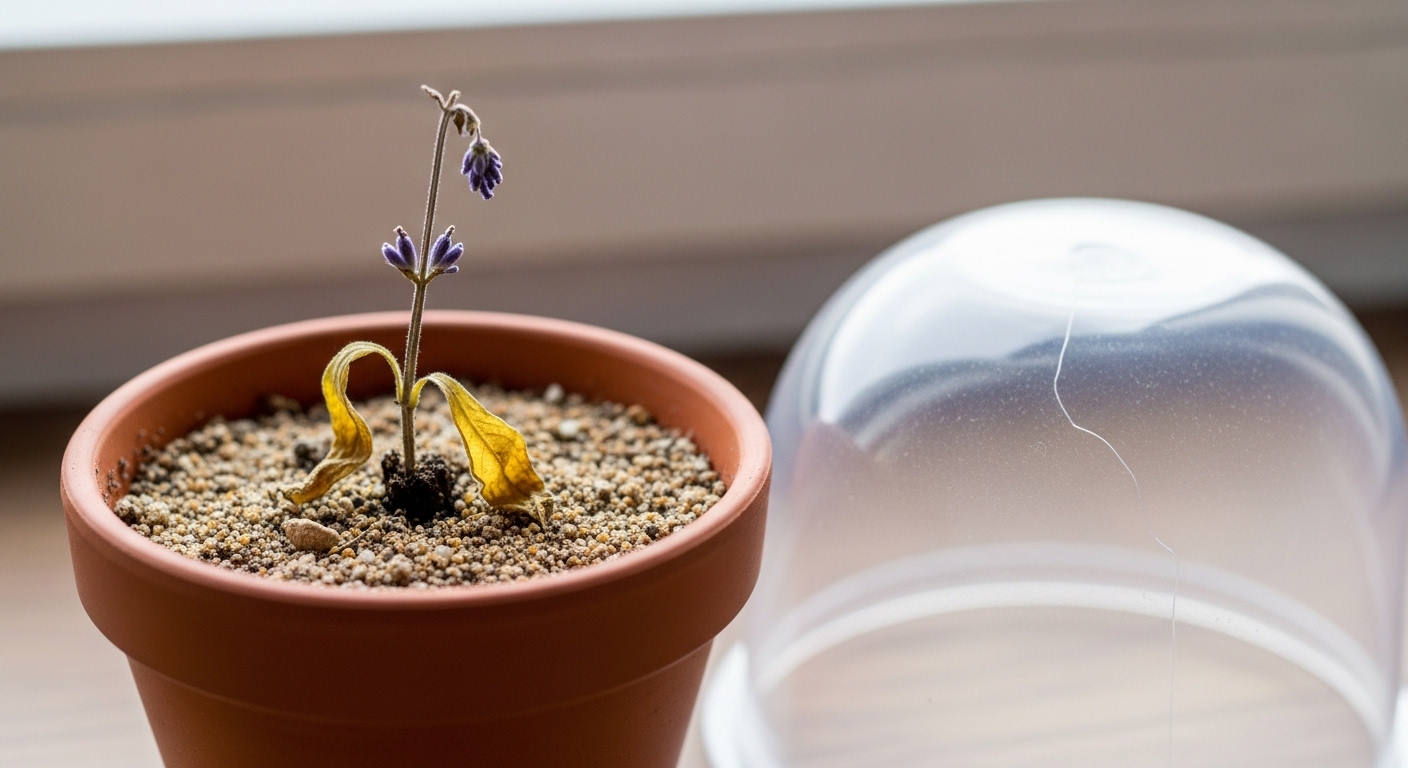
- Taking cuttings from stressed or unhealthy parent plants. A cutting inherits the condition of its parent. Yellowing, pest-damaged, or drought-stressed stems root poorly regardless of what you apply to them.
- Using too much rooting hormone. More is not better. Excess auxin concentration can actually suppress root development — a thin, even coating is all that is needed.
- Planting into wet, compacted, or nutrient-rich soil. Rich potting mix is not ideal for propagation. Roots develop in response to searching for resources; a lean, well-aerated medium like perlite or coco coir encourages outward root growth.
- Skipping humidity control. Cuttings have no roots to absorb water, so they rely on ambient humidity to stay hydrated. A simple plastic bag tent or a clear propagation dome can make a significant difference, especially in dry indoor environments.
- Moving or checking cuttings too frequently. One frustrating part of propagation is the waiting. Pulling cuttings out to check for roots every few days disrupts any root initials that have begun to form and exposes them to air damage.
Potting Up Your New Plant
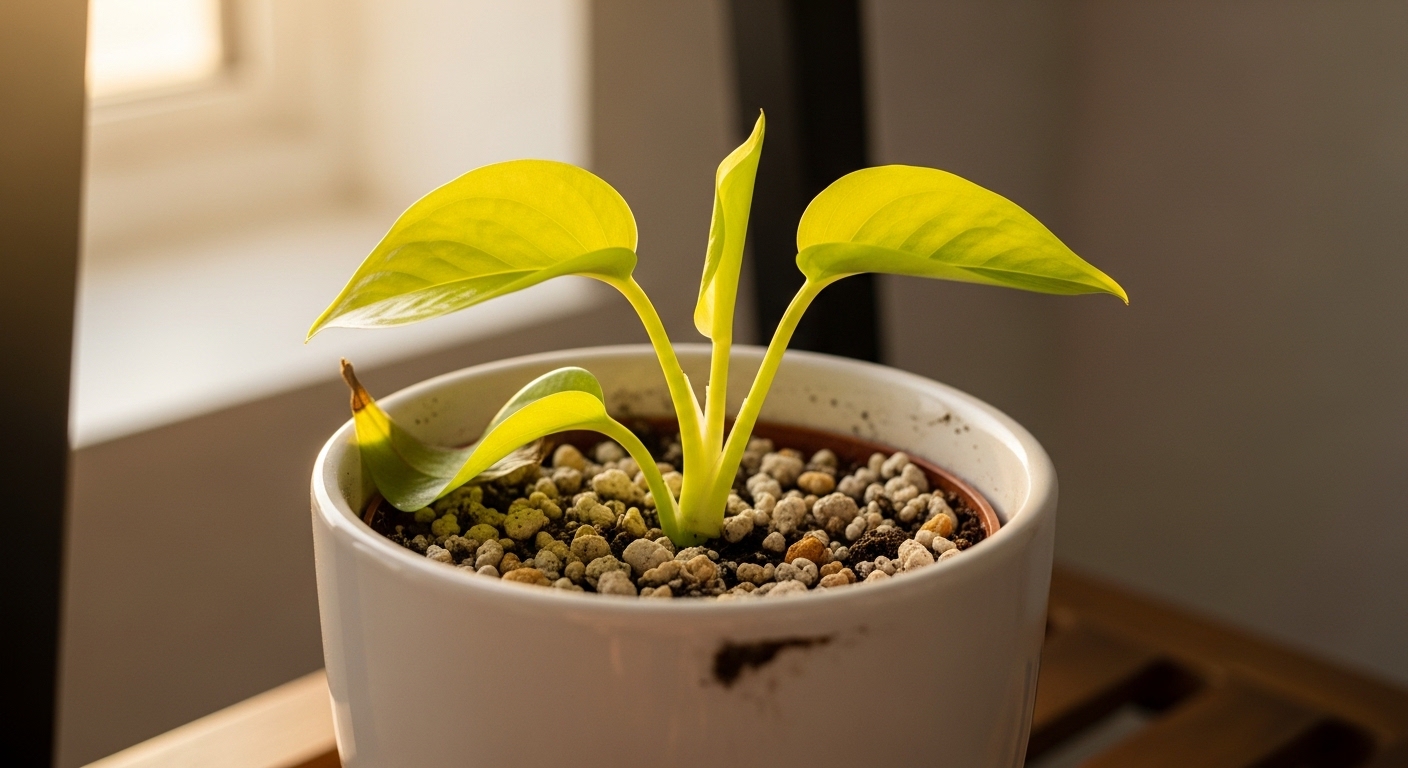
Once roots reach 2–4 cm in length, your cutting is ready to move into its first proper home. This transition — often called potting up — is a vulnerable moment. The roots are young, fragile, and not yet adapted to soil conditions.
Choose a small pot rather than a large one. A container that is too big holds excess moisture around the limited root system, which can lead to rot before the plant has a chance to establish. A 7–10 cm pot is usually appropriate for most rooted cuttings.
Use a light, well-draining mix — something like a standard potting soil cut with 20–30% perlite. Gently ease the cutting out of its propagation medium, keeping the root mass intact. If rooting in water, allow the roots to air for a few minutes before planting, as water-grown roots sometimes need a brief adjustment period before soil contact.
- Water lightly after potting — enough to settle the soil, not to saturate it.
- Keep the newly potted cutting out of direct sun for the first 1–2 weeks while it adjusts.
- Expect some minor wilting or leaf drop in the first week — this is transplant stress, not failure.
- Hold off on any fertilizer for at least 4–6 weeks. Young roots are sensitive, and fertilizer salts can cause tip burn on new growth.
Rooting hormone is a useful tool — not a magic fix, and not always necessary. For easy-rooting species, skip it if you like. For woody shrubs, slow-rooting tropicals, or any cutting you really cannot afford to lose, it is a low-cost, low-effort way to tip the odds in your favor. The fundamentals still matter most: a healthy parent plant, a clean cut below a node, the right medium, and enough patience to let the process happen.
If you are just getting started with propagation, Pothos or Tradescantia are forgiving first attempts — with or without hormone. And if stem cuttings have you curious about other methods, air layering is a fascinating next step worth exploring, especially for larger woody houseplants that are difficult to cut.


Comments
Post a Comment