How to Propagate Spider Plant Babies: 3 Easy Methods
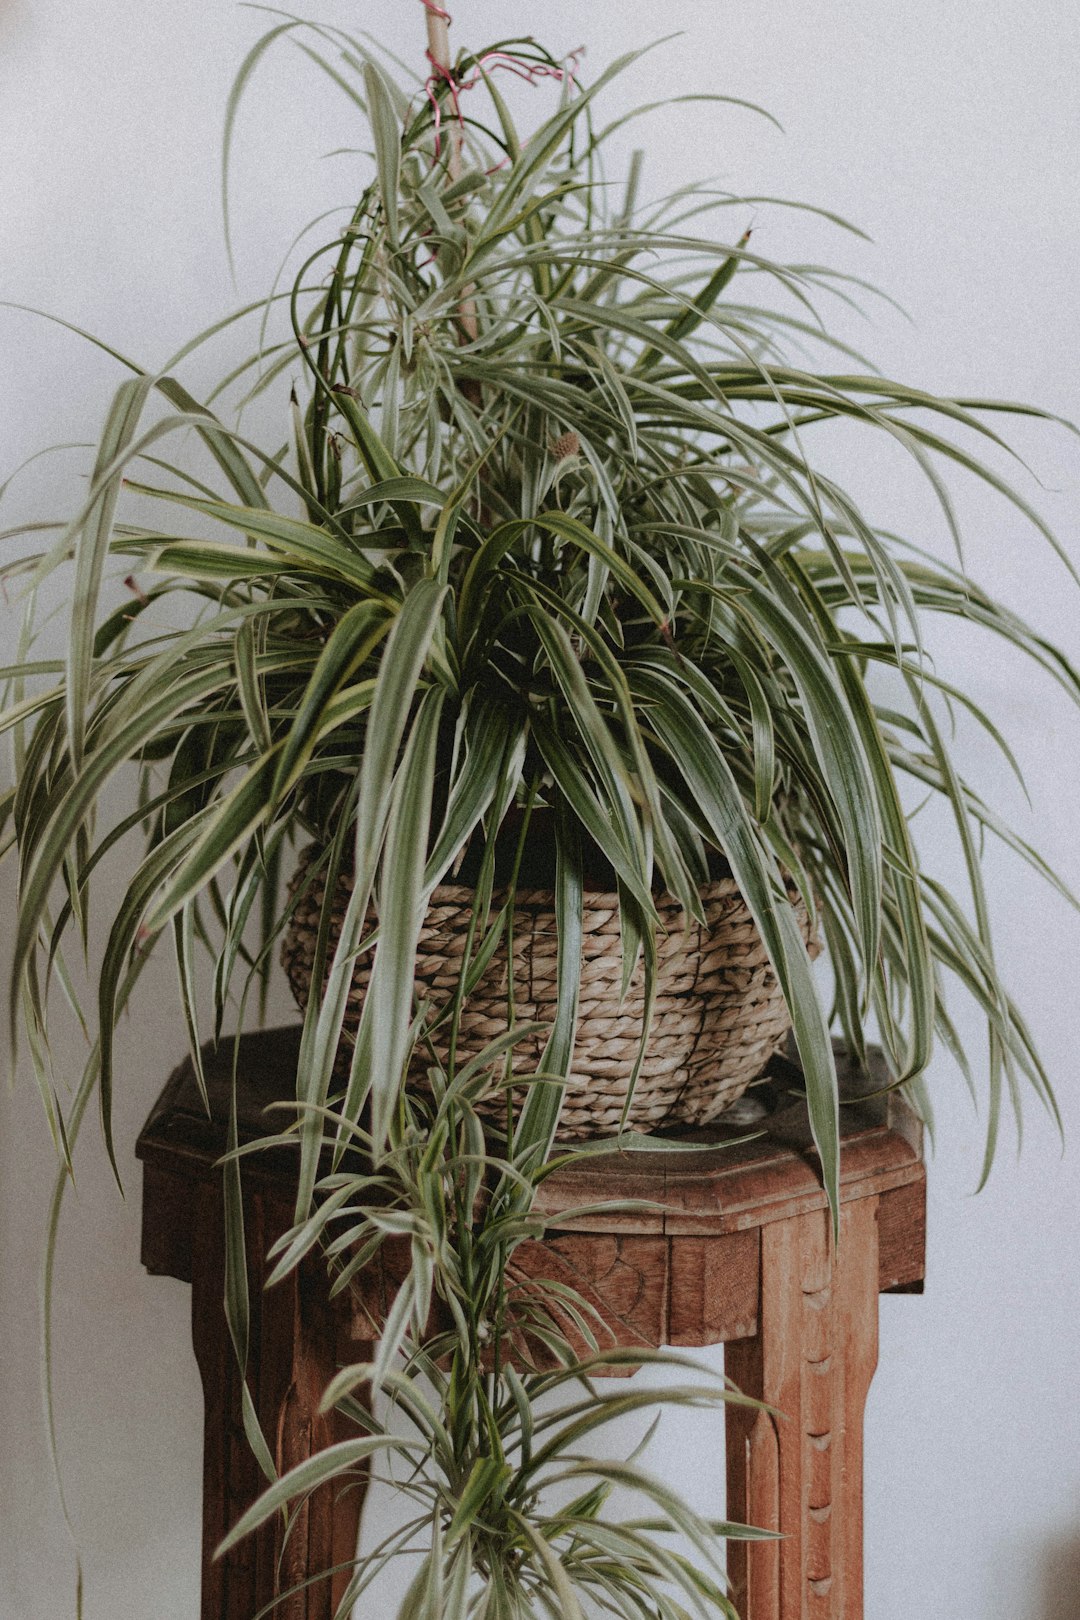
Spider plants are generous. Once a mature plant settles in, it sends out long arching runners tipped with miniature versions of itself — those little offshoots are commonly called spiderettes, and they are genuinely one of the easiest things you can propagate at home. Whether you are working with a single hanging basket or a windowsill pot that has quietly taken over a shelf, learning to root these babies opens up a whole new cycle of growing. This guide walks through the three main approaches: rooting spiderettes while still attached to the mother plant, cutting and rooting in water, and going straight into soil.
Choosing the Right Propagation Method
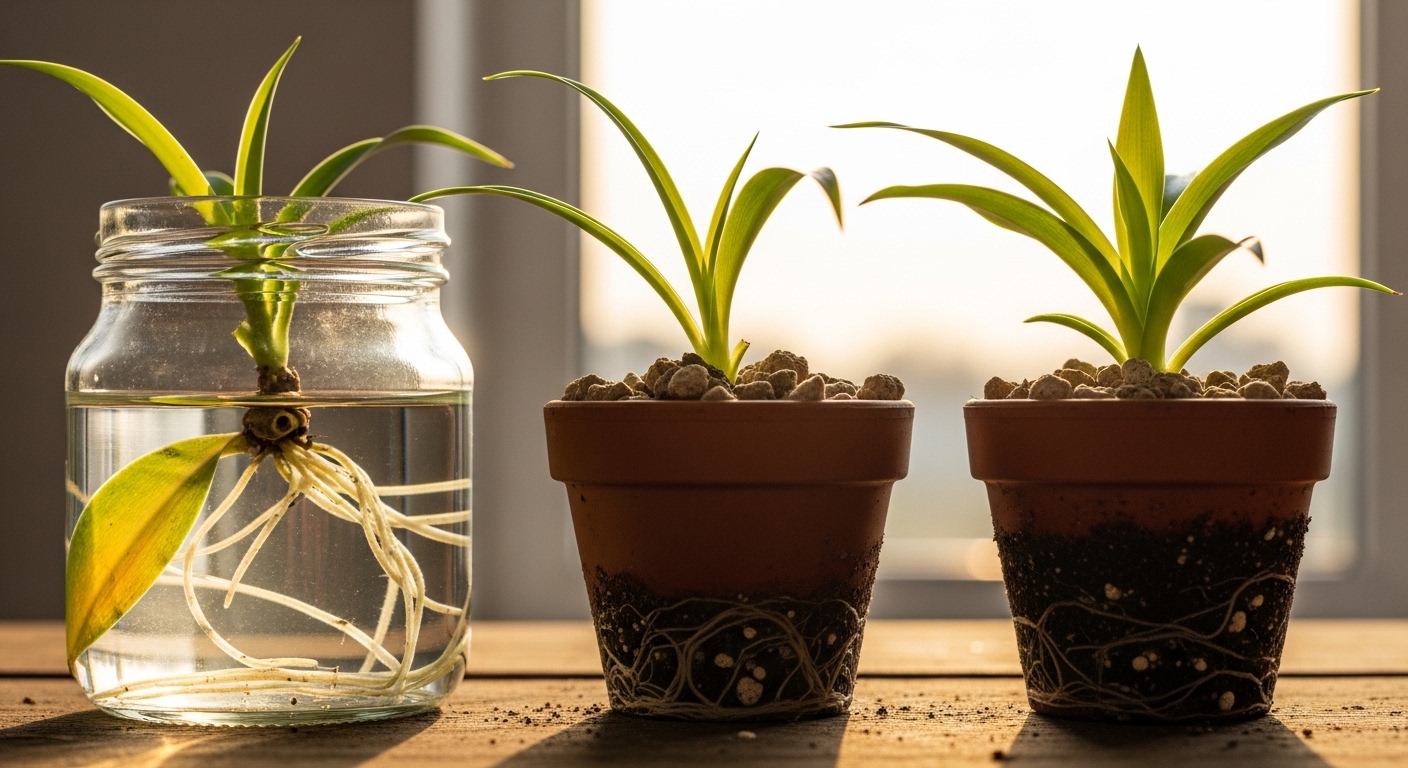
The best method depends on how patient you are and what resources you have on hand. All three approaches work reliably for Chlorophytum comosum, but they suit different situations. Here is a quick way to think about it:
- Rooting while attached: Slowest hands-on effort, highest success rate — the spiderette keeps drawing nutrients from the mother while it establishes roots.
- Water rooting after cutting: Fastest to see visible root development, satisfying for beginners who want visual confirmation before committing to soil.
- Direct soil propagation after cutting: Skips the water step entirely, reduces transplant adjustment, and tends to produce roots adapted to growing medium from the start.
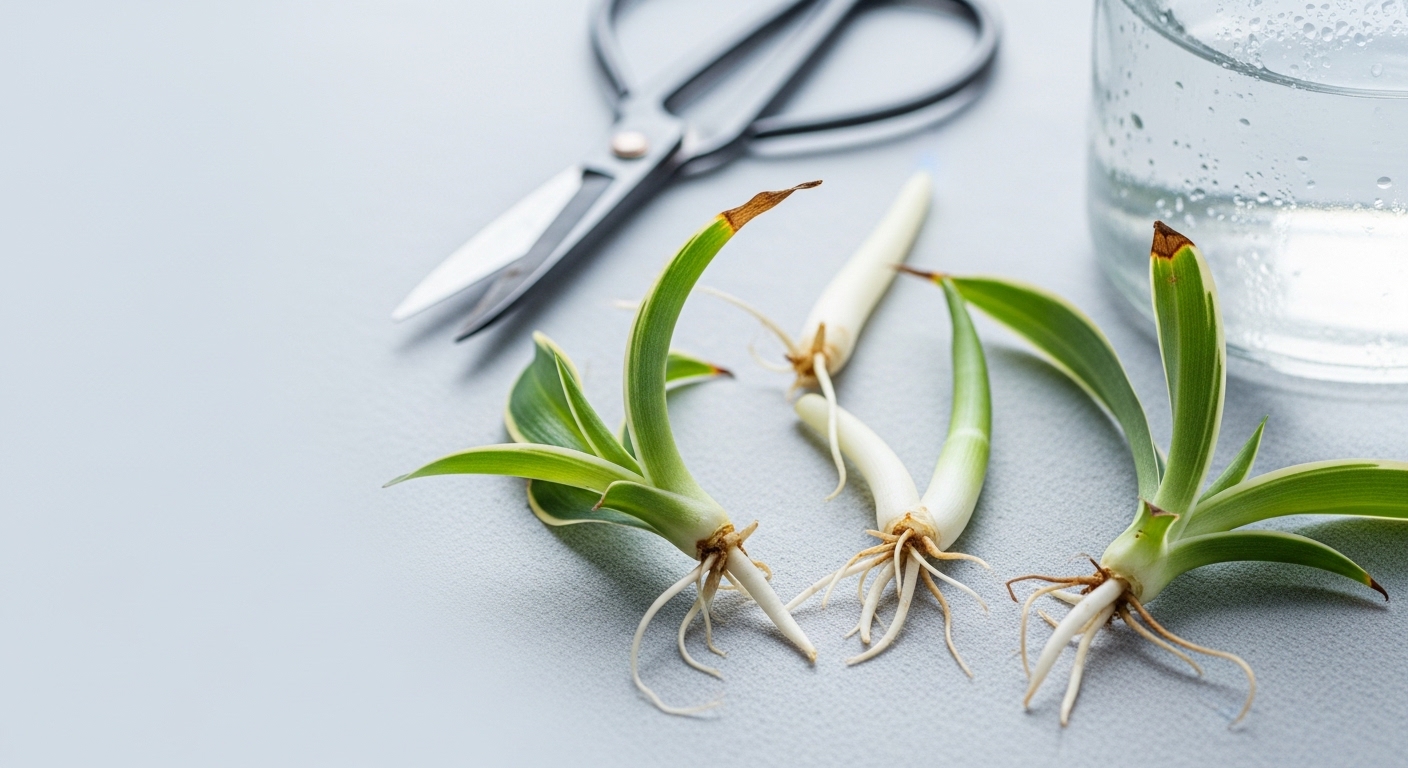
One thing worth knowing: spiderettes that already show small white root nubs at their base will root faster regardless of method. Run your finger along the underside of the offshoot where it meets the stolon — if you feel a cluster of tiny bumps, that baby is ready to go.
A spiderette with visible root nubs will establish significantly faster than one without. Many growers find that waiting just a few extra weeks on the mother plant makes all the difference in early rooting success.
Step-by-Step: Rooting Spiderettes While Still Attached
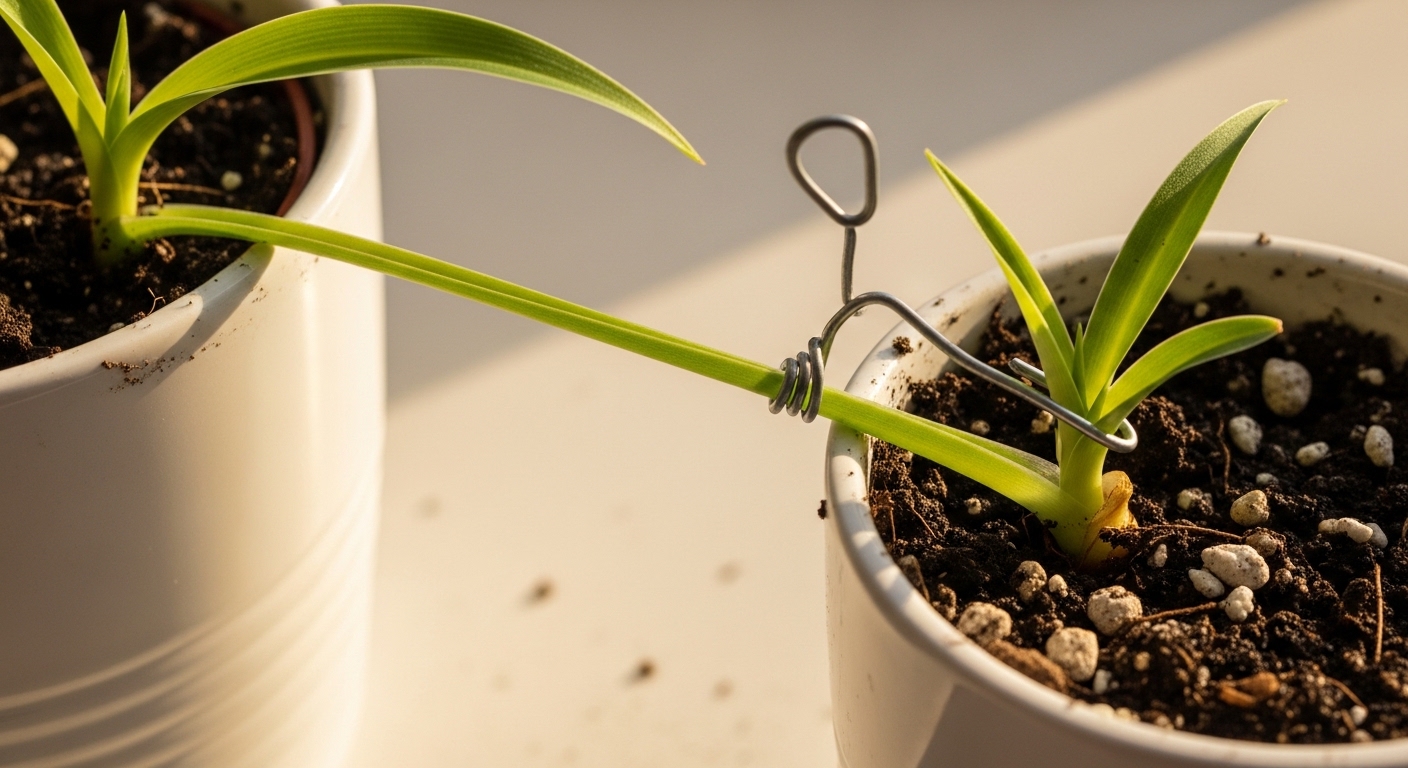
This method asks almost nothing of you. Place a small pot of moist potting mix beside or below the mother plant, pin the spiderette down onto the soil surface, and let it root in place before cutting the runner.
Here is how to do it cleanly:
- Choose a spiderette that already has visible root nubs or is at least 5–7 cm in diameter — smaller ones tend to struggle.
- Fill a small pot (8–10 cm diameter works well) with a light, well-draining mix. A standard houseplant compost blended with a handful of perlite is fine.
- Set the pot directly beneath the runner so the spiderette sits naturally on the soil surface without strain on the stolon.
- Use a bent paperclip, a small U-shaped wire pin, or even a smooth pebble to hold the base of the spiderette gently against the soil. Do not bury it — contact is enough.
- Keep the soil lightly moist. Water when the top 1–2 cm feels dry to the touch.
- After 3–4 weeks, give the runner a very gentle tug. If there is resistance, roots have formed. Wait another week if it pulls free easily.
- Once rooted, snip the stolon close to the baby plant using clean scissors. Leave the stub to dry naturally.
The advantage here is continuity — the spiderette never experiences the stress of being separated from its food source until it can fully support itself. It is a slow method, but the plants that come out of it tend to be noticeably robust.
Step-by-Step: Cutting and Rooting in Water
Water propagation is the most visually rewarding approach. You can watch roots develop in real time, which makes it especially satisfying if you are new to propagation or want to share the process with kids.
To root a spiderette in water:
- Select a spiderette with visible root nubs and snip the stolon close to the baby, leaving a short stub of about 1 cm attached to it.
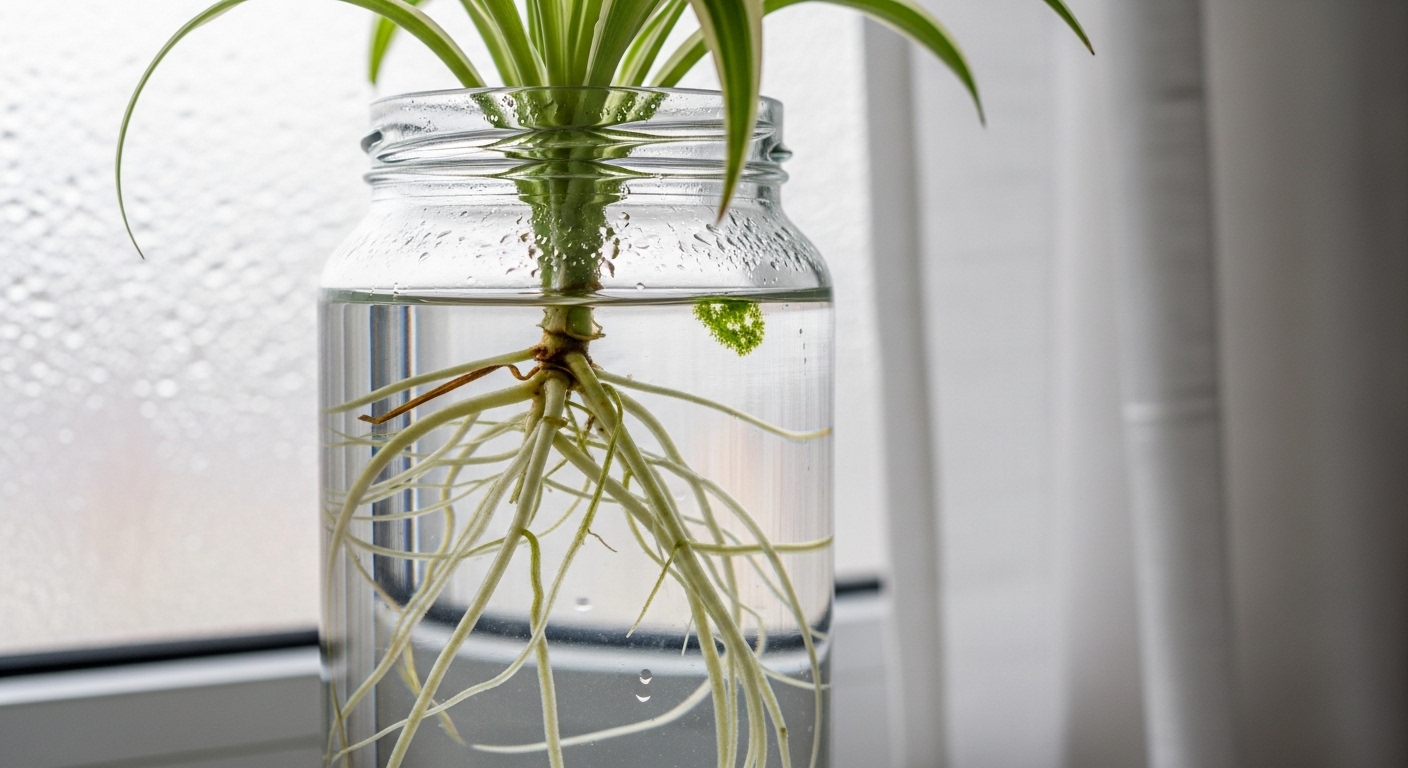
- Place it in a small glass or jar filled with room-temperature water. The base and root nubs should be submerged, but keep the leaves above the waterline to prevent rot.
- Position the jar in bright indirect light — a north- or east-facing windowsill is generally ideal. Avoid direct sun, which can overheat the water and encourage algae.
- Change the water every 5–7 days to keep it oxygenated and clear. Many growers notice that stale water slows rooting noticeably.
- Within 1–3 weeks, you should see fine white roots extending from the base. Once roots reach roughly 3–5 cm in length, the plant is ready to pot up.
One frustrating part of water rooting is that roots developed in water are structurally different from soil roots — they tend to be softer and less branched. Transitioning too late (roots longer than 7–8 cm) can make the adjustment to soil harder. Move them while the roots are still young and flexible.
Rooting Timeline and What to Expect
Spider plant spiderettes typically begin showing root development within 1–3 weeks under good conditions. The full timeline varies by method, season, and the health of the original cutting.
Here is a general guide to what you might observe:
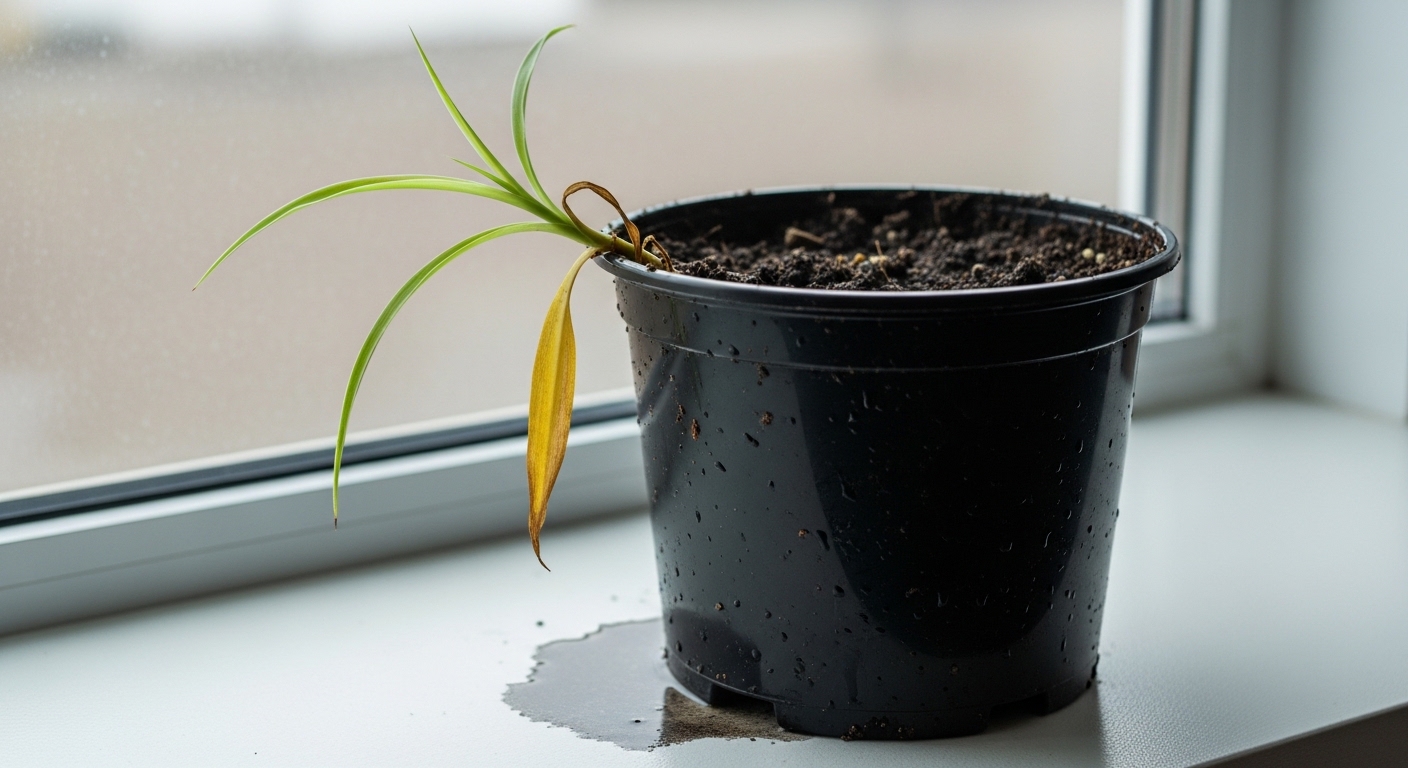
- Days 1–7: No visible change. The cutting is adjusting and, in water, may show slight yellowing on lower leaves — this is generally normal and not a sign of failure.
- Days 7–14: Small white root nubs appear at the base (water method) or the plant begins to feel slightly more anchored in soil.
- Days 14–28: Roots extend noticeably. In water, you may see 2–5 cm of root growth. In soil, a gentle tug will meet resistance.
- Weeks 4–6: New leaf growth from the centre of the spiderette is the clearest sign that roots are established and the plant is actively growing.
Cooler temperatures slow everything down. In winter, rooting can take twice as long. If your home drops below 15°C regularly, consider moving propagating plants to a warmer spot — near a heat source but away from direct dry air.
Common Propagation Mistakes
- Cutting too early: Spiderettes without root nubs can still root, but they take much longer and are more vulnerable to rot in water or drying out in soil. Patience before the cut pays off.
- Overwatering the propagation pot: Moist is not the same as wet. Consistently soggy soil around a newly rooted spiderette can cause the soft young roots to rot before they harden off. Water when the top 1–2 cm is dry.
- Leaving water roots too long before potting: Roots longer than 7–8 cm in water become increasingly adapted to a low-oxygen aquatic environment. The transition to soil becomes stressful and wilting after potting is common.
- Placing cuttings in direct sun: Bright indirect light supports rooting. Direct sun raises leaf temperature and increases water loss, which a rootless cutting cannot compensate for.
- Using a pot that is too large: A small pot (8–10 cm) keeps moisture levels manageable. A large pot holds more water than young roots can use, increasing rot risk.
Potting Up Your New Spider Plant
Once roots are 3–5 cm long (water method) or the plant resists a gentle tug (soil or attached method), it is ready for its first proper home.
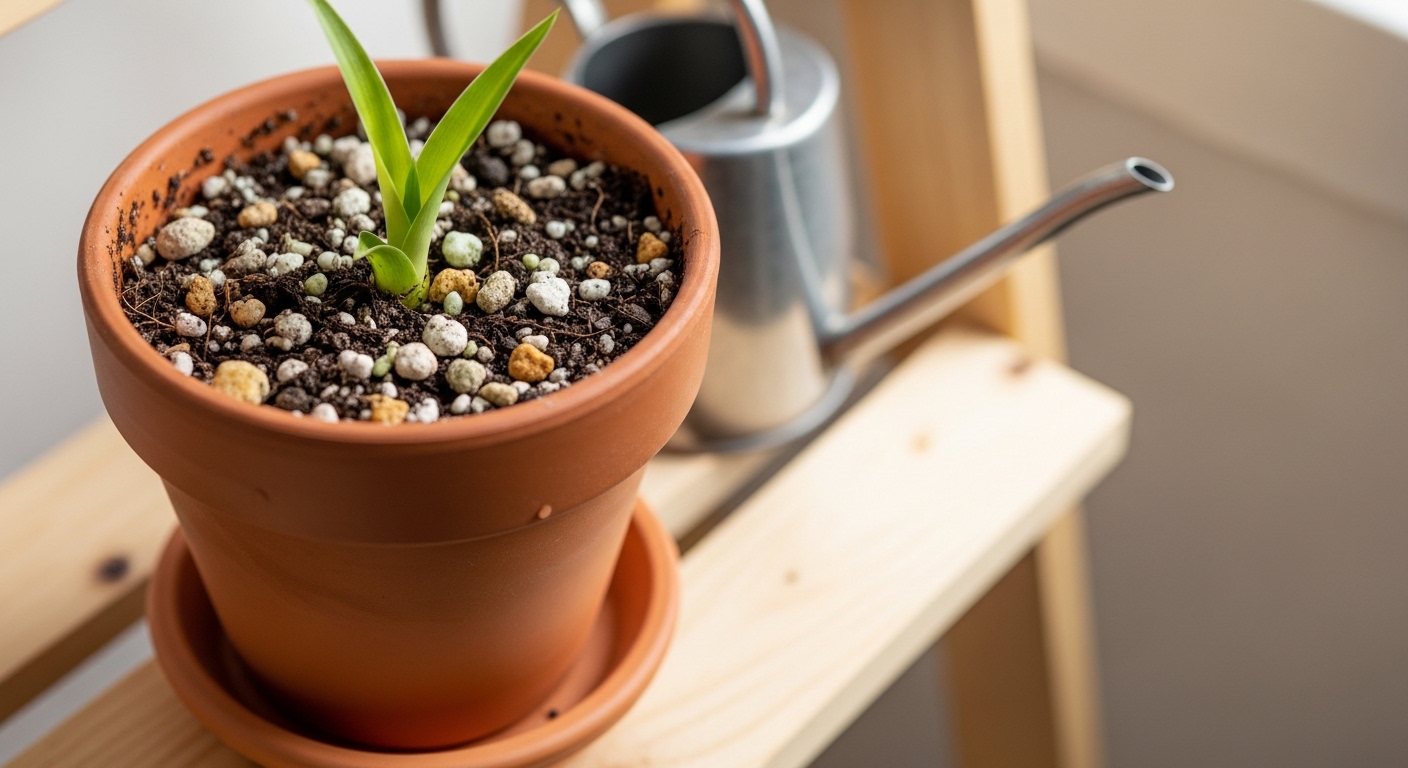
Choose a pot with drainage holes — 8 to 10 cm diameter is right for a freshly rooted spiderette. A mix of standard houseplant compost and perlite in roughly a 3:1 ratio gives good drainage without drying out too fast. Spider plants are not particularly fussy about soil, but they do not tolerate standing water around their roots.
When potting up from water, handle the roots gently — they are more fragile than soil-grown roots at this stage. Lower the plant into the pot, fill around it loosely, and water thoroughly once to settle the mix. Then hold back and let the top 2 cm dry out before watering again. Some wilting in the first few days is normal as the plant adjusts; it generally recovers within a week if the roots are healthy.
Place the newly potted plant in bright indirect light for the first two to three weeks. Avoid fertilising until you see clear new growth — feeding a plant that has not yet established its root system can cause more harm than good.
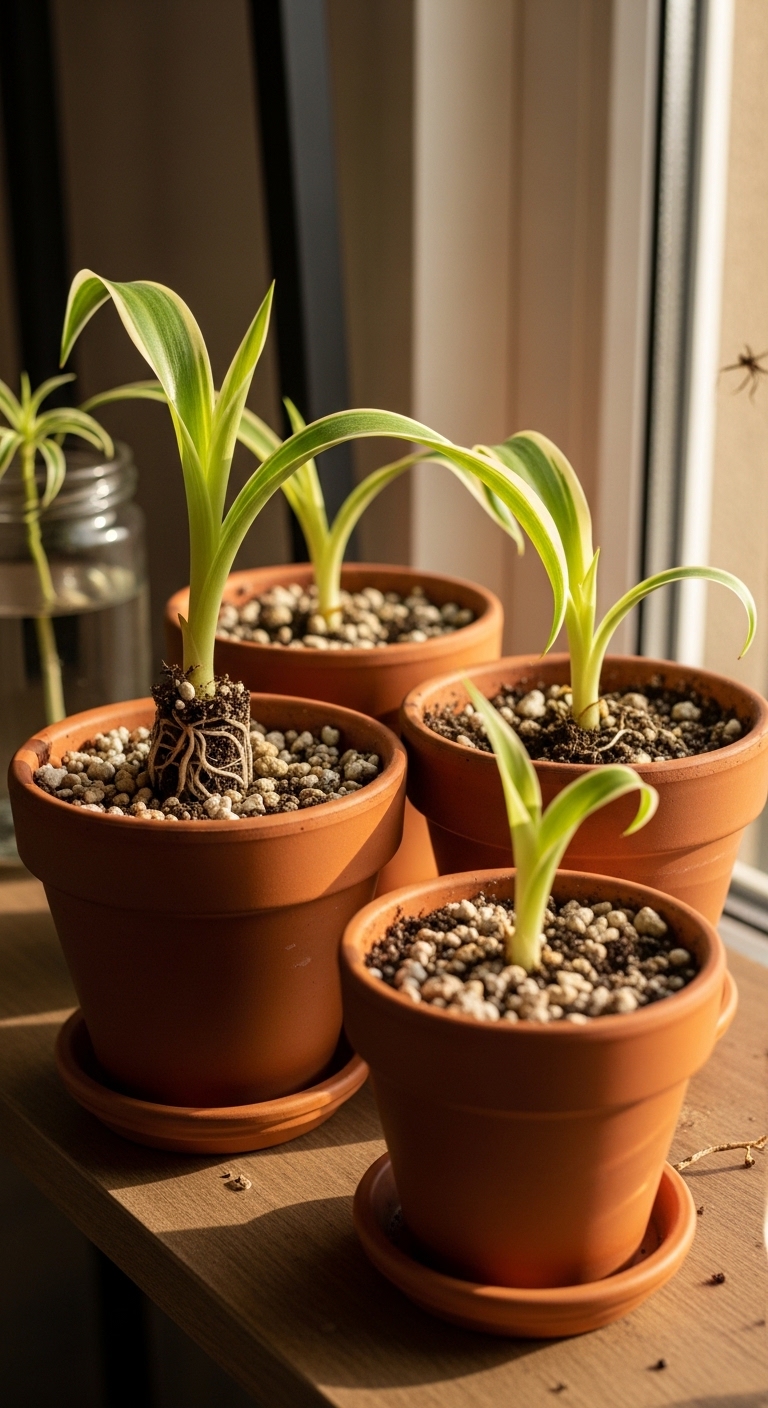
Spider plant propagation is one of those things that rewards a little observation over a lot of intervention. Give the babies good light, consistent but not excessive moisture, and a pot that fits — and they will take care of the rest. Once you have a few rooted plants going, you will likely find yourself looking for friends and neighbours to pass them on to. That is part of the appeal.
If you are ready to keep growing, exploring how to care for an established spider plant through the seasons is a natural next step — especially understanding how light changes in winter can affect runner production. And if root rot ever becomes a concern, a closer look at soil drainage and watering rhythm is worth your time.


Comments
Post a Comment