Simple Home Hydroponics: Beginner Setup Guide
Soil is optional. That might sound strange at first, but once you understand how hydroponic systems work, it starts to make complete sense. Home hydroponics lets you grow herbs, leafy greens, and even fruiting plants in nutrient-rich water — no garden bed required. For apartment dwellers and balcony growers, that changes everything. This guide walks through two beginner-friendly methods, the Kratky and deep water culture (DWC) approaches, along with nutrient solution basics, light requirements, and the best starter plants to build your confidence early.
Planning Your Hydroponic Space
Before buying any equipment, spend a few minutes honestly assessing your available space. Hydroponics scales beautifully — a single mason jar on a windowsill counts as a system, and so does a row of five-gallon buckets under a grow light shelf. What matters is matching your setup to your actual square footage and daily routine.
Think about three things upfront:
- Light source — natural window light or a dedicated grow light
- Water access — how easily can you top up or change the reservoir?
- Temperature stability — most hydroponic crops prefer 18–24°C ambient air
A south- or west-facing windowsill can work for low-demand herbs, but most indoor setups benefit from supplemental lighting. Even a modest LED grow light on a timer removes a lot of guesswork. If you're wiring or mounting any electrical fixtures, follow manufacturer instructions and consult a licensed electrician if needed.
The most common beginner mistake isn't choosing the wrong nutrients — it's placing the system somewhere inconvenient and then neglecting it. Put your setup where you'll actually see it every day.
Kratky vs. Deep Water Culture: Which Method to Start With
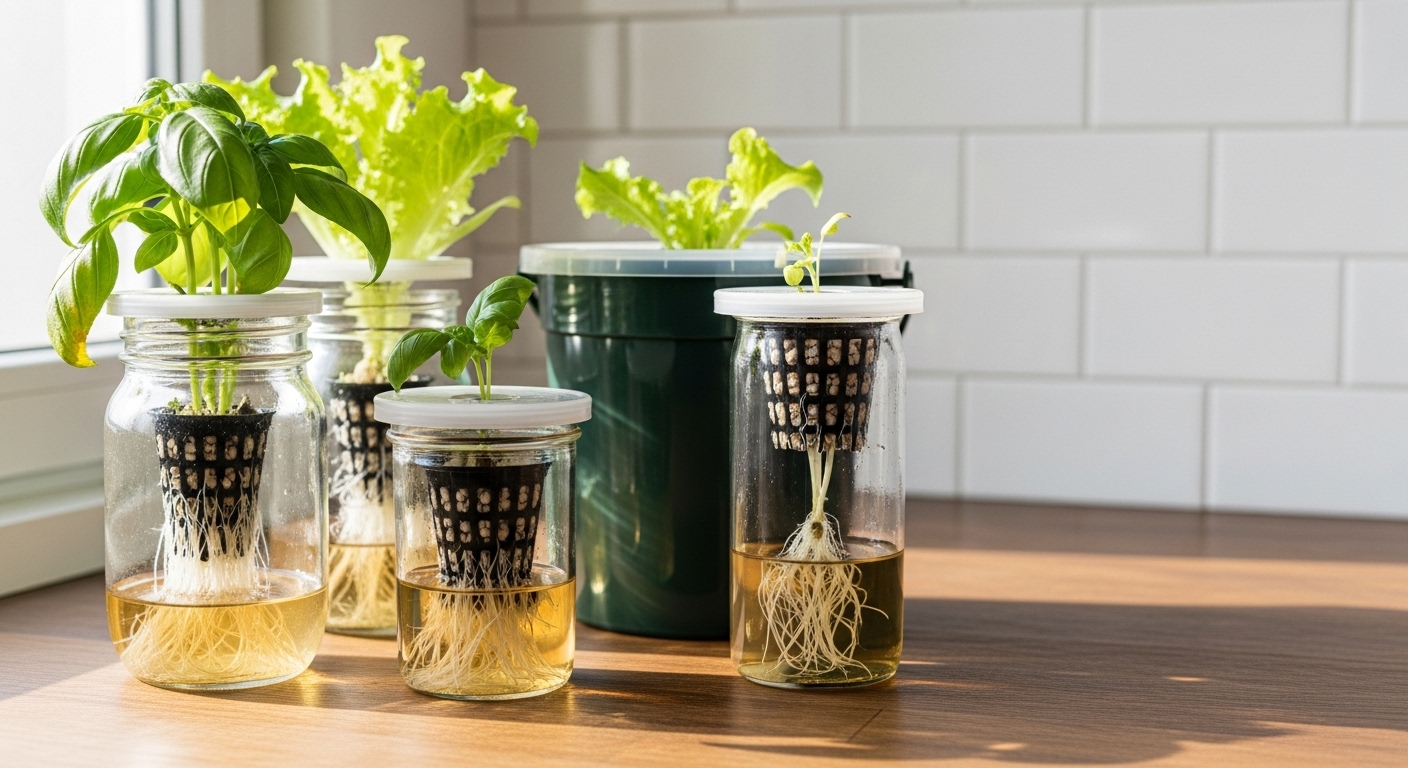
The Kratky method and deep water culture (DWC) are the two most accessible hydroponic systems for beginners. Both grow plants in nutrient solution without soil, but they differ in one important way: DWC uses an air pump to oxygenate the water continuously, while Kratky is completely passive — no pump, no electricity for the reservoir.
Kratky method works by suspending a plant in a net pot above a sealed reservoir. As the plant drinks, the water level drops naturally, creating an air gap that allows roots to breathe. You simply top up the solution periodically. Many growers find it almost surprisingly effective for herbs and lettuce with very little intervention.
Deep water culture keeps roots fully submerged at all times, relying on an aquarium air pump and air stone to deliver oxygen directly to the root zone. This constant oxygenation tends to support faster growth rates, especially for larger plants. The trade-off is a small amount of ongoing maintenance — checking the pump, cleaning the air stone, monitoring water temperature.
For a first system, Kratky is genuinely hard to beat. No moving parts, minimal cost, and a very short learning curve. Once you're comfortable reading your plants and managing nutrient solution, stepping up to DWC feels natural.

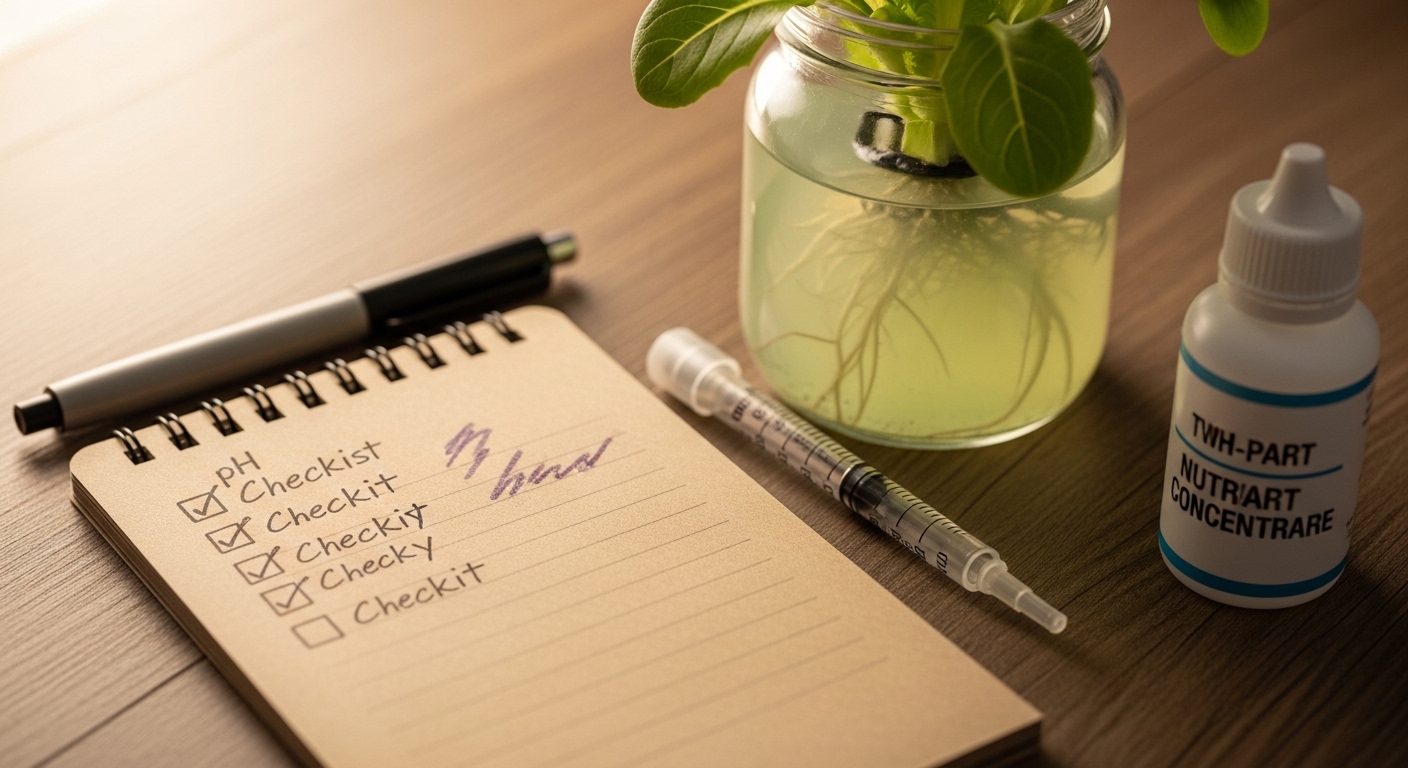
Mixing Your Nutrient Solution
Hydroponic nutrient solution replaces everything soil normally provides — nitrogen, phosphorus, potassium, and a range of micronutrients. Getting this right is less complicated than it sounds, but it does require a little precision.
Most beginner-friendly nutrient products come as a two-part or three-part liquid concentrate. You dilute them in water according to the manufacturer's instructions, typically measured in millilitres per litre. Start at the lower end of the recommended dose — young seedlings and leafy greens generally do well at around half to two-thirds strength.
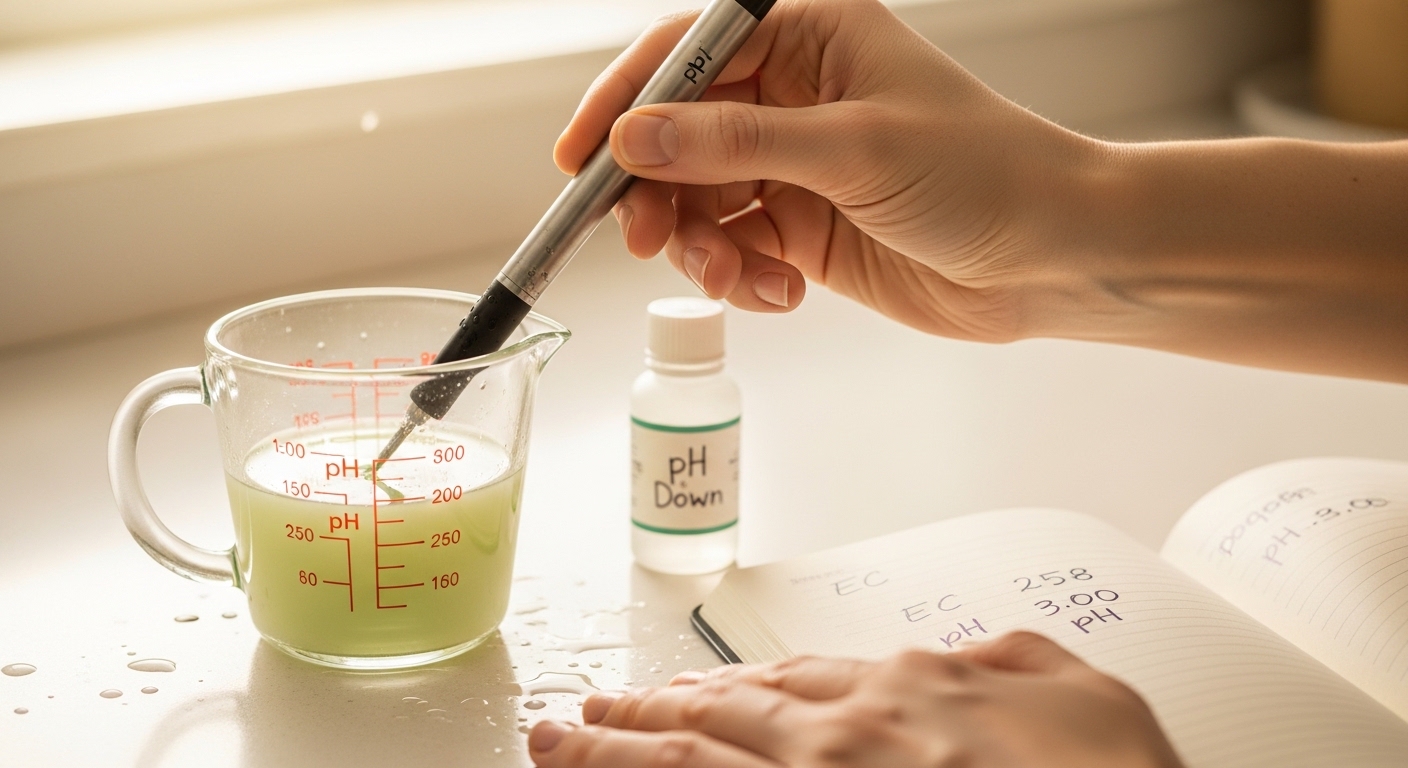
Two measurements matter most:
- pH — aim for 5.5–6.5 for most vegetables and herbs. Outside this range, plants can't absorb nutrients efficiently even if they're present in the water. A basic pH test kit or digital pH pen is worth the small investment.
- EC (electrical conductivity) — this measures nutrient concentration. Leafy greens generally prefer an EC of around 0.8–1.6 mS/cm; herbs can handle slightly higher. A basic EC meter takes the guesswork out of topping up your reservoir.
One frustrating part of early hydroponics is chasing pH drift — the solution's pH tends to shift over time as plants absorb nutrients unevenly. Checking pH every two to three days and adjusting with pH Up or pH Down solution keeps things stable. It becomes routine quickly.
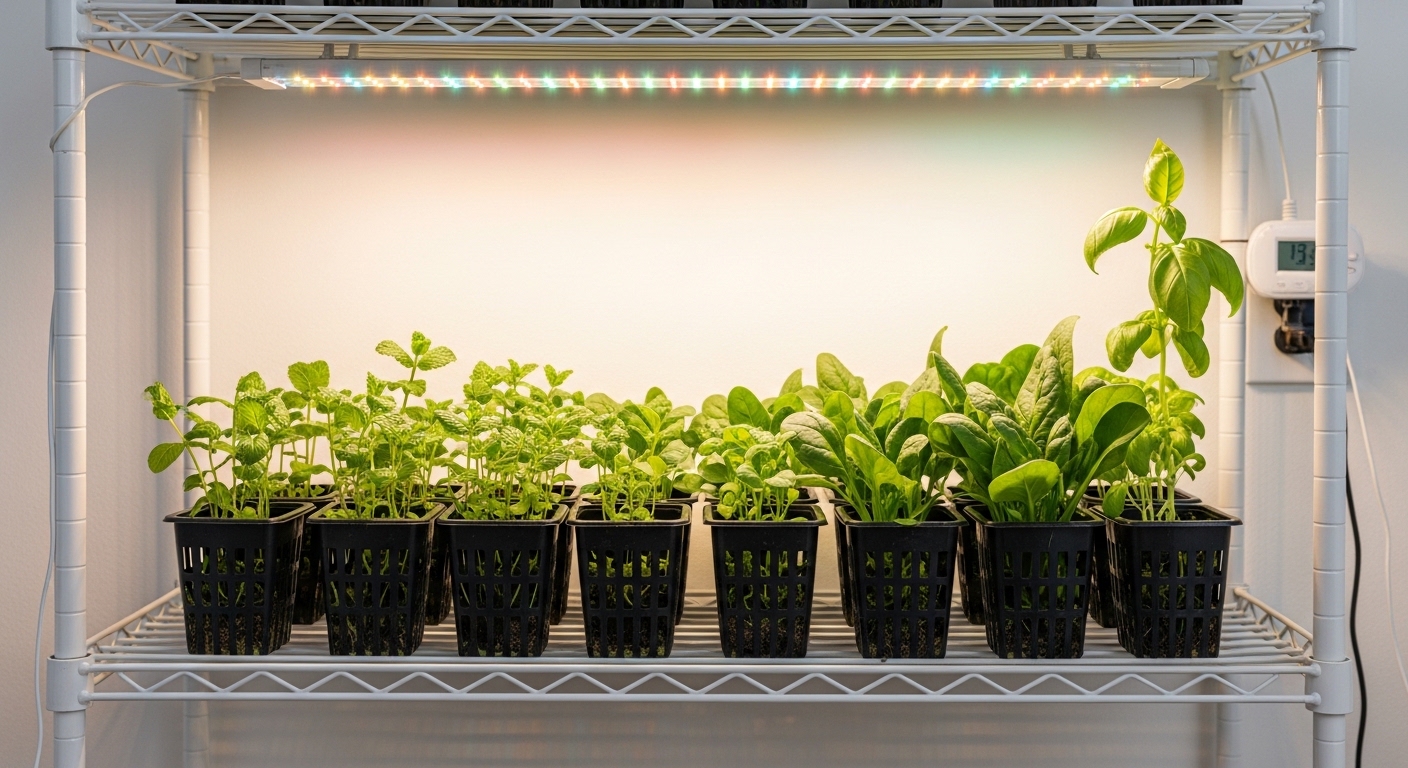
Light Requirements for Indoor Hydroponics
Plants in hydroponic systems still need light to photosynthesize — water and nutrients alone won't do it. The good news is that grow lights have become genuinely affordable and effective, and for leafy greens and herbs, the requirements are modest.
Most culinary herbs and salad greens need around 14–16 hours of light per day when grown indoors under artificial lighting. A simple plug-in timer handles this automatically. Full-spectrum LED grow lights in the 5000–6500K color temperature range tend to support compact, healthy vegetative growth for these crops.
Light intensity matters too. A general rule of thumb: if you can comfortably read a book directly under the light, it's probably not bright enough for most hydroponic crops. Position your grow light 15–30 cm above the plant canopy for most compact LED panels, adjusting as plants grow taller. Always follow the specific distance recommendations from your light manufacturer.
Natural window light can supplement or even replace grow lights in the right conditions — a south-facing window in summer can provide enough intensity for herbs. In winter, or in north-facing rooms, supplemental lighting is almost always necessary.
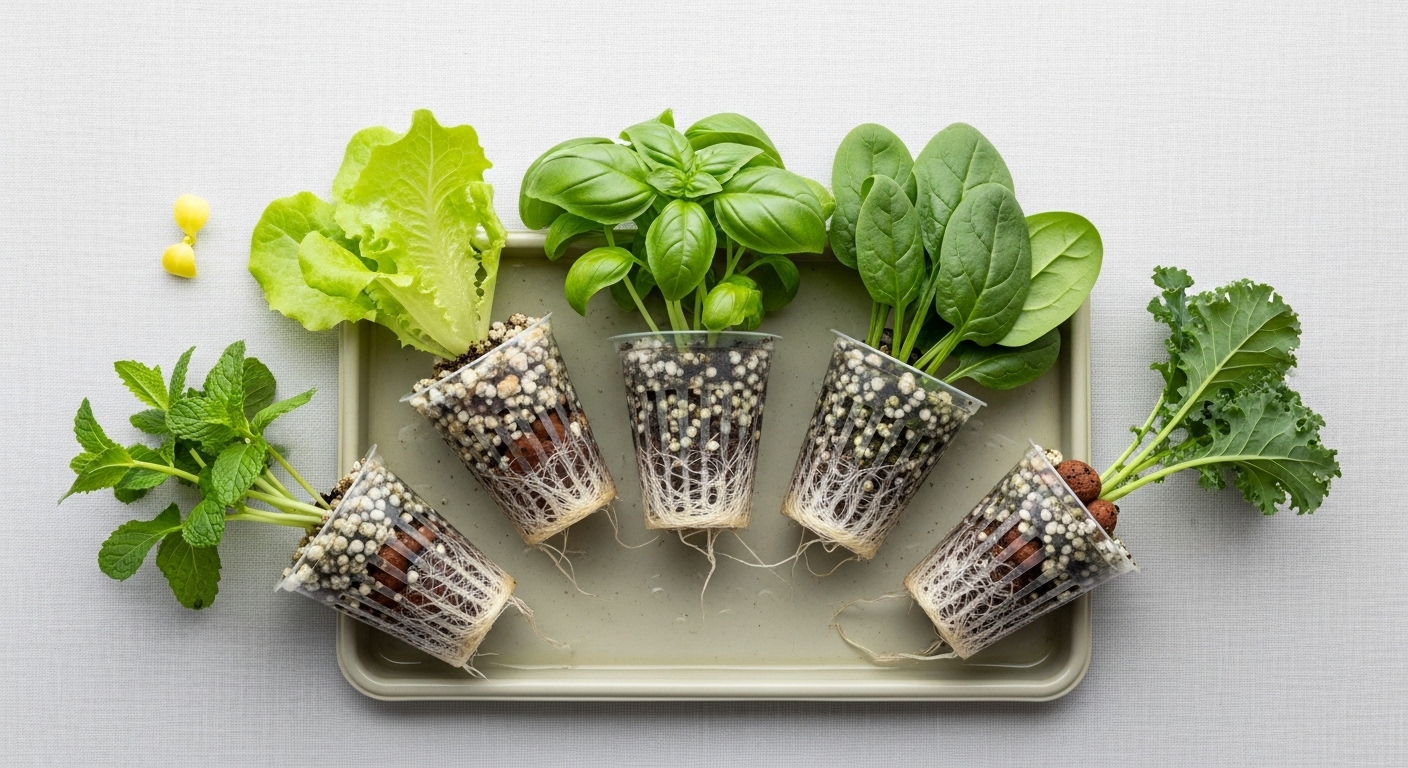
Best Starter Plants for Home Hydroponics
Not every plant is equally forgiving in a beginner hydroponic setup. Fast-growing, shallow-rooted crops with modest nutrient demands tend to give the most satisfying early results — and they're genuinely useful in the kitchen.
- Butterhead lettuce — fast-growing, tolerates a wide pH range, ready to harvest in 30–45 days. A classic starting point.
- Basil — responds well to both Kratky and DWC, grows quickly under grow lights, and gives you a tangible reward early on.
- Spinach — prefers slightly cooler nutrient solution temperatures (around 18–20°C), but handles beginner-level nutrient management well.
- Mint — vigorous and forgiving, though it can become aggressive — consider giving it its own container.
- Kale — slightly slower than lettuce but very tolerant, and a single plant can provide cut-and-come-again harvests for weeks.
Avoid fruiting crops like tomatoes or peppers for your first system. They require higher nutrient concentrations, more light, and more structural support. Start with greens, build your confidence, then expand.
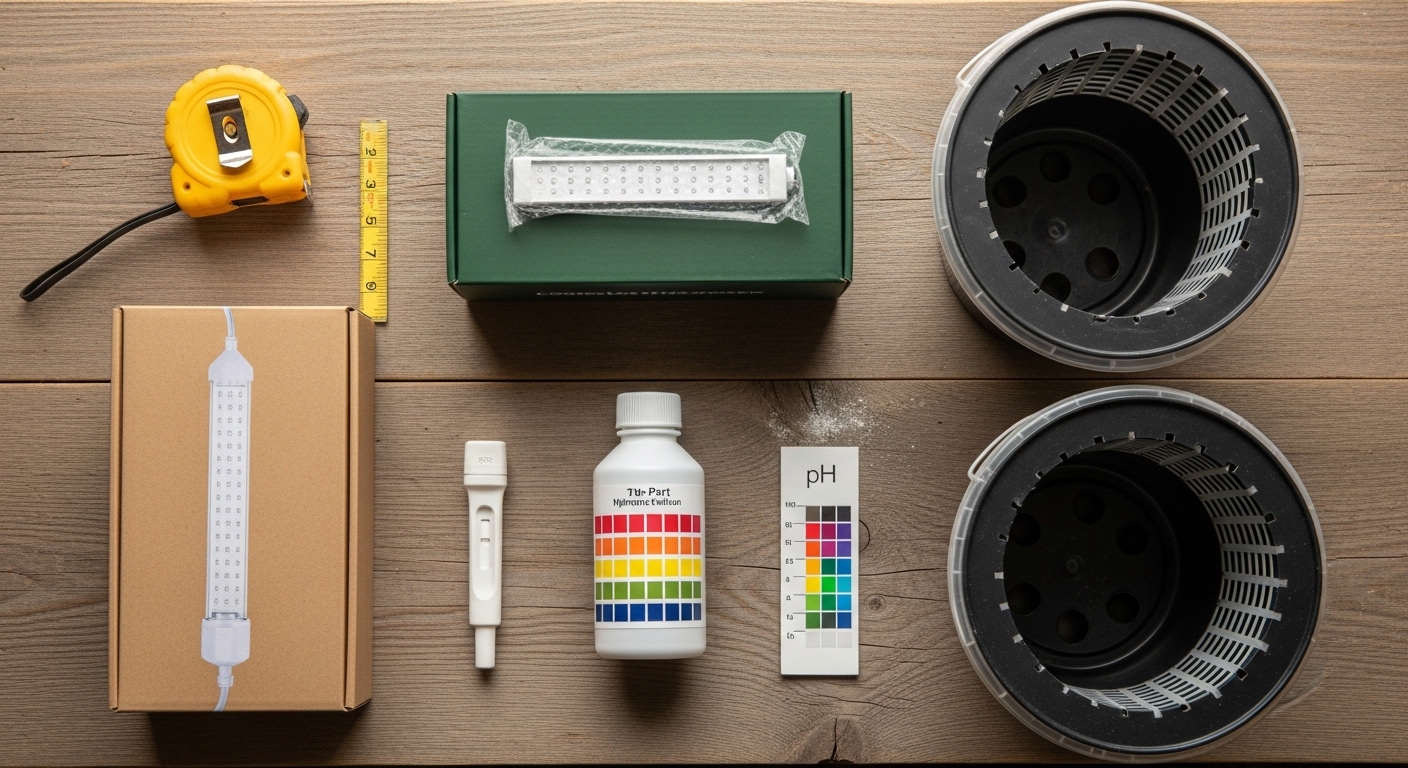
Beginner Hydroponic Setup Checklist
Before your first seedling goes in, run through this checklist to make sure the basics are covered. Small gaps in preparation tend to show up as plant stress in the first two weeks — catching them early saves a lot of frustration.
- Choose your method — Kratky for passive simplicity, DWC for faster growth with a pump
- Source your containers — opaque reservoirs prevent algae growth; dark-colored buckets or painted jars work well
- Get net pots and growing medium — hydroton clay pebbles or coarse perlite are widely available and reusable
- Mix your first nutrient solution — start at half to two-thirds strength; check and adjust pH to 5.5–6.5
- Set up your light source — position 15–30 cm above seedlings, set timer for 14–16 hours on
- Start seeds in a propagation medium — rockwool cubes or rapid rooter plugs work well for transferring into net pots
- Monitor daily for the first two weeks — check water level, pH, and look for early signs of nutrient deficiency (yellowing) or root browning
Yellowing lower leaves → often nitrogen deficiency or pH too high — check and adjust solution first before adding more nutrients.
Brown, slimy roots → root rot, usually from warm water temperatures or light leaking into the reservoir — ensure reservoir is fully opaque and keep solution below 22°C.
Slow or no root growth after 10 days → check that the net pot is close enough to the water surface; in Kratky, the medium should just touch the solution at the start.
Hydroponics rewards curiosity. The more you observe — root color, leaf texture, how quickly the water level drops — the faster your instincts develop. Most beginners are surprised by how quickly a simple Kratky jar produces something genuinely harvestable.
Your next step: mix your first batch of nutrient solution this week and get one jar set up. Just one. That single container will teach you more than any amount of reading. Once you're comfortable with the rhythm of checking pH and topping up the reservoir, expanding to a small shelf system feels natural rather than overwhelming. If you find yourself curious about grow light options as your setup grows, that's a great topic to dig into next.


Comments
Post a Comment